Wriiten by Kitto
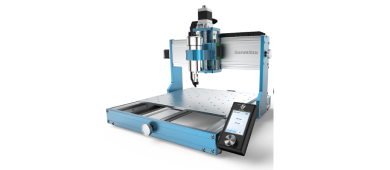
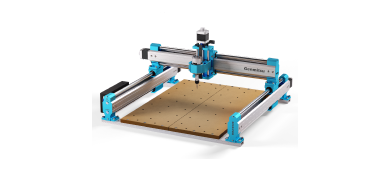
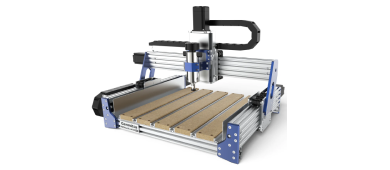
Image frames are a beautiful way to showcase cherished memories and artwork. But why settle for generic store-bought frames when you can create your own personalized masterpieces? With a Genmitsu CNC machine and a touch of creativity, you can craft stunning wooden image frames that are perfectly tailored to your taste.

Design Your Dream Frame
The beauty of CNC machining is the design flexibility it offers. There's no limit to the styles and complexities you can create for your image frame. Here are some ideas to get you started:
Step 1: Selecting the Perfect Wood
- Visible Wood Grain: If you want the natural wood grain to be a prominent feature, choose hardwoods like oak, maple, walnut, or cherry. These offer beautiful aesthetics and come in a variety of colors.
- Painting the Frame: If you plan to paint the frame, a less expensive wood like pine or poplar is a good option. These woods are workable with CNC machines and the grain pattern is less noticeable under paint.

Step 2: Routing Your Frame Profile
- Recommend VCarve Desktop for CNC routing of precision and flexibility, layered Design, design library.
- Material Setup and Tool Selection: Once you have your frame design as a vector file, VCarve Desktop takes over for the CNC machining aspect. Here you define the material size and thickness, choose the appropriate router bit for your desired profile, and set cutting parameters like feed rate and depth per pass.
- Toolpath Optimization and Simulation: VCarve Desktop analyzes your vector design and generates efficient toolpaths for your CNC machine to follow. You can preview the toolpath simulation to ensure it accurately reflects your design before sending it to the machine.
- G-Code Generation and Machine Control: Finally, VCarve Desktop generates G-code, the language understood by your CNC machine. You can then upload this G-code to your machine and initiate the cutting process.

Step 3: Assembly and Finishing
Once your CNC machine has cut out the individual frame pieces, it's time for assembly and finishing. Here's a general outline:
- Sanding: Sand all the pieces thoroughly to remove any rough edges or splinters.
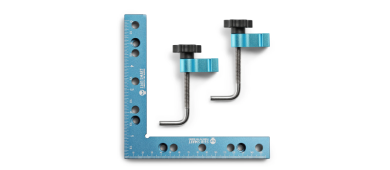
- Assembly: Depending on your design, you may need to use wood glue or joinery techniques like dowels or pocket holes to assemble the frame pieces.
- Finishing: Apply your desired finish, such as stain, paint, or varnish. You can also add a clear coat for extra protection.
- Glass and Backing: Cut a piece of acrylic or glass to the size of your frame opening and secure it to the backboard. Attach the backboard to the frame with appropriate fasteners.

With a little planning and effort, your Genmitsu CNC machine can become a powerful tool for creating beautiful and personalized wooden image frames. These custom frames make for the perfect addition to your home décor or thoughtful handmade gifts. So, unleash your creativity and start crafting!


