
By Matthew Cross
This is a guest blog of our SainSmart x Makers series.
Matt is the creator of Fearsome Wilderness, a tabletop board game launched on Kickstarter in early October. Learn more about this project
It's been over two months now since I bought my SainSmart Kumitsu KL9 (bundle with UV Curing Chamber to save $450! ) and have been 3D printing pretty much non-stop since I got it. I'm really fond of the machine and it has some key advantages for me so I thought I'd go over the printer itself and my experience with it so far.
The machine arrived fast and in a very secure, excitingly large box. I did not explain the purchase to my wife who was very curious what was inside and why I needed a new toy.
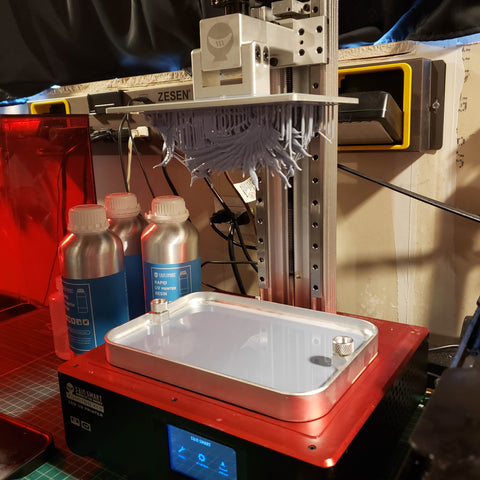
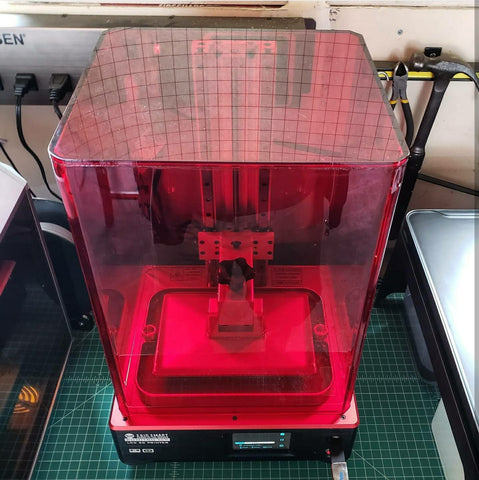
This is no toy, which is first exhibited in it's construction. This thing is sturdy. There's not much more to say other than the red looks slick and it was really pleasant to see how solid it was built.
I set aside way more time for assembling it that I needed. It's mostly put together already and it's really just a matter of unboxing it, screwing in some components and plugging it in. The manual it comes with describes the calibration process which is the typical "slide a piece of paper under the platform and tighten it" method. It does all the work for you and I've found it stays calibrated.
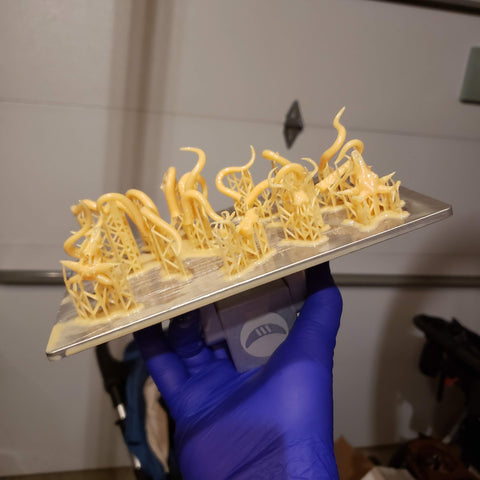
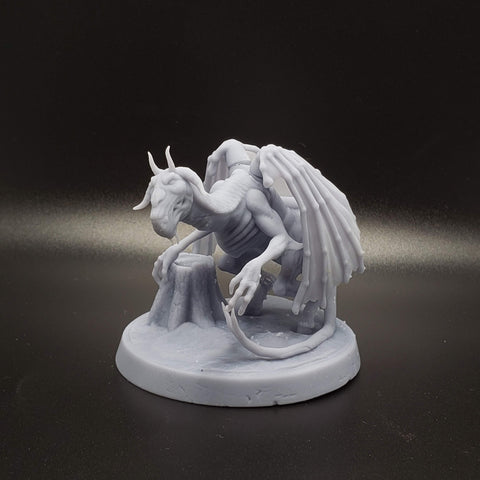
On 3D printers I've used, I am constantly recalibrating the machine which is one reason I think that resin 3D printing is easier. Some may disagree and I can see both sides. I know resin is messier and there is a cleaning and curing process, but the fact that, when supported correctly, prints fail way less for me in resin. With the Kumitsu KL9 I have been consistently getting successful prints when using well supported models. Any failed prints I've had I wouldn't attribute to the KL9.
I also have found doing resin supports to be easier and more predictable than Fused Deposition Modeling. Don't get me wrong, filament is less expensive and a fun way to print. It's just very different. Both styles have a place on my workbench and I don't see that changing anytime soon. Most of my current board game and RPG terrain is printed with filament but that may change now that I have this large platform on the KL9.
Larger build volume of 4.72" x 7.56" x 9.84" (120mm x 192mm x 250mm)
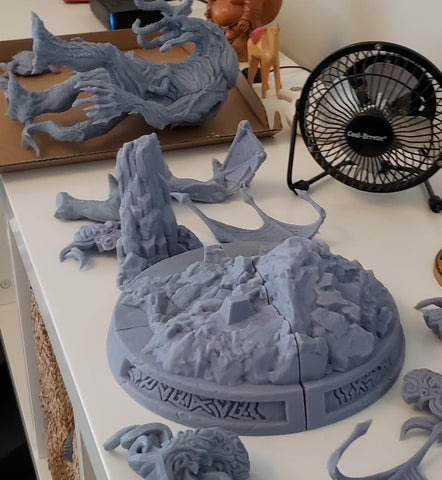
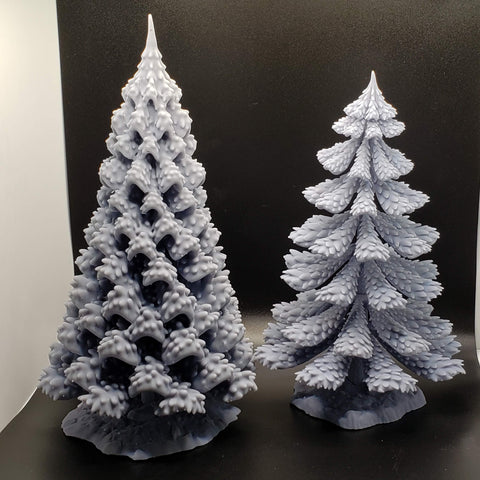
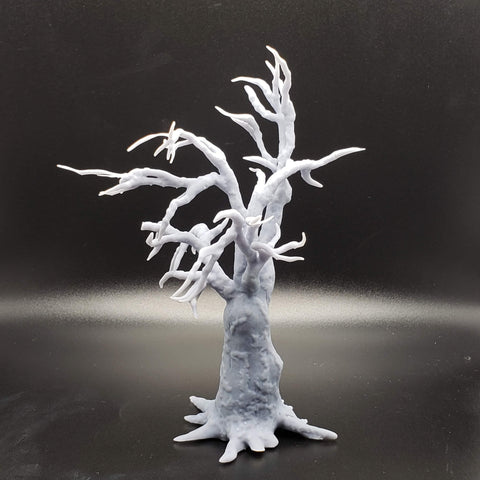
Speaking of terrain, a lot of times I was scaling down terrain or splitting it into multiple parts. There are a lot of cool Kickstarter campaigns and Patreon accounts with buildings, fences, forts, and even whole villages you can print. These are now an option for me with the larger build volume. See I did need this printer!
It's good to see that SainSmart has made the replacement parts available and affordable too. They have the vat and platform you can buy if you need. And more importantly, they have the FEP film which I had to replace once because I was dumb and too rough with the film one time and poked a hole in it. It was an easy replacement after watching a YouTube clip. Here's a tip, if you have a failed print and have resin cured on the FEP film, just gently run your finger across the back of the film and it'll pop off. If it doesn't you can shine a UV light on it and try again. I didn't come up with this method so can't take credit for it. I saw multiple videos of people demonstrating the method on youtube and it worked for me recently.
I also saw a video from SainSmart of someone replacing the LCD screen with relative ease. That might come in handy if we get higher resolution or a mono screen option in the future. I don't know if that will be the case or not but the LCD is a consumable so it's good to see it'll be easy to replace when I need to.
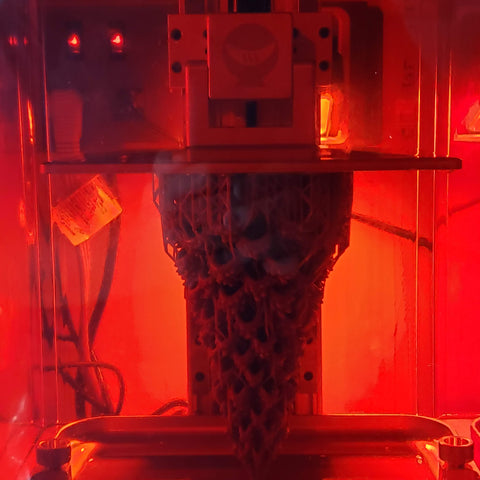
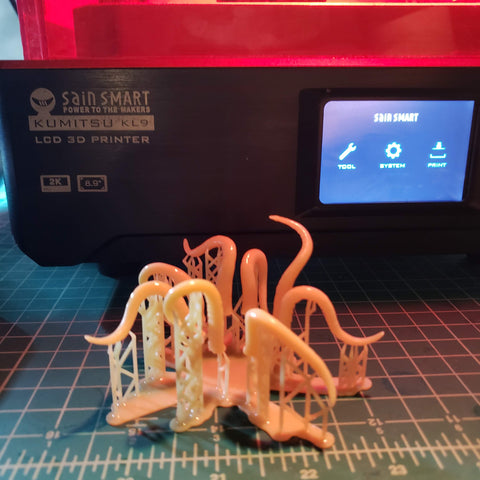
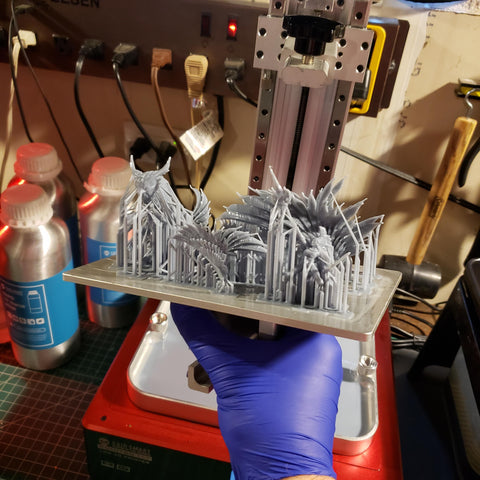
I have to also just say that the lcd screen on the front (not the big 2k one that does the printing) is a nice luxury too and it displays an image of the mini before you start printing and each layer while it's working. It's a quick view to see the layer and see how much time is left. I load up the platform since it takes the same amount of time for one model that's 3 inches tall or 10 models that are 3 inches tall. The KL9 uses the popular Chitubox software file format but you can use other software to do the supports if you want. You would just export the STL file, and load it into Chitubox or Chitubox works well on its own.
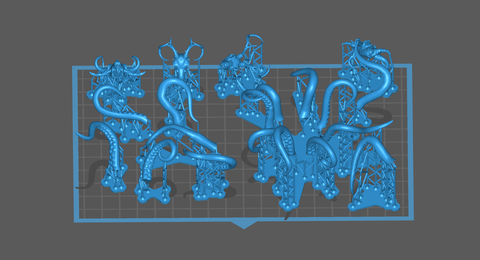
If you are used to 3D printers, you'll find that supports are quite different when resin printing and orientation matters. In my opinion there's no shame in using the "optimize orientation" functionality some free software offers and that's a good way to start out and just to make life easy. Same goes for auto-generating supports. Well maybe not always but it's a good place to start and then add or remove supports from there.
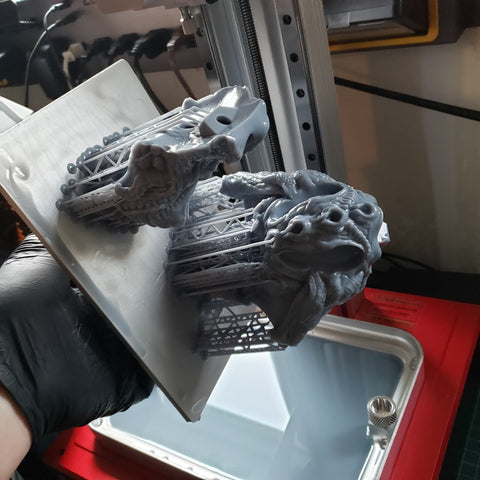
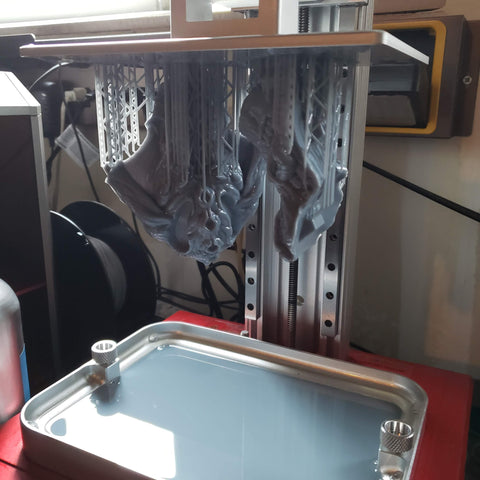
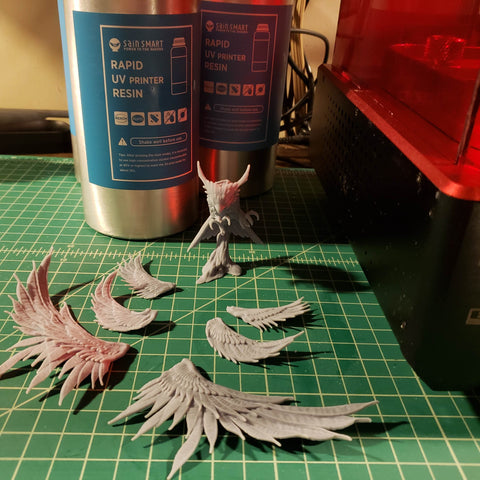
Moving on to slightly more advanced, but still easy techniques, I began hollowing models to save on resin costs and to be more practical. Hollowing is easy since the software does all the work. It's important to think about drilling holes in places to let the resin drain out and in places to prevent suction that may be too much force for the model to stay adhered to the platform. I like to print and paint miniature busts and sculptors keep making these things bigger and bigger which are really fun to print. I subscribe to two Patreon's that are sculptors pretty much exclusively creating busts. (fotismint.com and Eastman.xyz if you need to reference these patreons)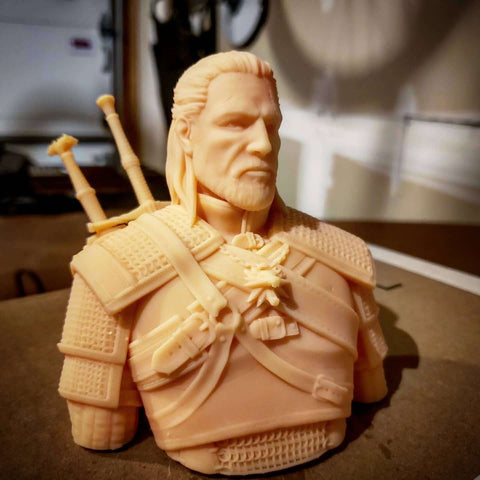
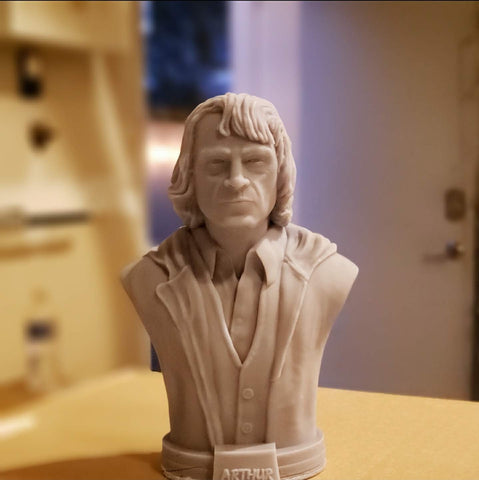
Needless to say my "shelf of shame" contains more than a few unpainted busts since I got my KL9. I need to get to work painting so that concludes my SainSmart Kumitsu KL9. I recommend it.


1 comment
Great article! It will be essential to me as I start young my KL9.
One question, what method do you use to wash? I’m getting the KL9 with cure station soon and the wash setup I’m unsure on.