Written by Dennis Heinze
Tools
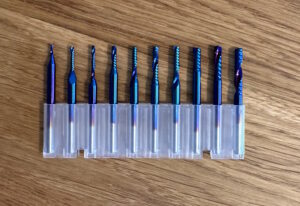
Over the course of many CNC articles, we have already introduced several tools. From end mills, face mills, multi-flute mills, and engraving bits, to name just a few. Today, we are adding various ball end mills, single-flute end mills (also known as O-Flute), and V-bits.

O-Flute / Single-Flute End Mills
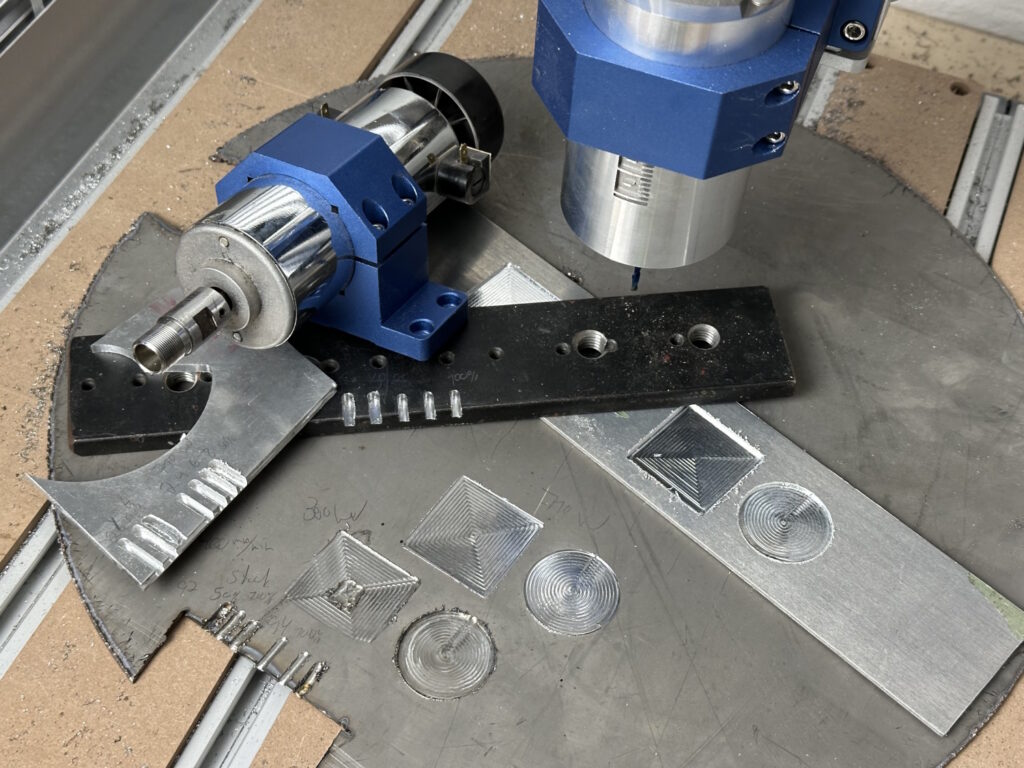
With a single cutting edge, larger chips are produced, which has the advantage of improved heat dissipation, especially useful in aluminum machining. We are milling two XYZ probes, once with a 3.175 mm O-Flute and once with a three-flute aluminum mill of 3.5 mm. The CAD file and all parameters remain identical, only the type of cutter changes. For both tests, of course, a new and unused bit was used:
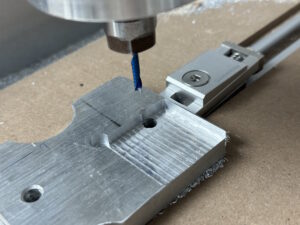
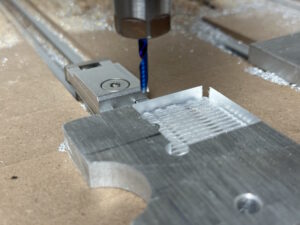
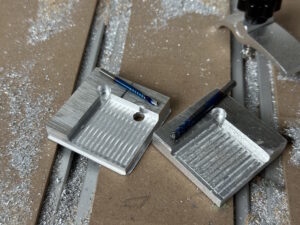
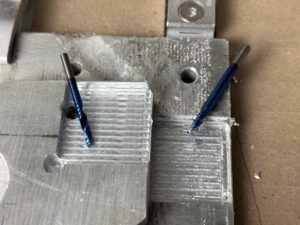
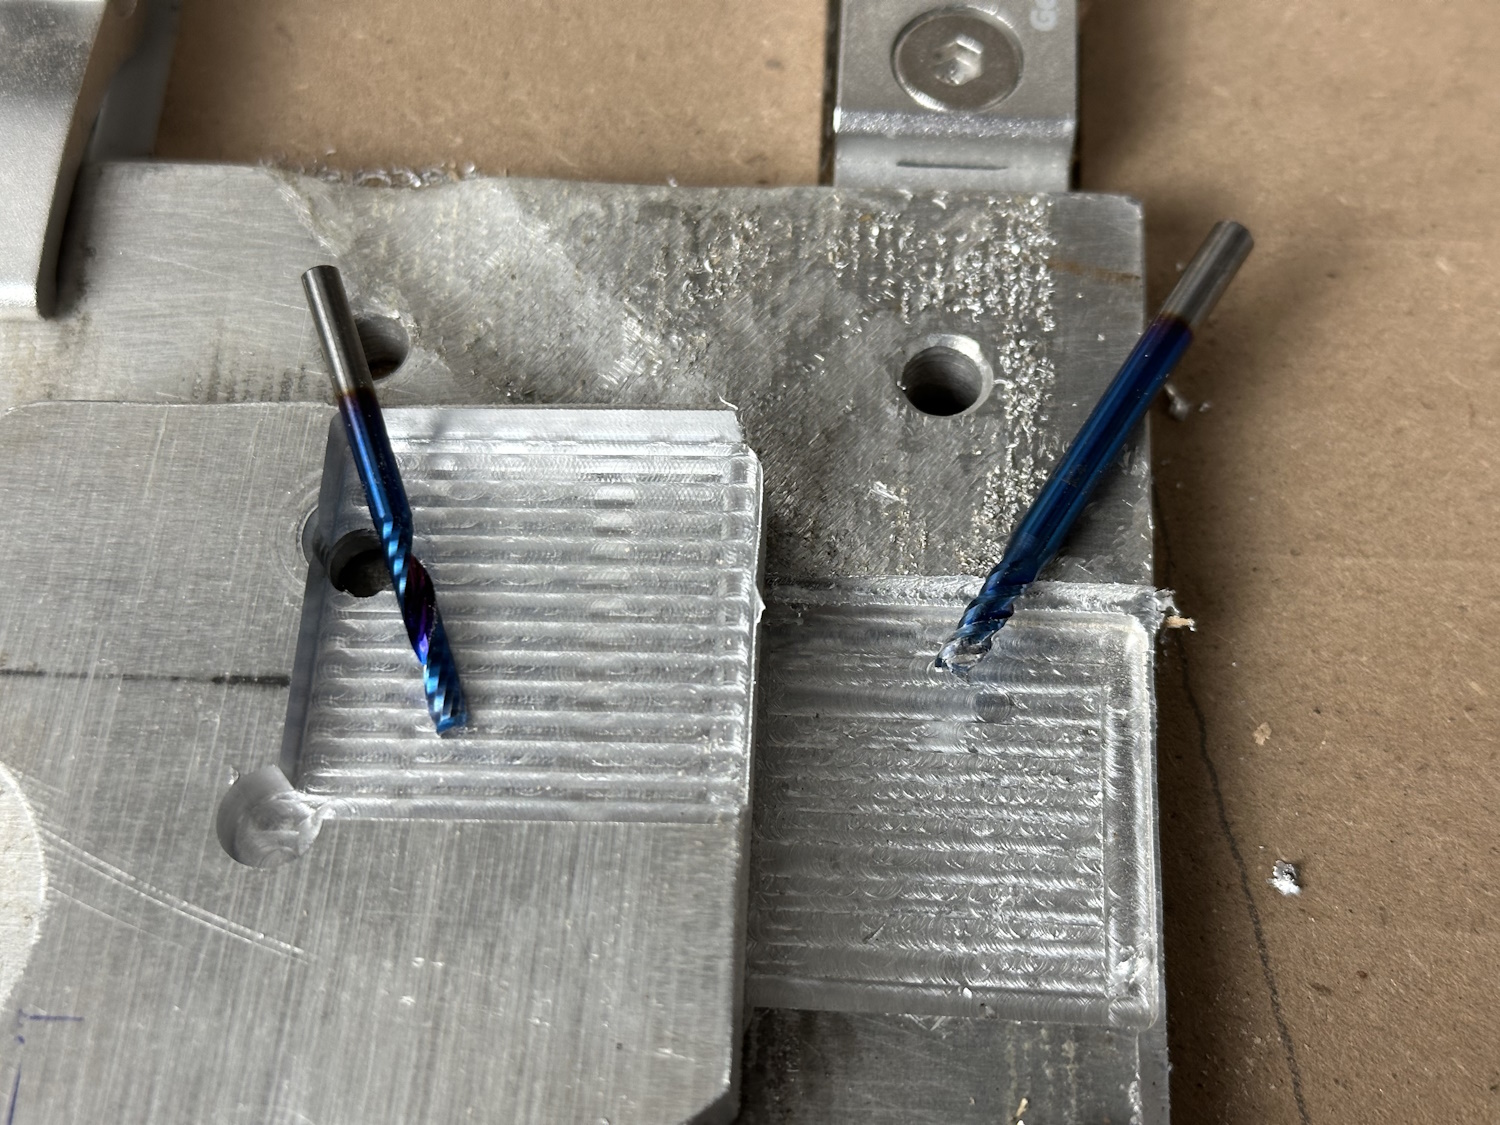
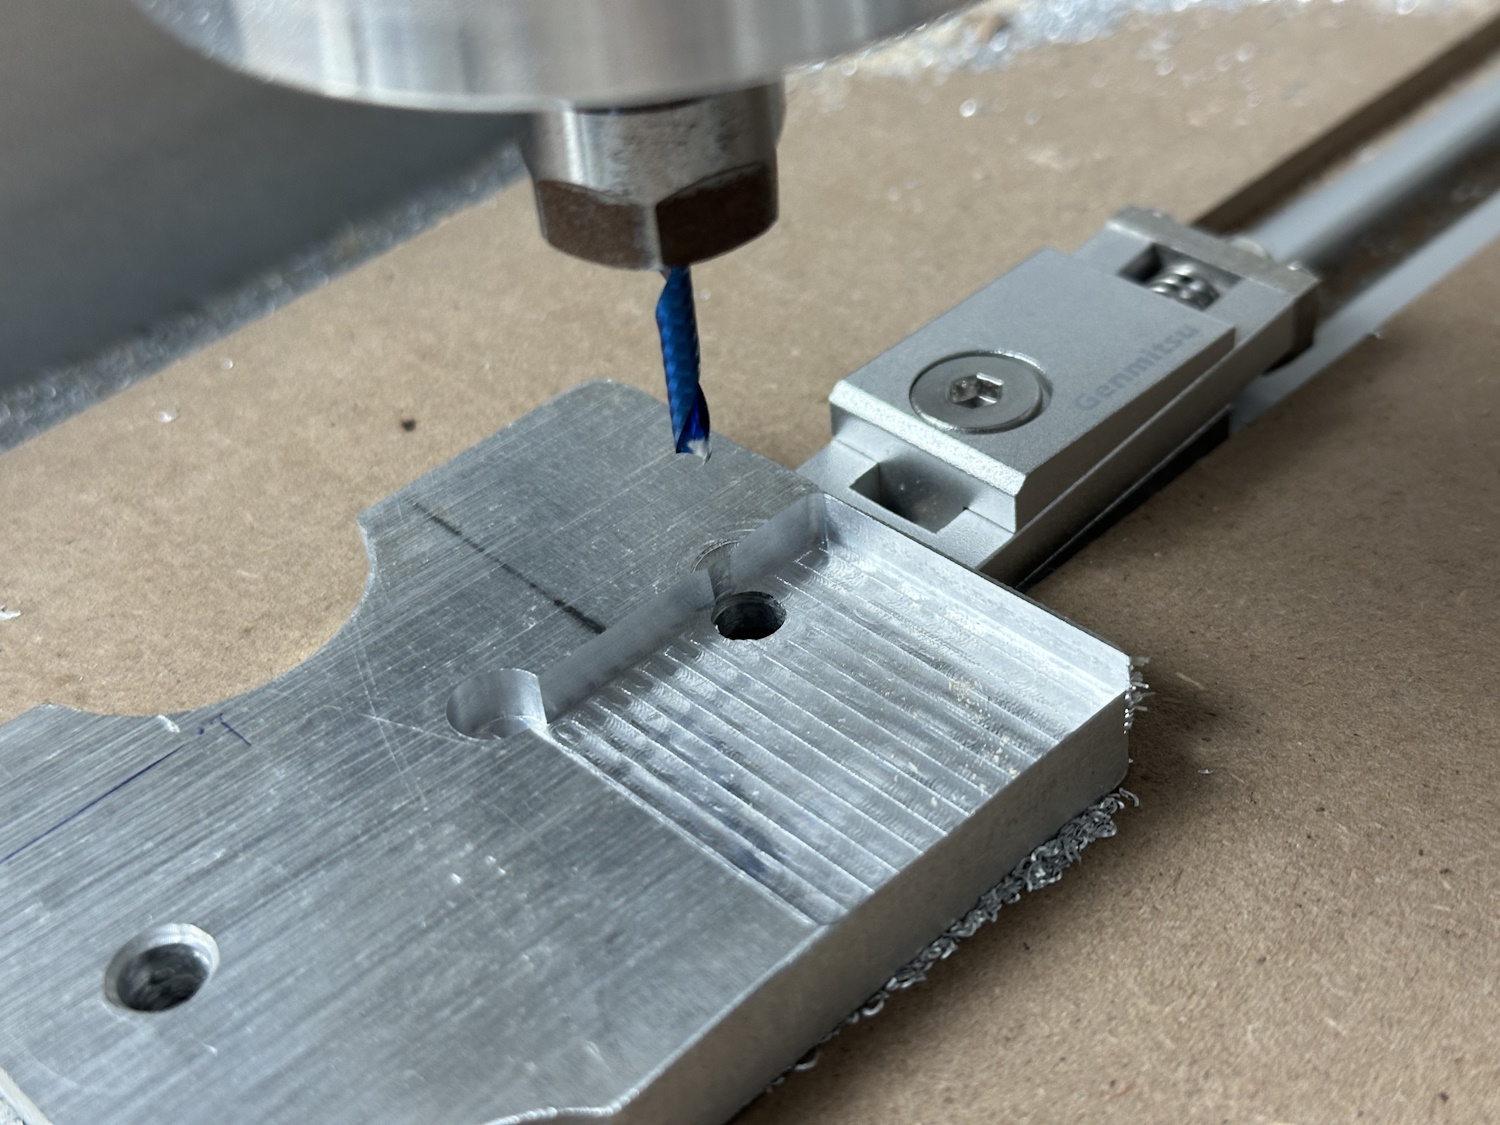
The images clearly show the results, but during milling, a significantly quieter and less vibration-prone operation was also noticeable. The single-flute bit dissipates heat better through the larger chips and does not clog, whereas the three-flute bit could still mill the pocket but gave up on the cutout, becoming completely clogged with aluminum. The surface of the pocket was also noticeably shinier, more uniform, and finer when using the O-Flute.
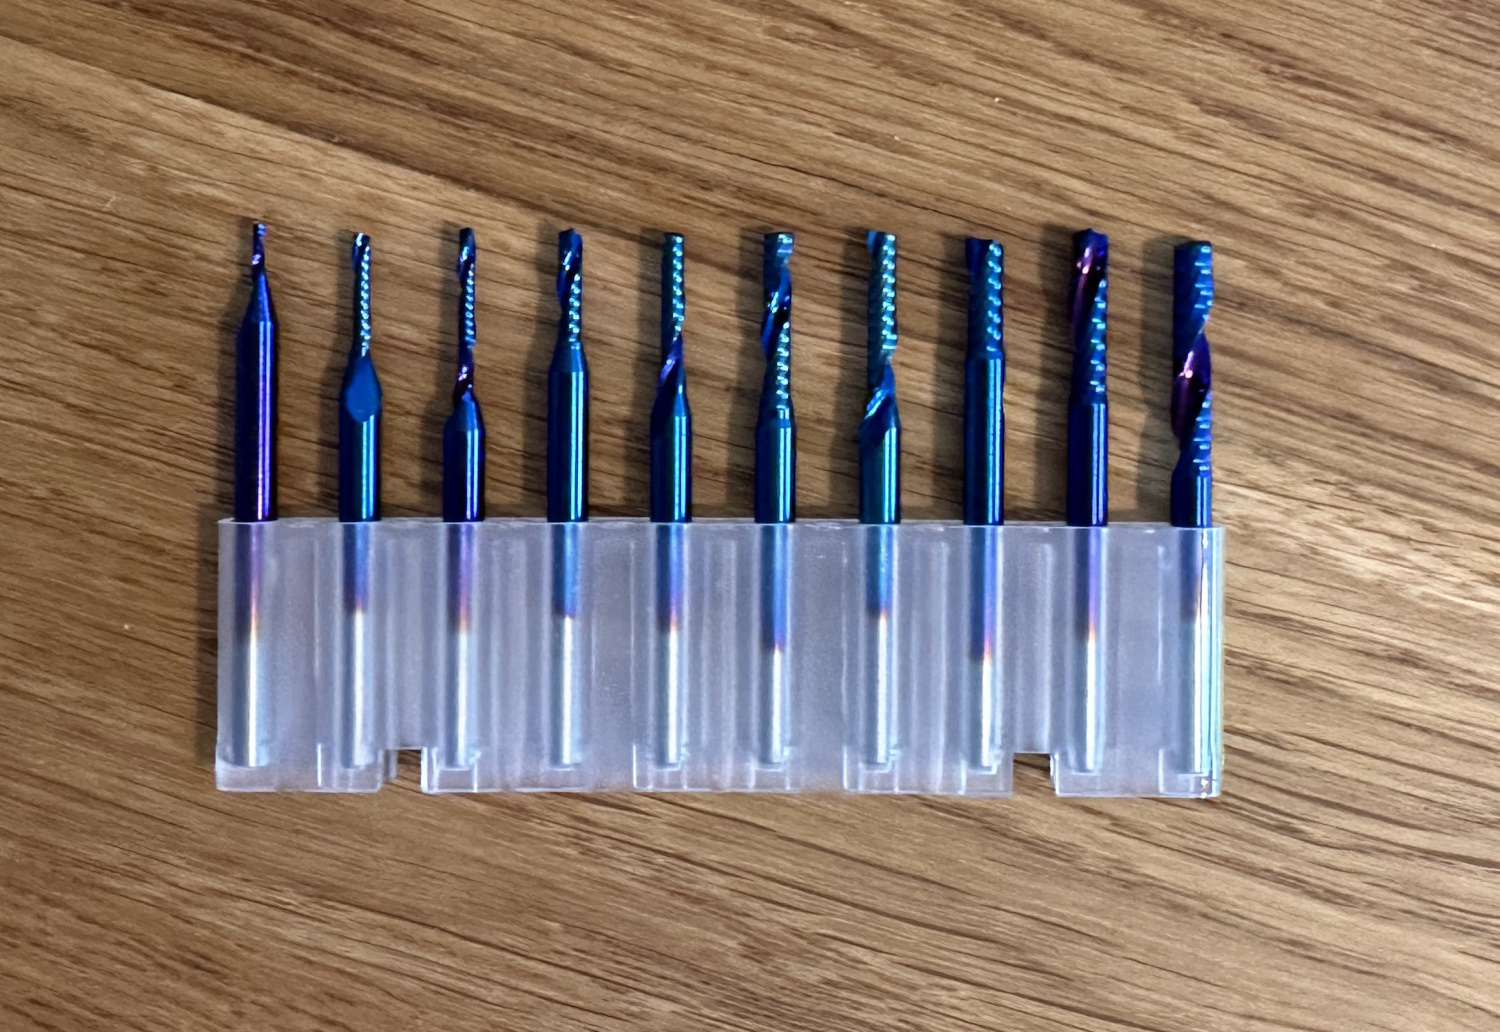
Definitely worth recommending for aluminum machining! The set we tested, as well as the ball end mill set, comes with different cutting lengths at the same diameters. For the job, this length should always be as short as possible, as it represents a weak point due to less material.
V-Bit
In the Aspire article, we first introduced the V-Bit. It can be used to create so-called V-Carves. Often used for lettering, where the wider parts of the letters are milled deeper and the narrow parts are milled flatter.
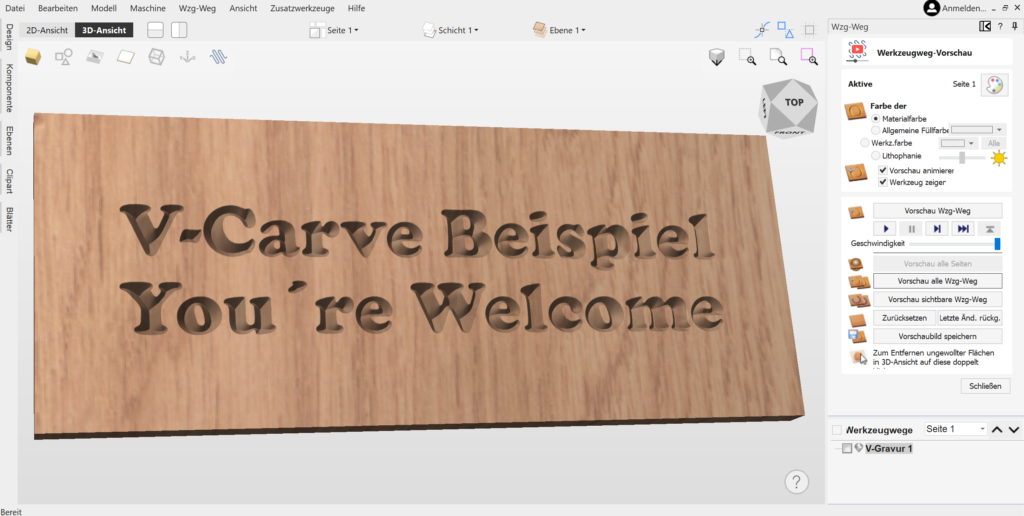
This conical cutter can also be used to create 3D milling projects. Due to the tip, the level of detail is very high, but the milling time is also very long. Therefore, it is recommended for use with lettering or inlays. With advanced CAM programs like Aspire or Fusion360, such a conical cutter can also add wonderful bevels. This feature elevates metal projects to the next level and largely prevents manual deburring.
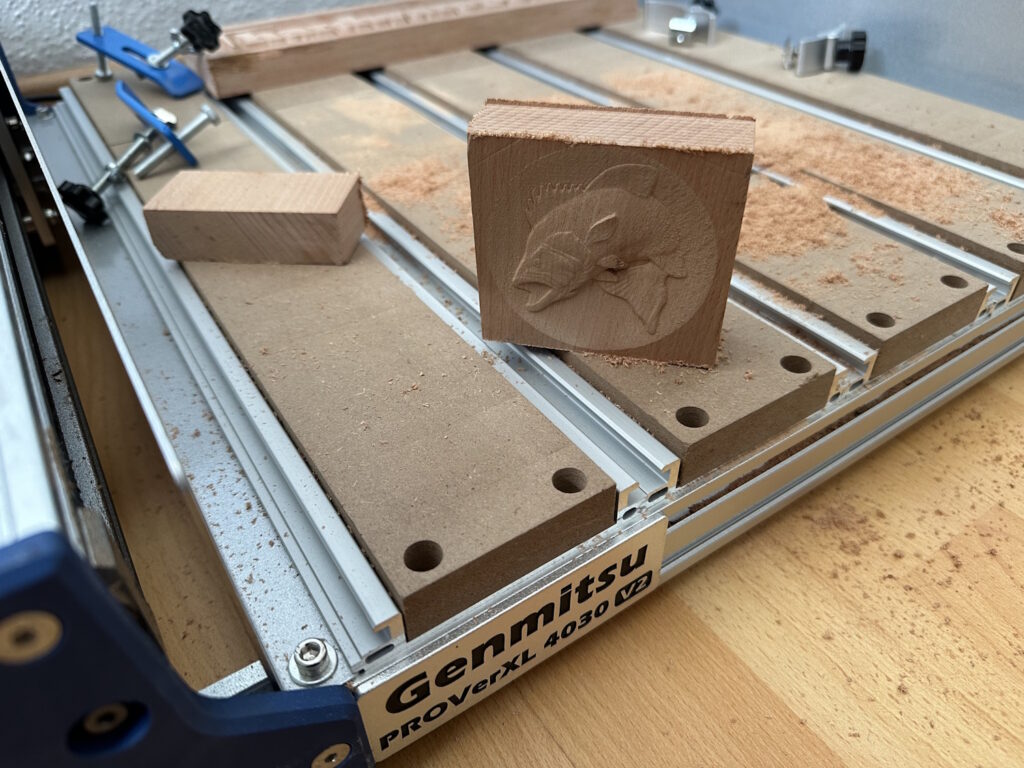
This is where the ball end mills come into play, as they have a ball at the end instead of a tip.
Ball End Mills
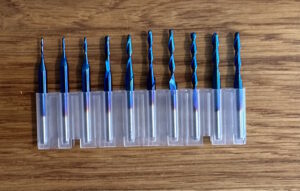
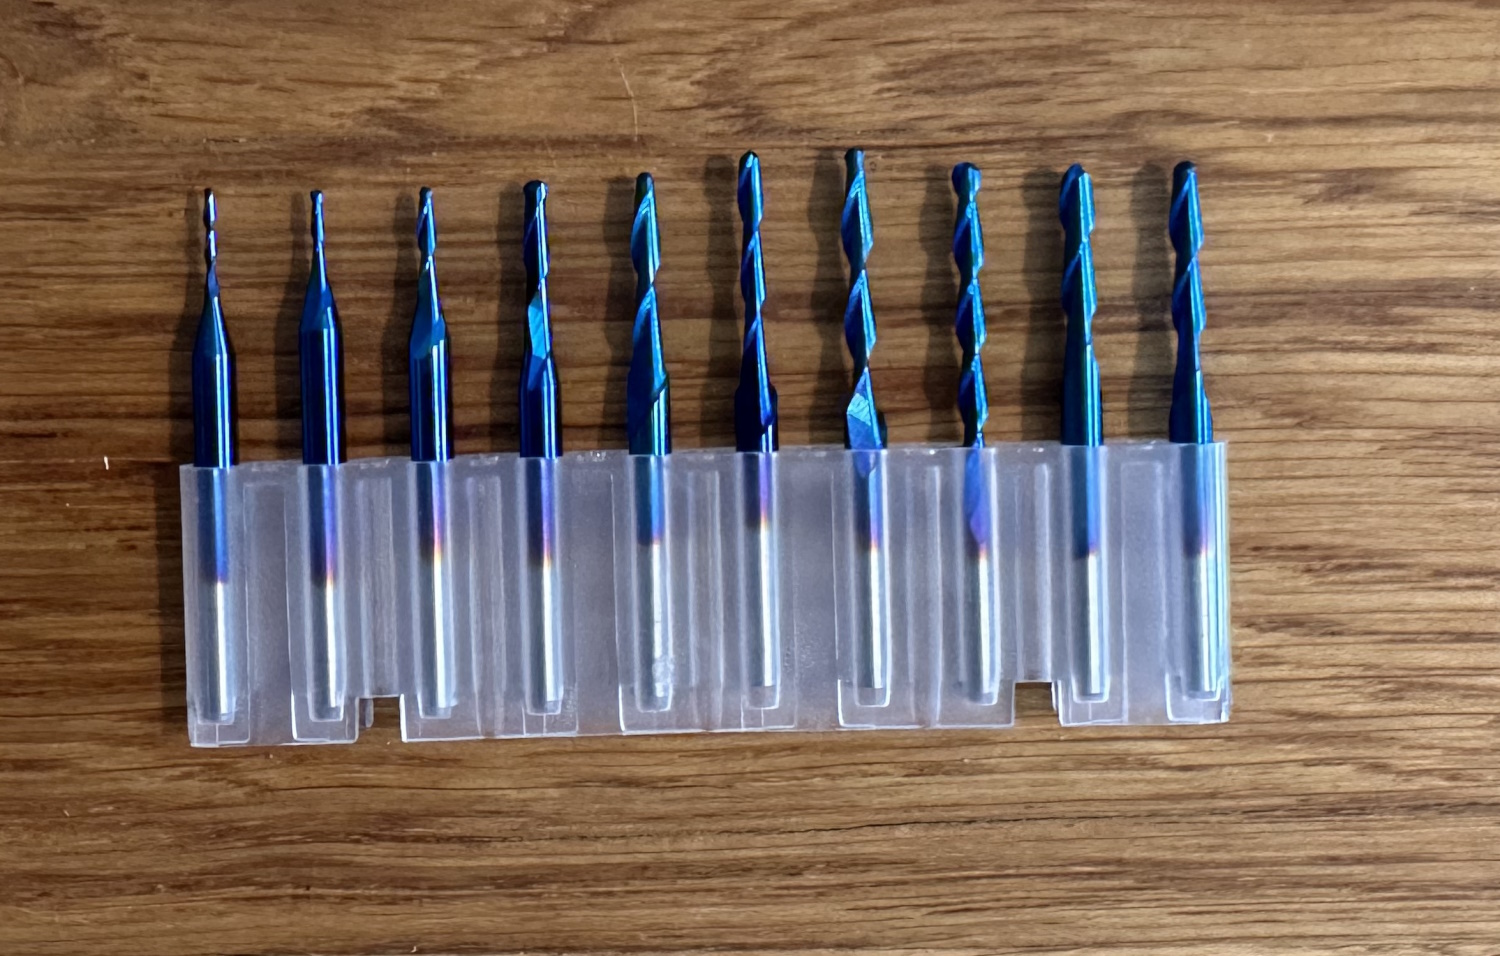
For detailed 3D milling, ball end mills are suitable, and depending on the radius, the level of detail can be "adjusted." As with all tools, various shapes are available here. 1/8" end mills with the corresponding radius at the end or directly conical mills. The latter in our example rely on a 1/4" shank and are therefore significantly more stable, but also require a new collet with a diameter of 6.35 mm.
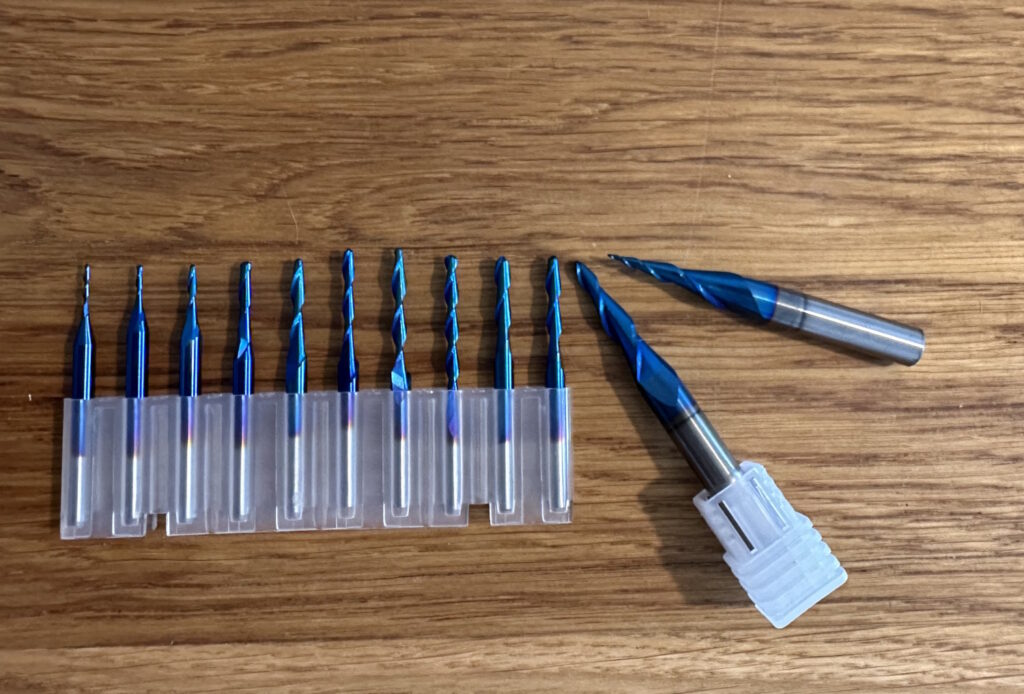
As with the single-flute end mills, the same diameters are available in different cutting lengths. Especially with small diameters, it is even more important to use the shortest possible cutter for the project. The left cutters should only be used with extreme caution and low cutting parameters, as they are extremely delicate. The 0.8 mm cutter is still visible in the picture, but shortly after it fell from the table to the wooden floor and had already broken...
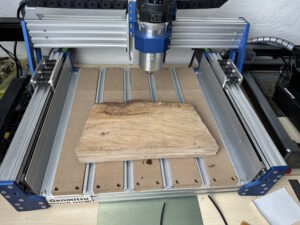
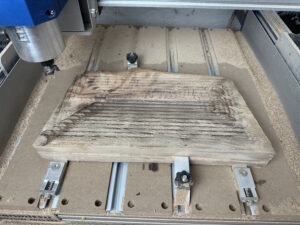
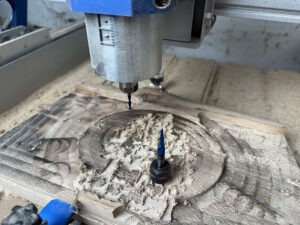
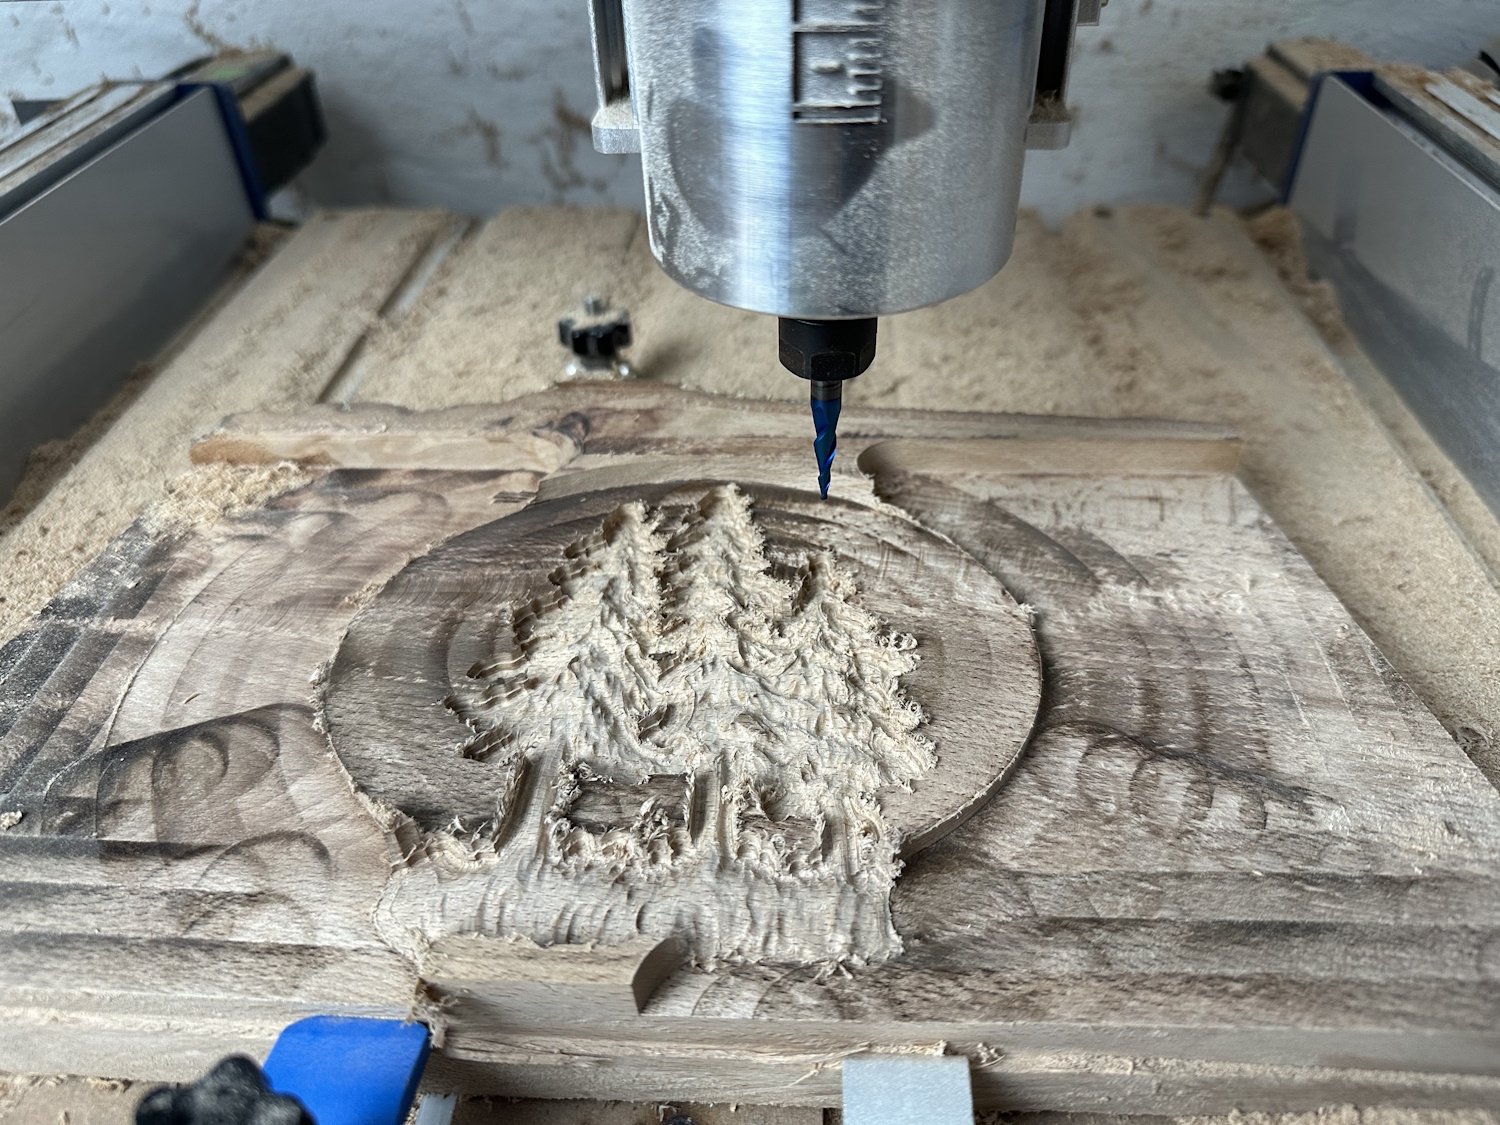
An oak board with bark has received a few more trees tattooed in this test. To reduce the milling time, a few larger end mills worked beforehand and did the preliminary work. The details produced by a R0.75 mm ball end mill are impressive. The cutting depth is also commendable, as the relatively massive diameter of 6.35 mm allows the conical variant to run very stably. Unfortunately, I shouldn't have also created the cutout with the conical ball end mill after finishing, as I destroyed some details on the edge, but one always learns.
Further Upgrades
In addition to what we presented today, further upgrades such as a dust extraction system for chips or a coolant system should also be considered. Especially in woodworking, a lot of chips and dust are generated, which can be extracted using a vacuum cleaner and a dust shoe at the milling head. To prevent the bag from filling up too quickly, cyclone separators can be installed in between. The chips fall into a separate bucket and can be easily disposed of.
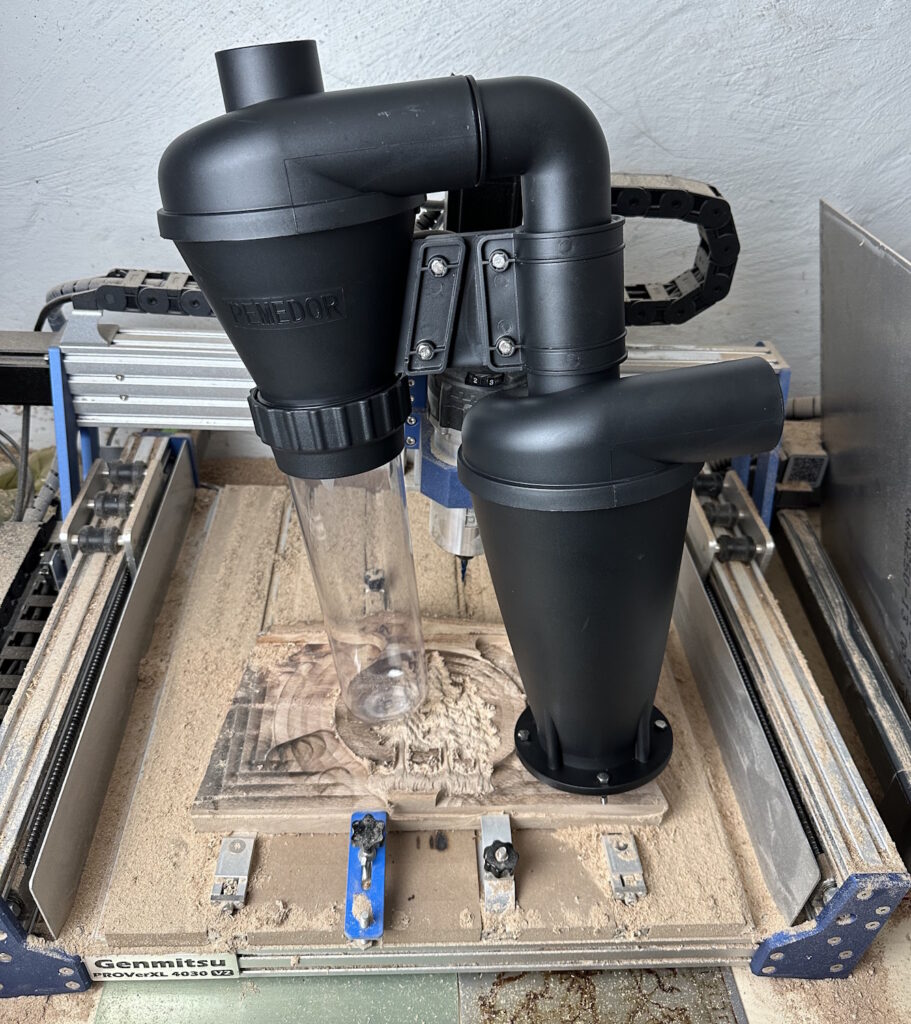
The shown separator is two-stage and filters out the coarse chips first and then the finer dust in the second stage, ensuring that only minimal milling residue ends up in the vacuum cleaner bag. However, due to a missing second hose, no test has been conducted yet. But for €5 on Temu, it looks good at first glance.
Conclusion
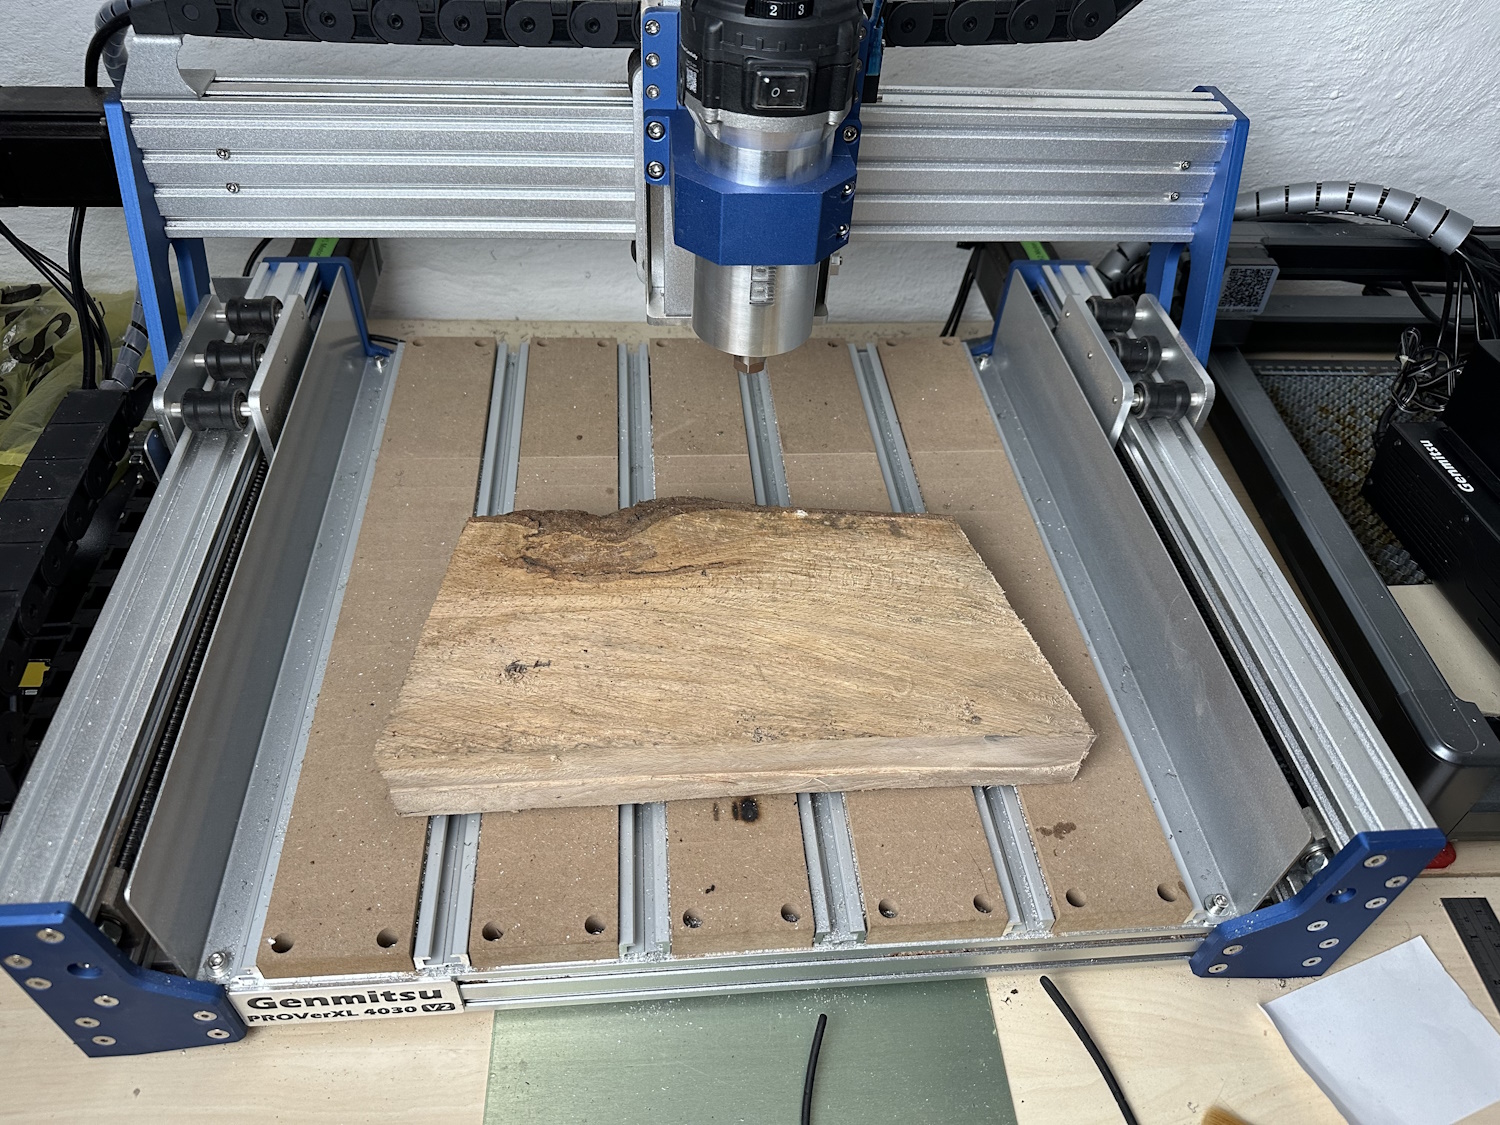
Our SainSmart Genmitsu PROVer XL 4030 V2.1 is fully operational. The new 710 W spindle has resulted in cleaner, more precise, and more uniform milling results. Additionally, the noise level during milling has decreased, mainly due to reduced vibrations. Almost equally important is the selection of the right milling tool when it comes to generating smoother and shinier surfaces. There are many multipurpose mills, but sometimes a specific one is necessary for the project.
To avoid having to manually turn the new motor ON and OFF, consideration should be given to an additional module like the iMatic Relay Box. While this adds another box to accommodate, it greatly enhances convenience.
As mentioned in previous articles, there is no golden upgrade path. It always depends on the main purpose of use. If a lot of wood is to be processed, you should invest in a dust extraction system first before considering a new spindle. The stock spindle already performs well with wood. If large parts are to be processed, expansion kits make sense, especially since SainSmart now offers individual components, allowing you to build a second 4030 from leftover parts of, for example, a 6060 kit at a discounted price.
For an efficient workflow, I find the option of designing on the PC, sending CAM files to the tablet via the cloud, and then wirelessly transmitting them to the milling machine very appealing.
There are many possibilities, and we hope to show you some here. Also, take a closer look at the images; the differences between the various milling tools or milling results can be immediately recognized.


