
Written by Dennis Heinze
Exploring Advanced Projects with the Cubiko CNC Machine
After getting acquainted with the basics of the Cubiko in our first article, it’s time to dive into its advanced capabilities. From crafting intricate wooden signs to milling precise circuit boards, the Cubiko proves its versatility across materials like wood, acrylic, and PCBs. Let’s explore how this compact CNC machine handles these projects with finesse.
Wood and Acrylic
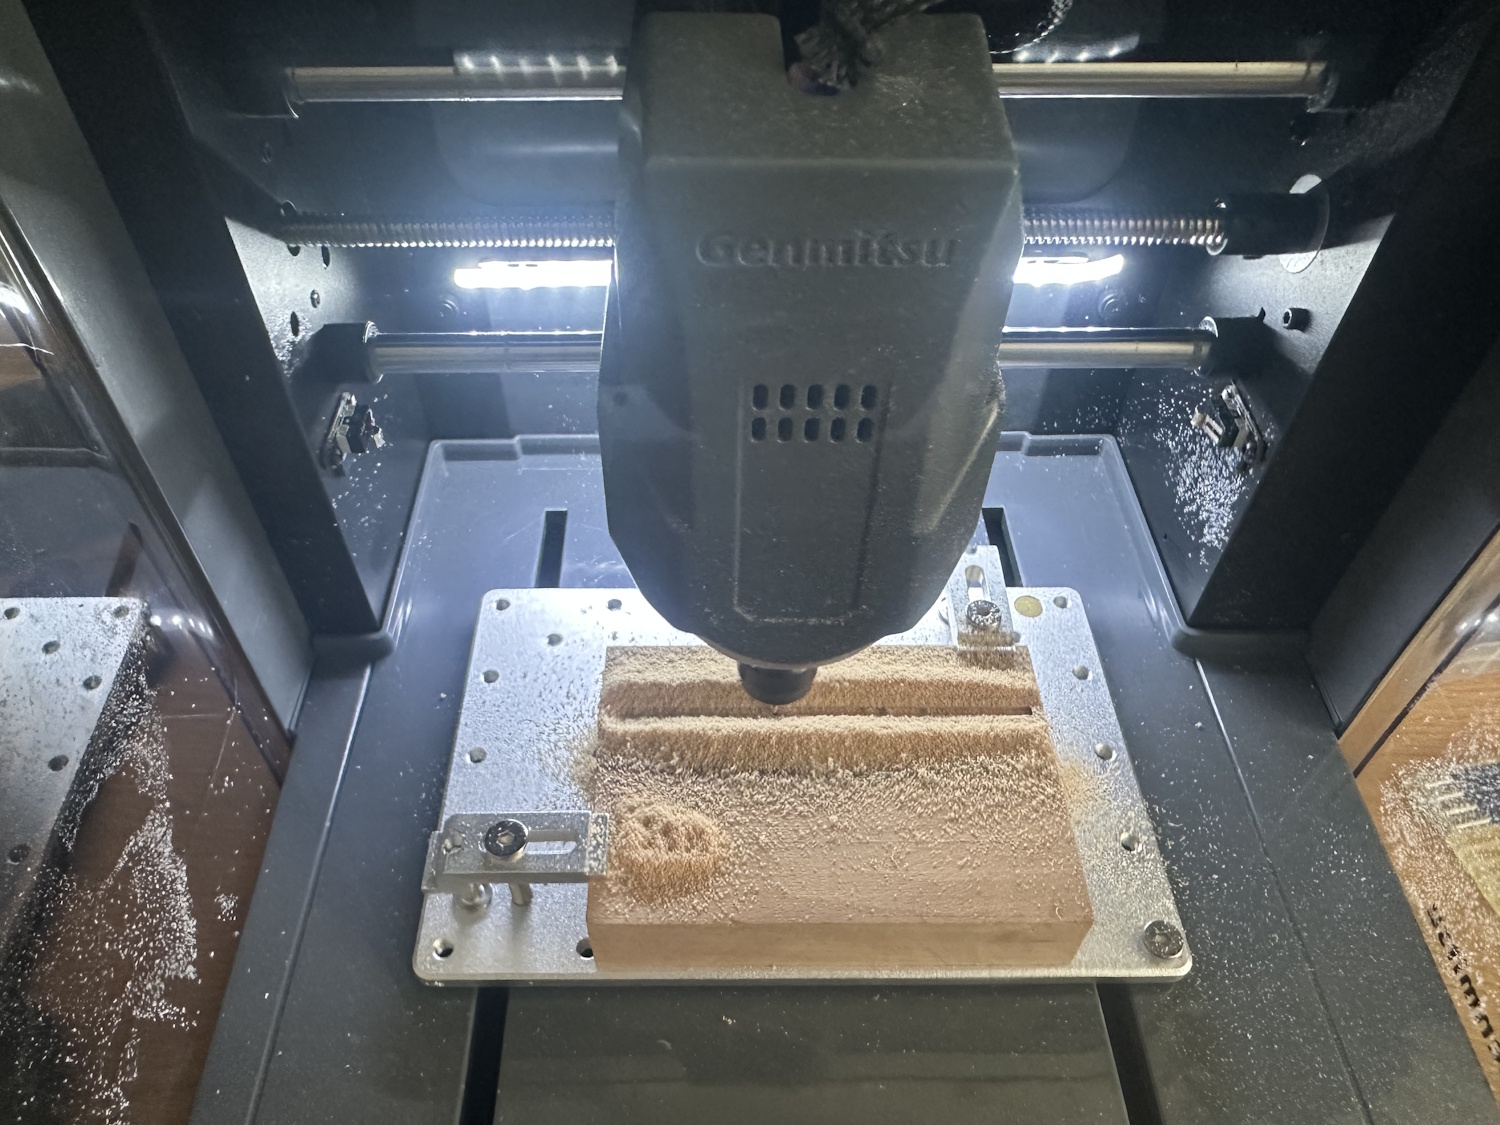
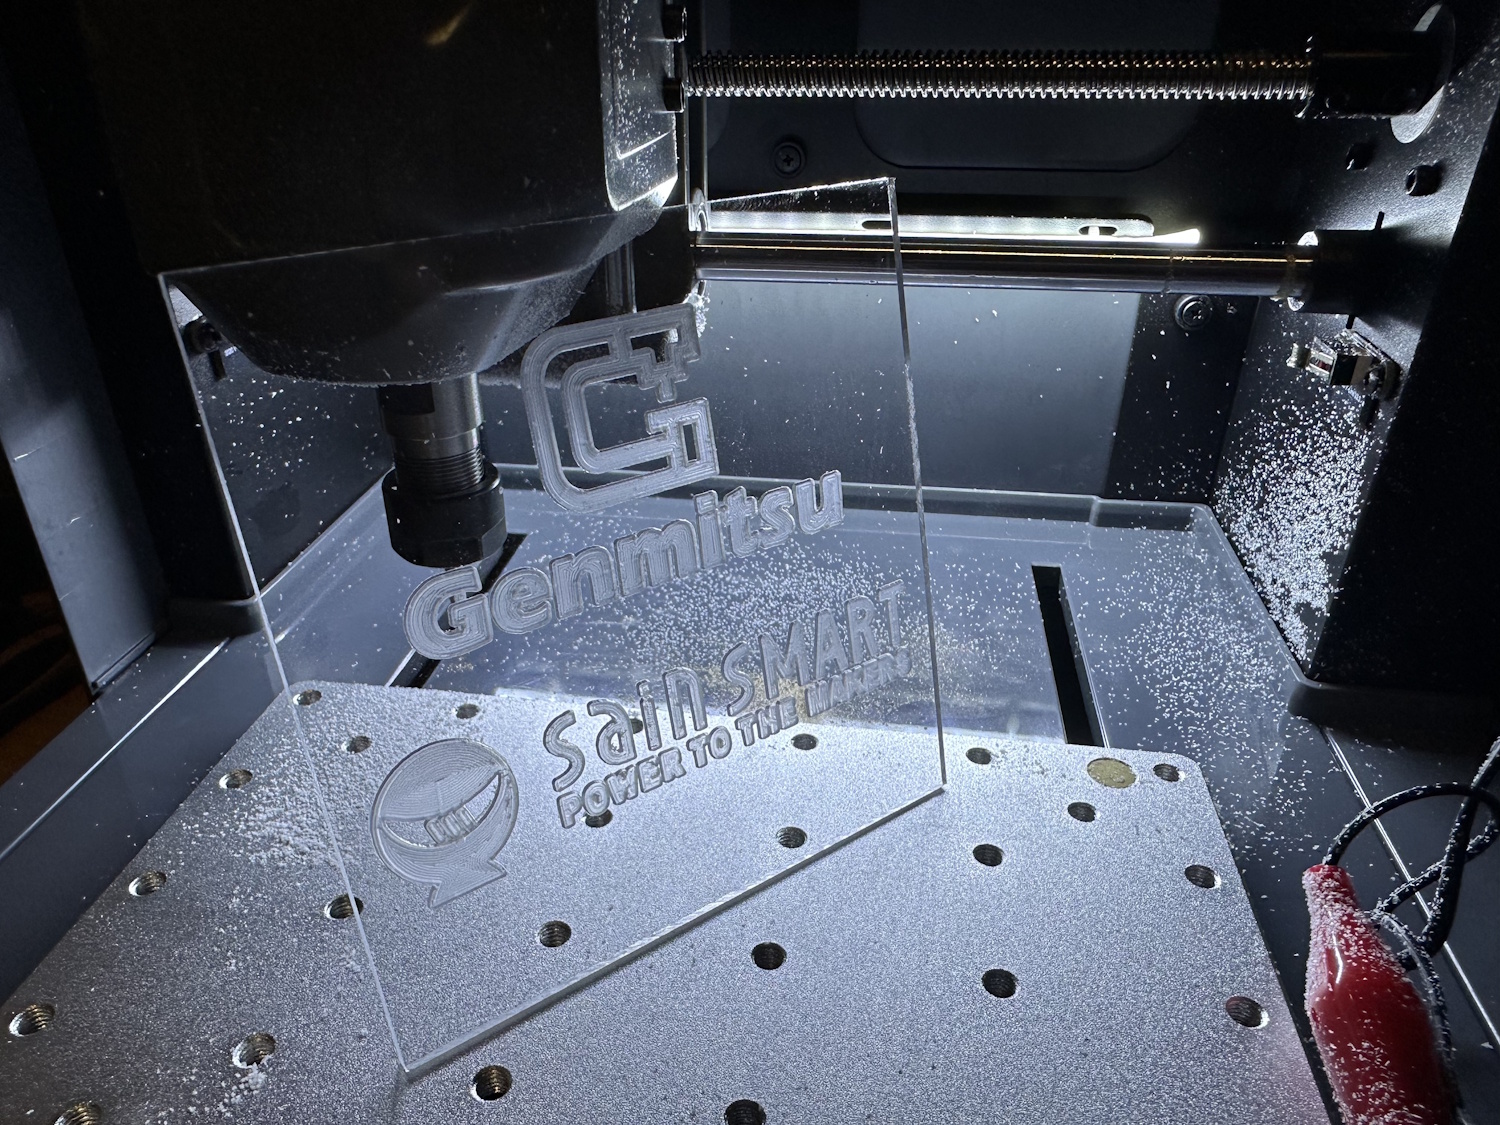
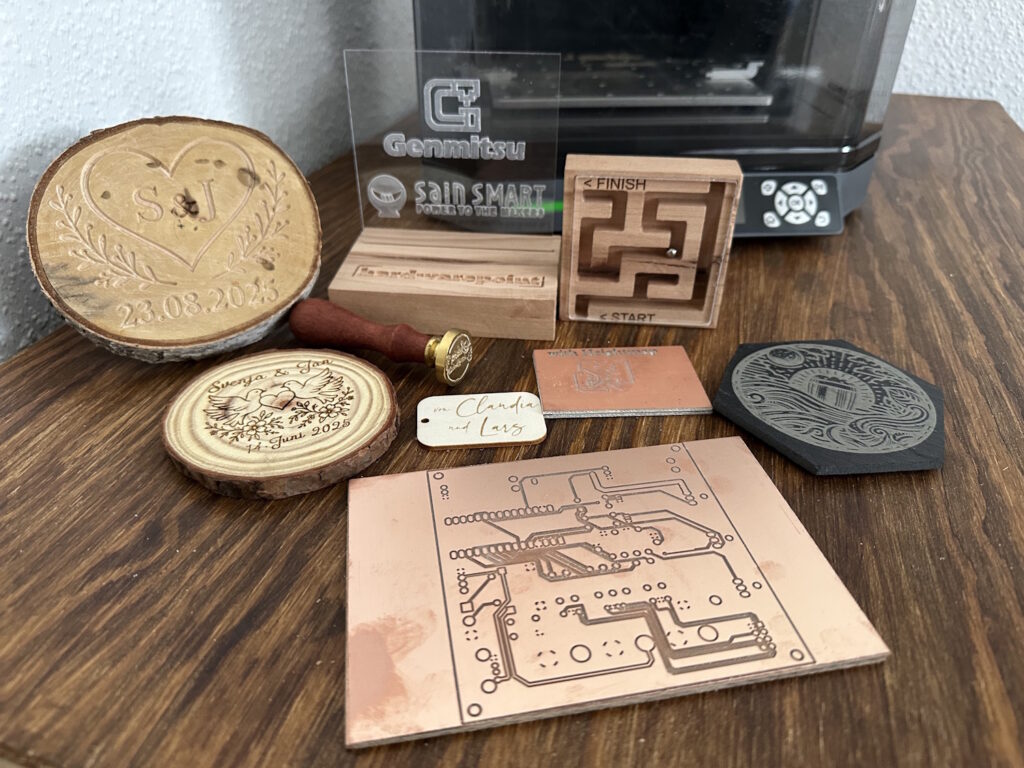
To get started, we made a small sign from wood and acrylic with a few logos. The included cutters are primarily intended for milling traces on circuit boards and drilling holes. But with the appropriate feed rates, projects can also be realized in wood. The spindle speed and feed rate can also be adjusted via the offline controller during ongoing machining. This is particularly helpful with these small machines, as a correct cutting data calculation is often difficult.
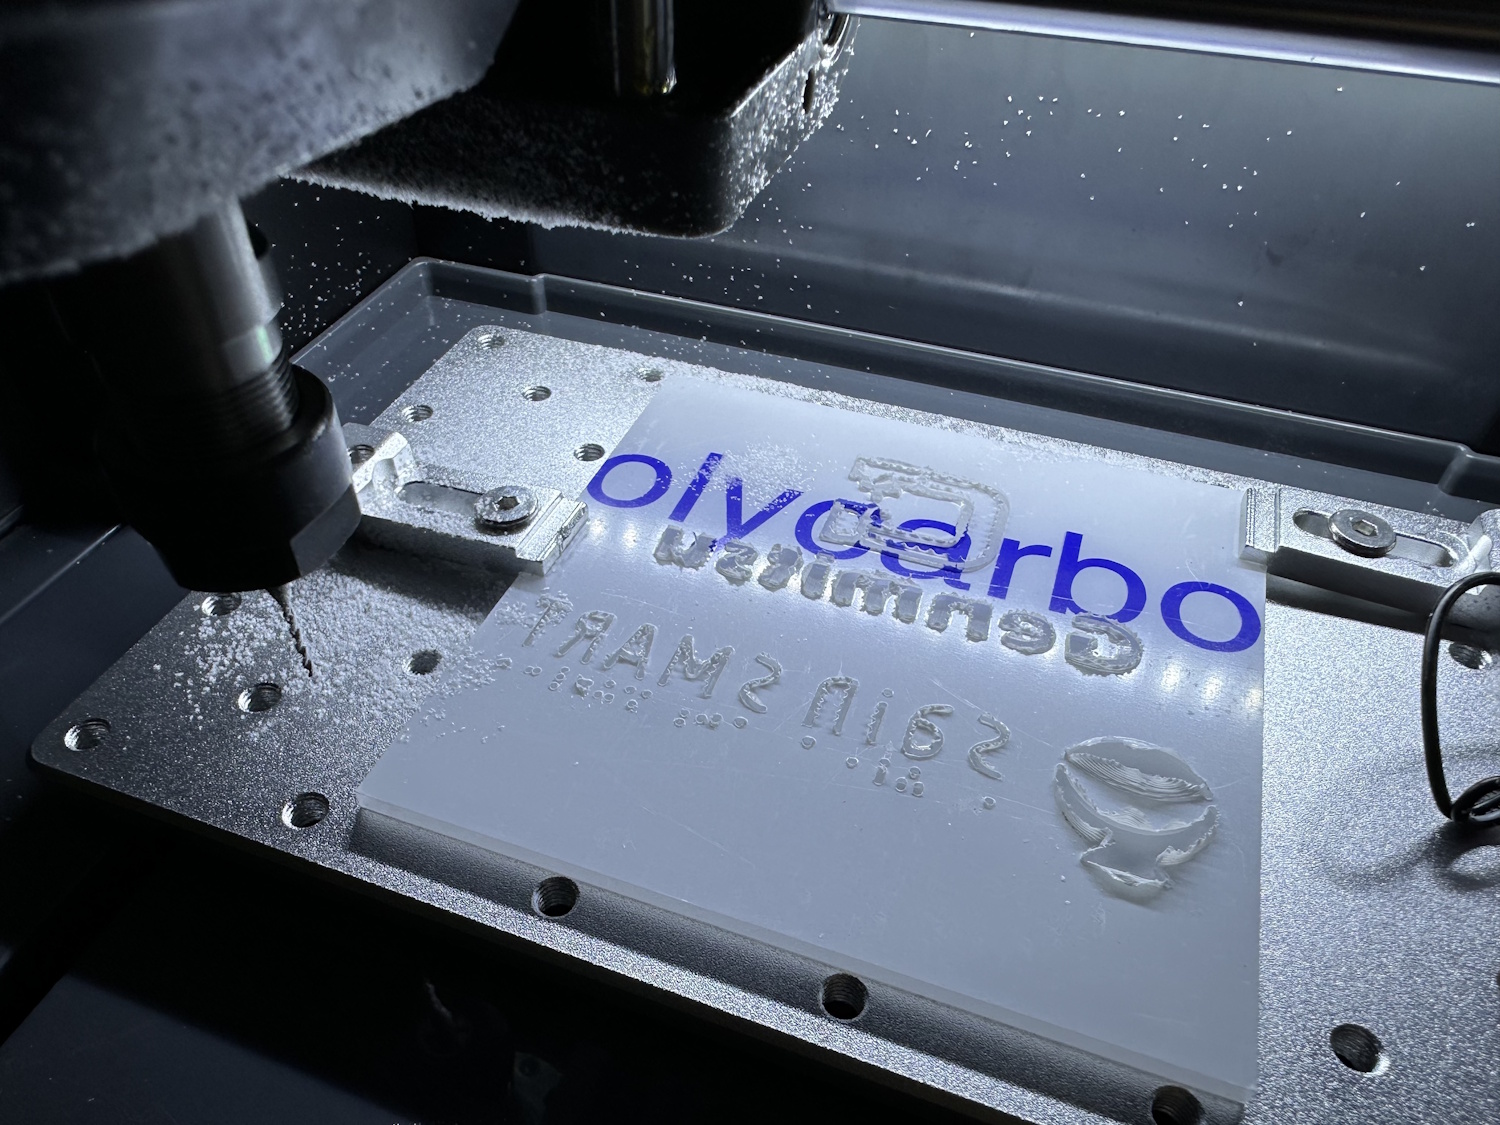
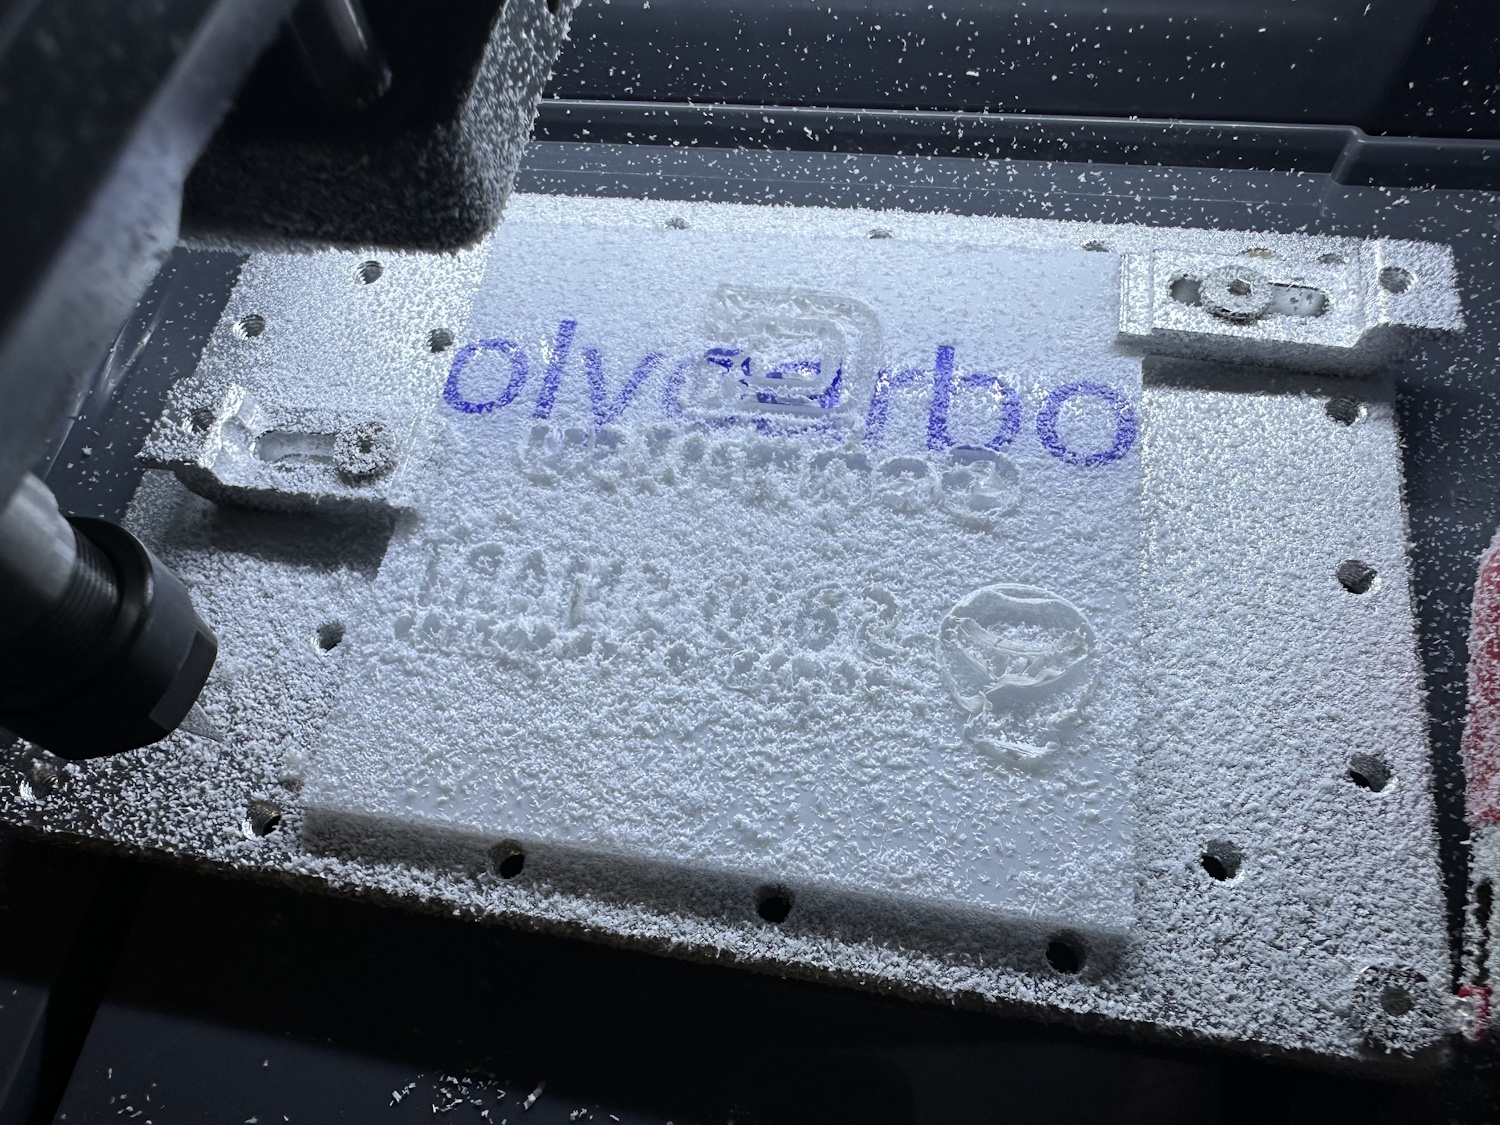
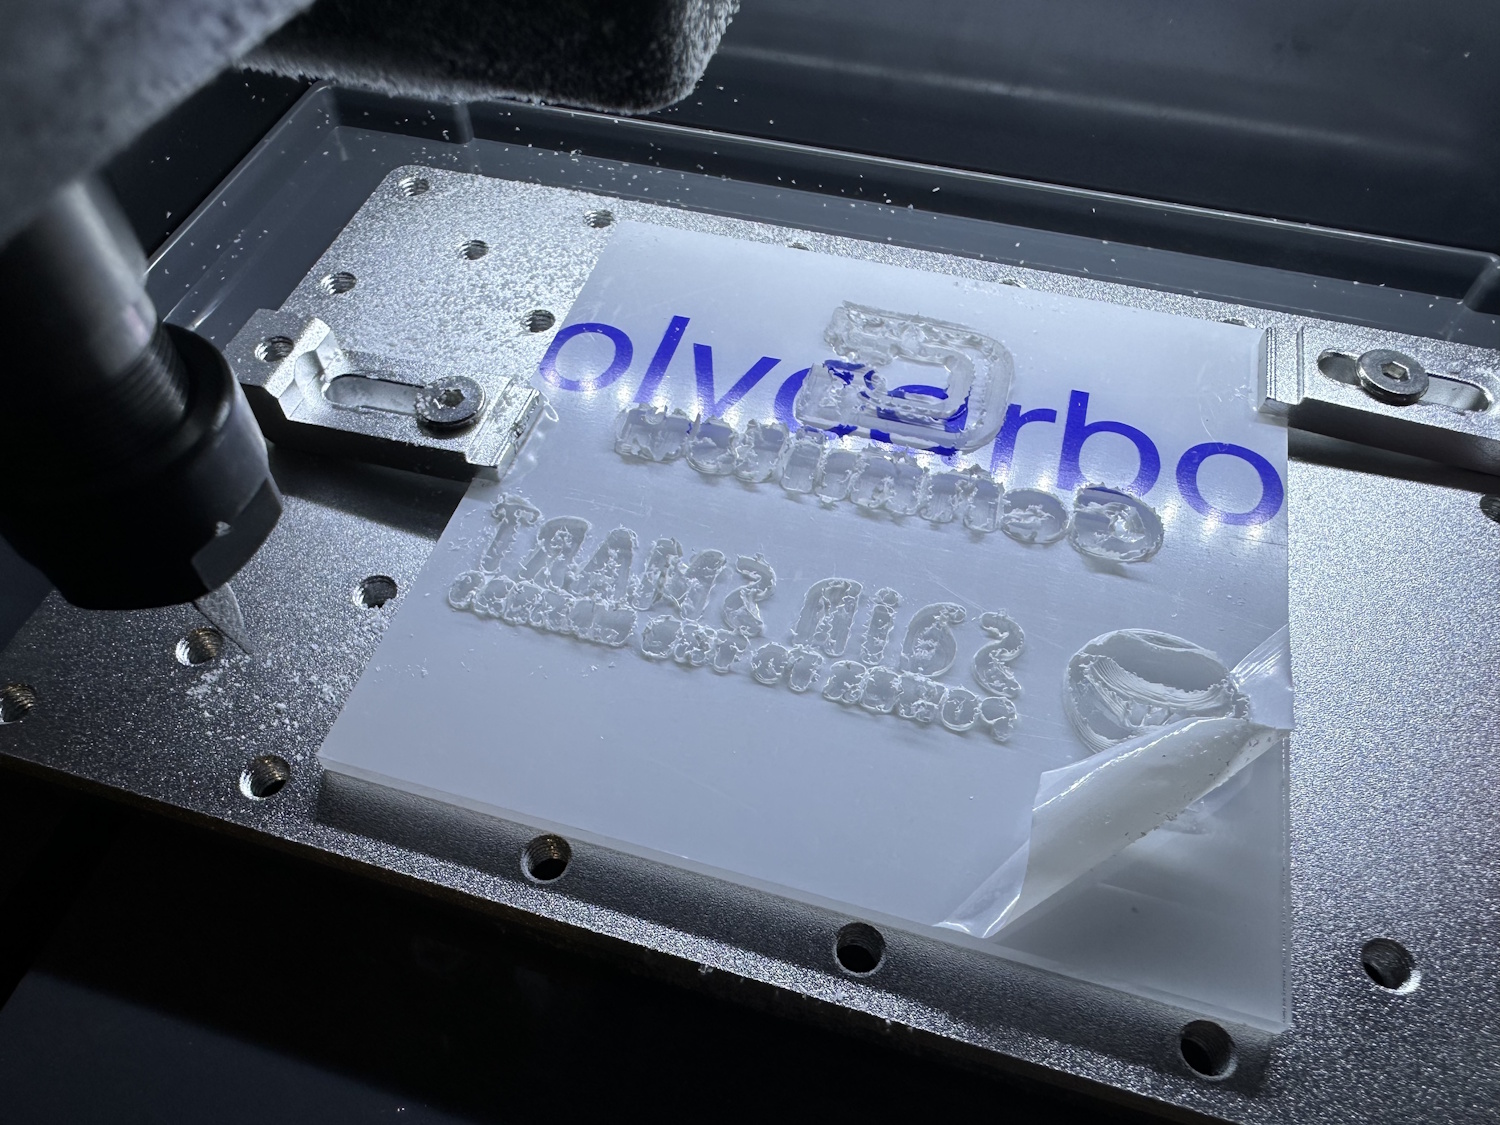
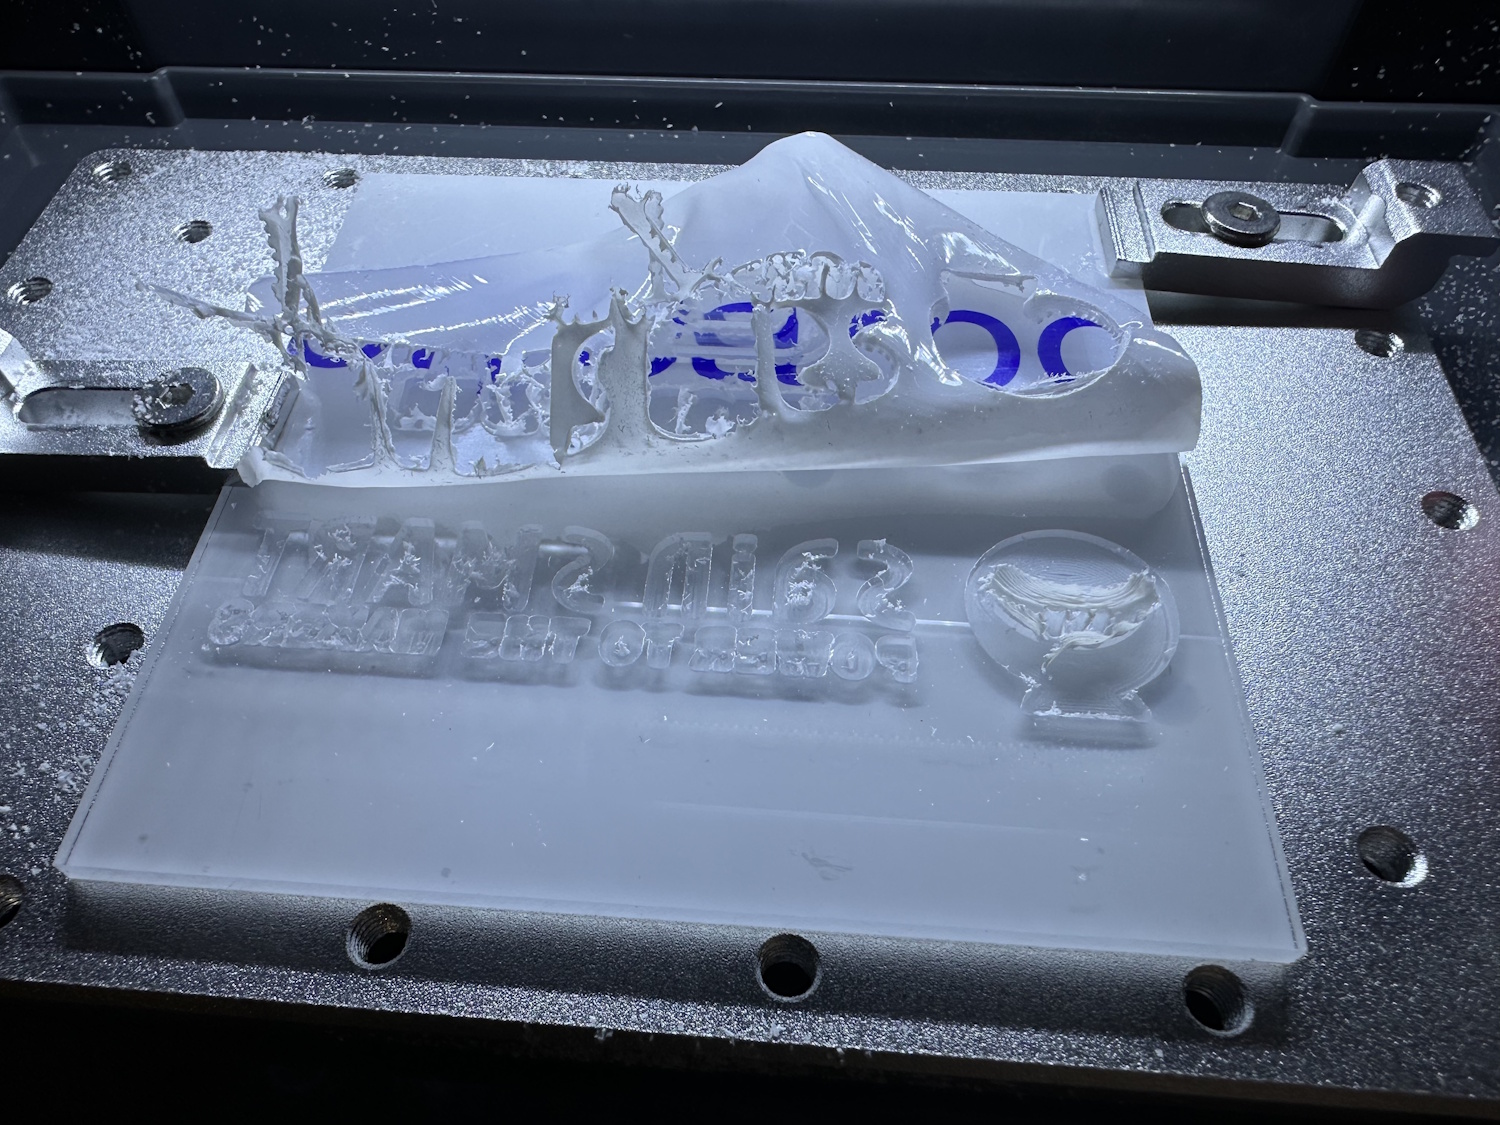
The matching acrylic sheet, which was included as a test piece, could also be machined with the two types of cutters provided. Maybe next time remove the film beforehand, but otherwise, a very clean result was achieved, which required very little deburring. The result would probably be even better with a more suitable single-flute cutter. The machine executed the job cleanly, but the tool always plays a big role. For beginners, it's advisable to practice with inexpensive bits first, as a cutter is likely to break often at the beginning due to incorrect cutting data – which is all the more annoying if they are expensive models.
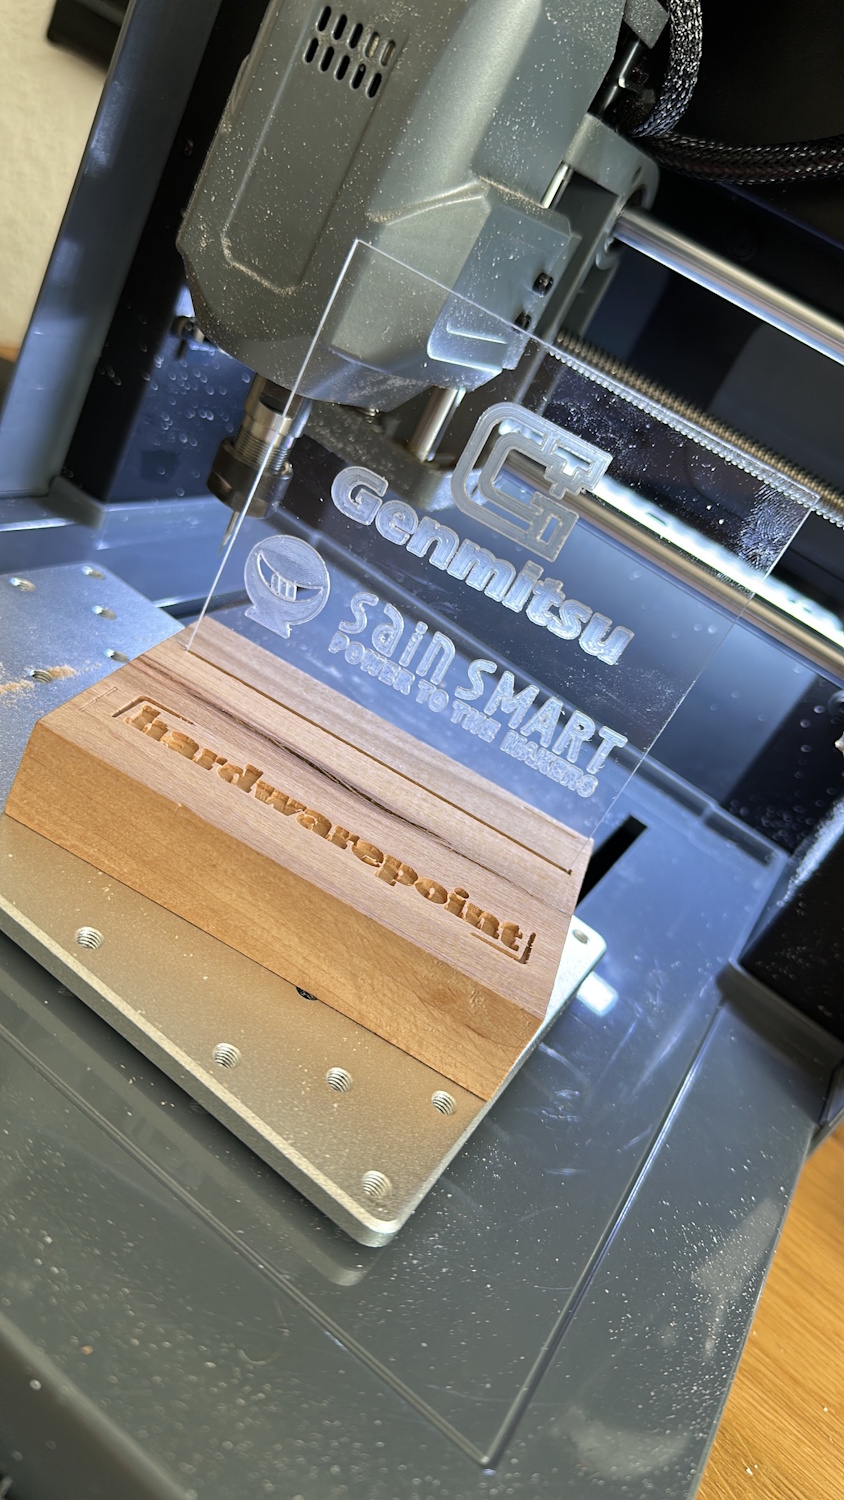
With just a few simple steps, an LED strip could now be installed to beautifully highlight the logos. The design itself can, of course, be implemented with any logos and project ideas. Gone are the days when something like this was done manually with a Dremel.
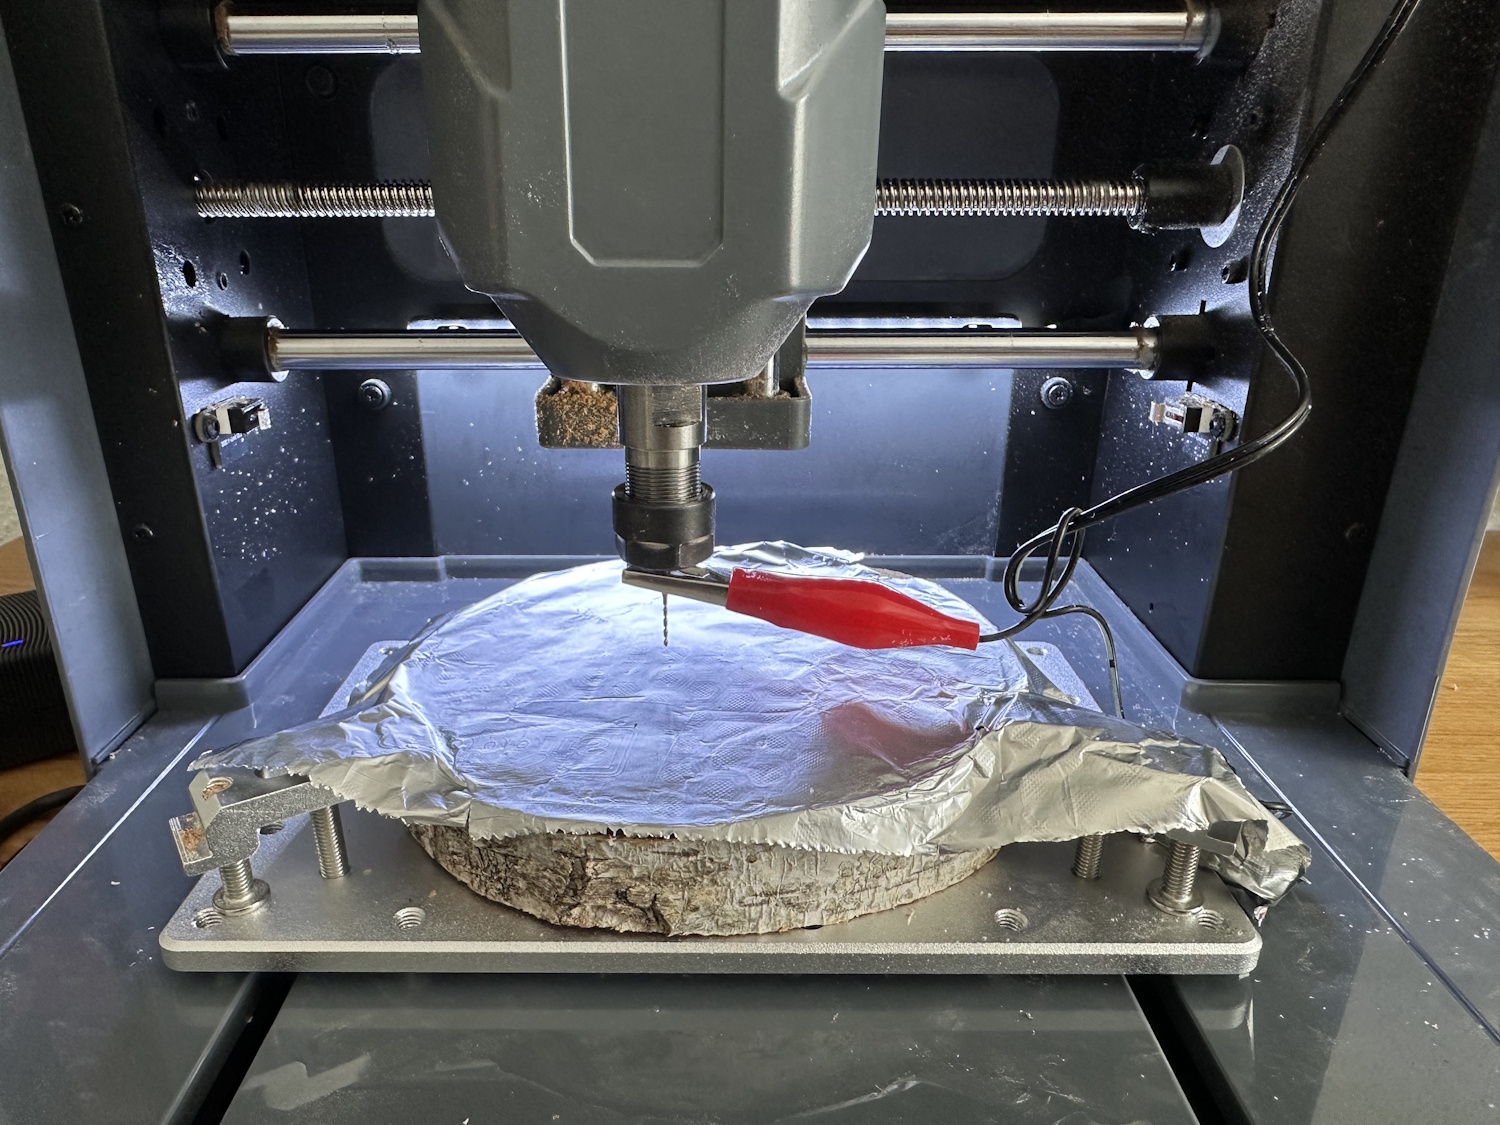
We'll present the Heightmap feature in detail again in the PCB chapter. However, it always relies on a conductive workpiece. But what if we have a piece of wood in front of us that has been sawn crookedly? Normally, this means first planing it down or zeroing on the highest point and living with the different depths in the wood afterwards. A trick that has actually worked well is aluminum foil. It acts as a conductor and can be laid very flat over the piece of wood. The Cubiko CNC probes the block and adjusts the height of the project to be milled accordingly. The result is a consistently equal milling depth measured from the top of the workpiece.
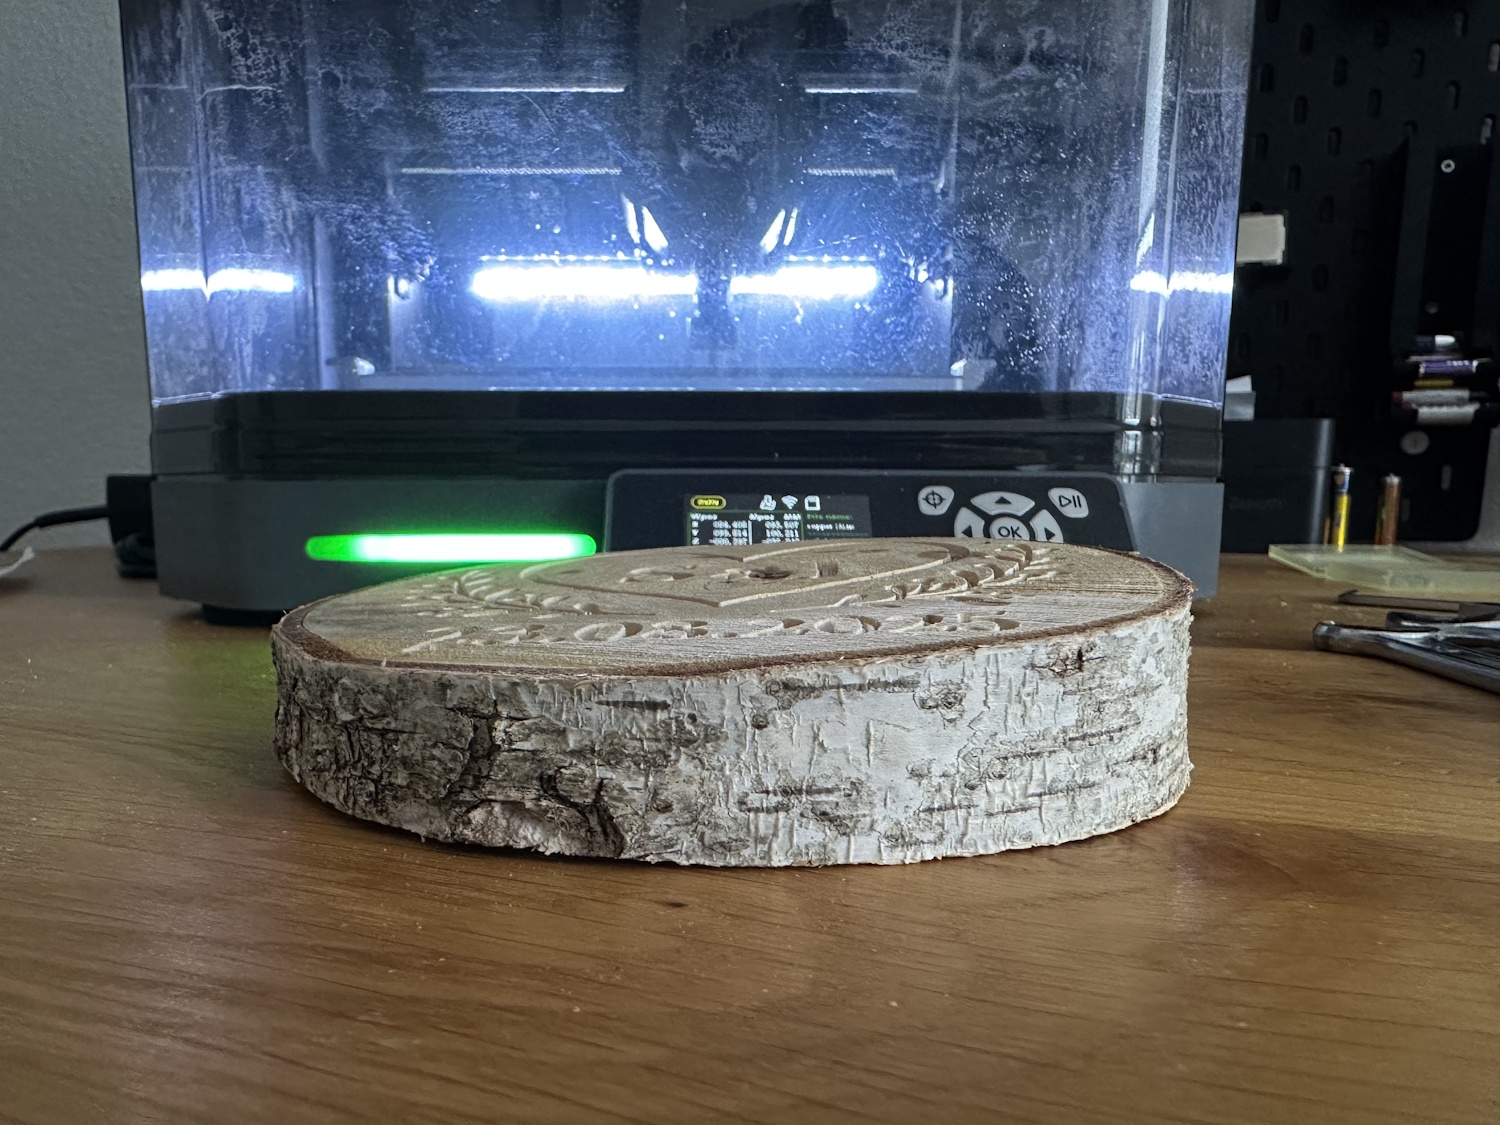
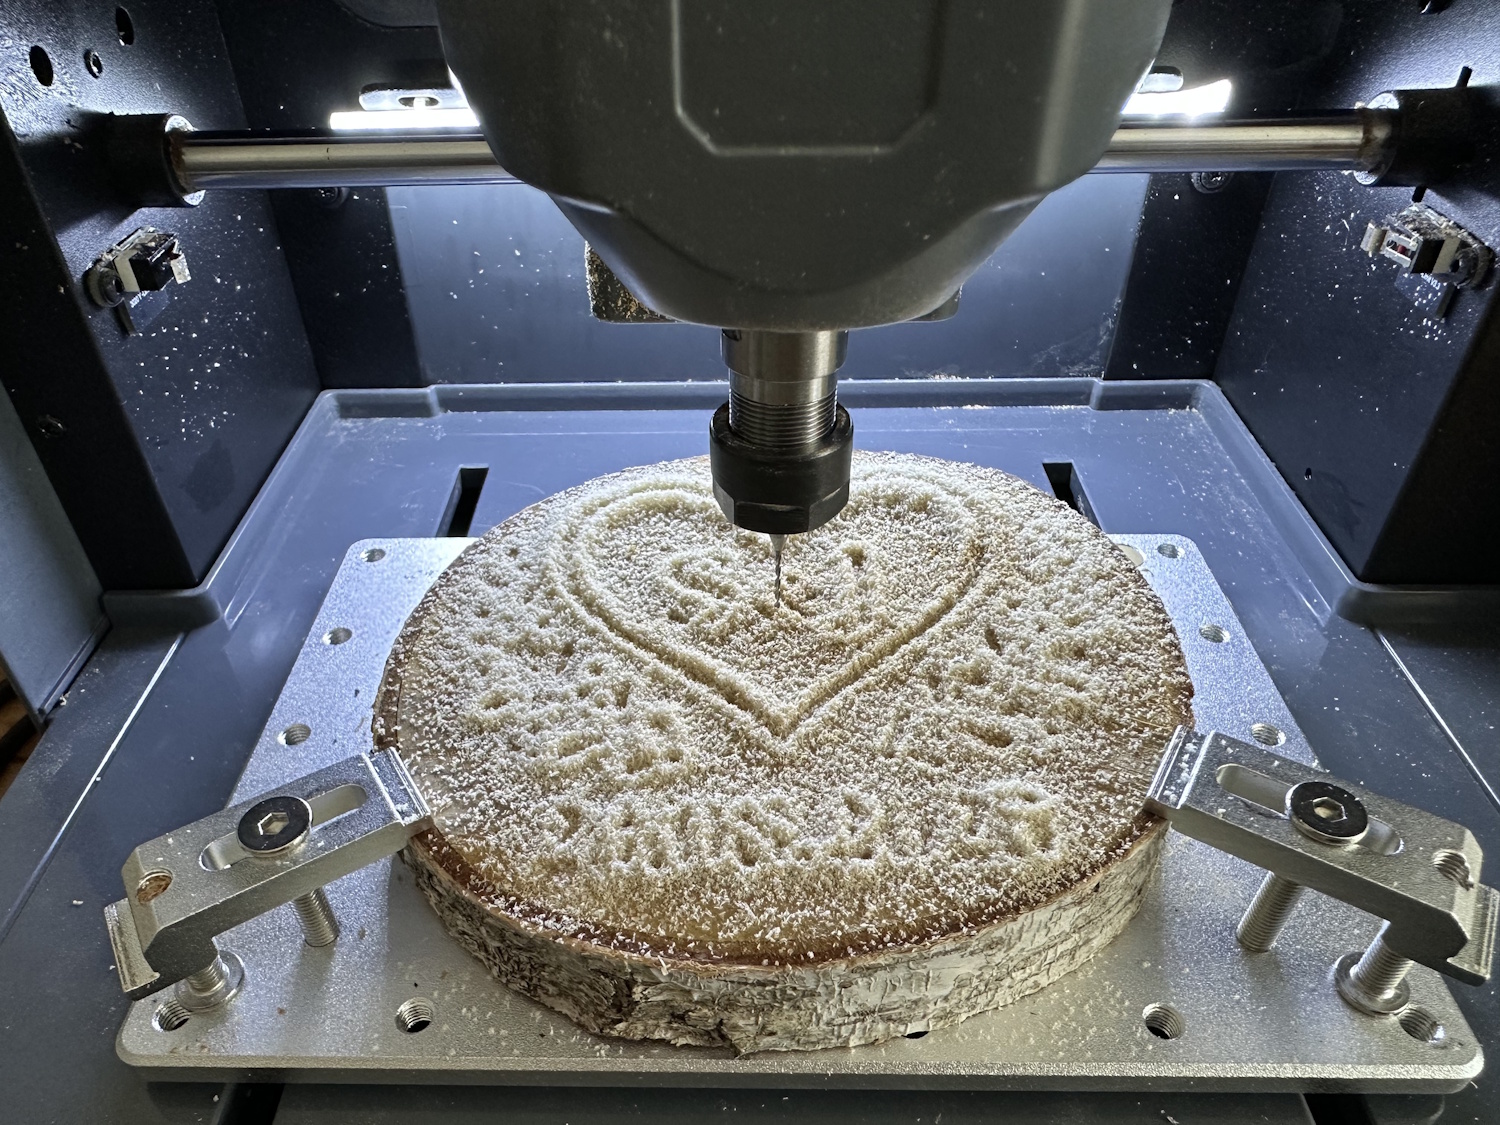
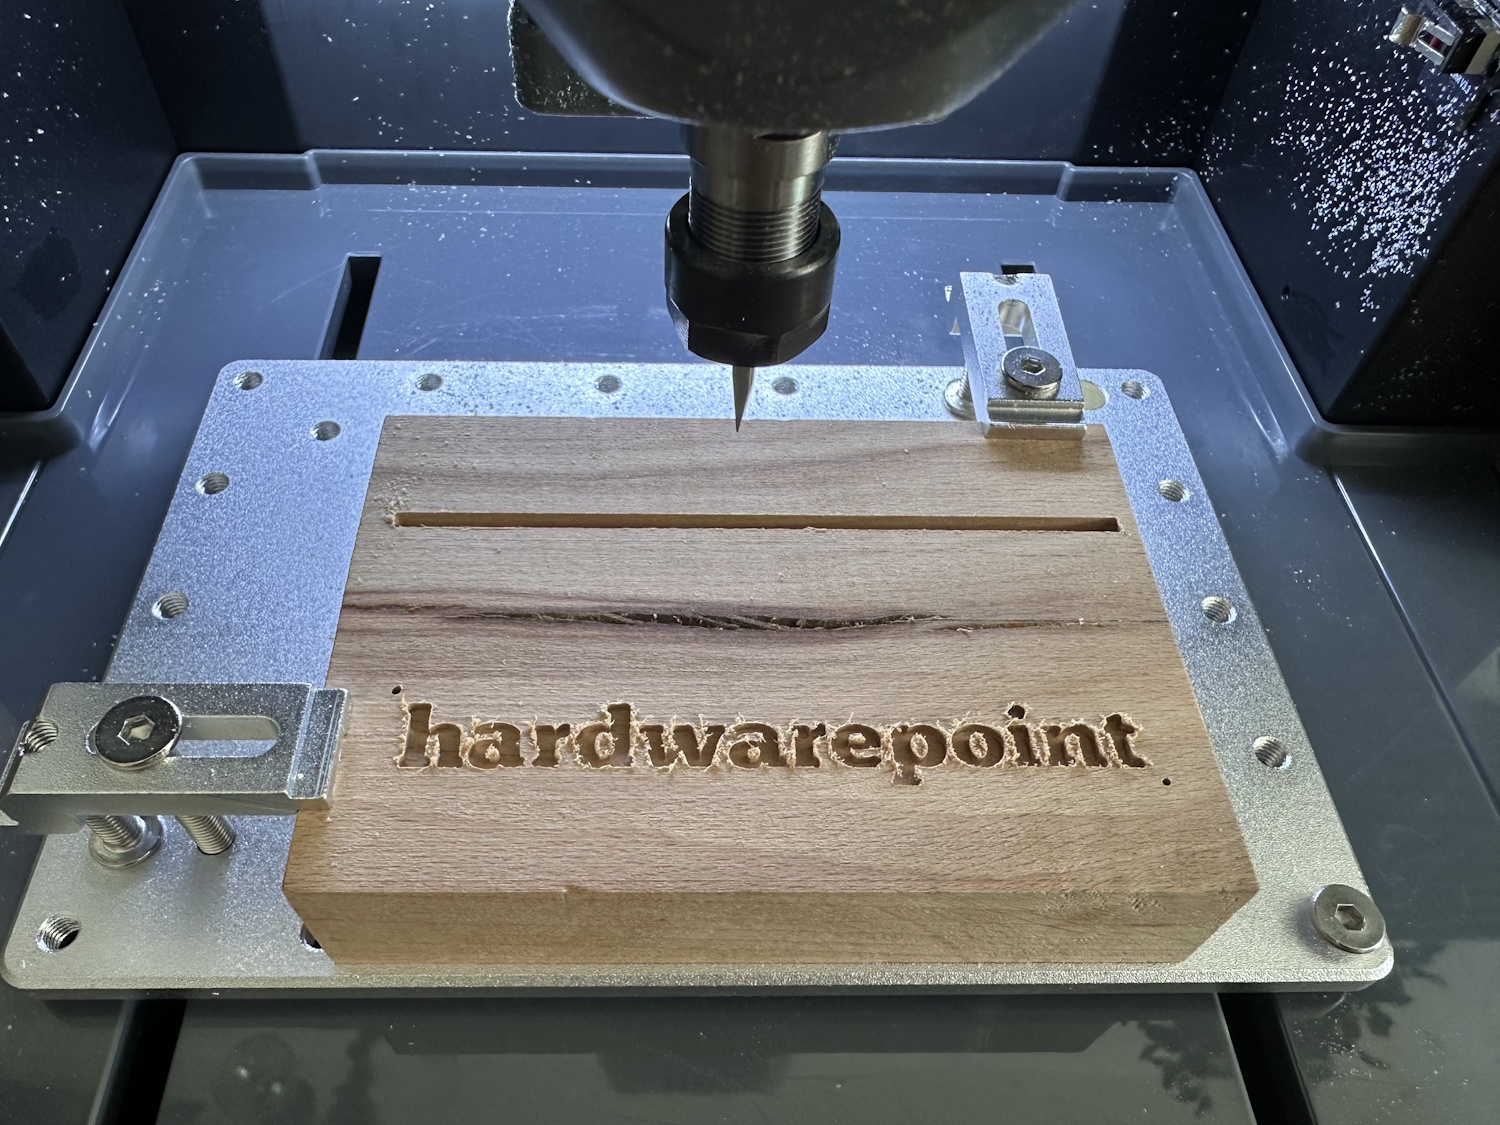
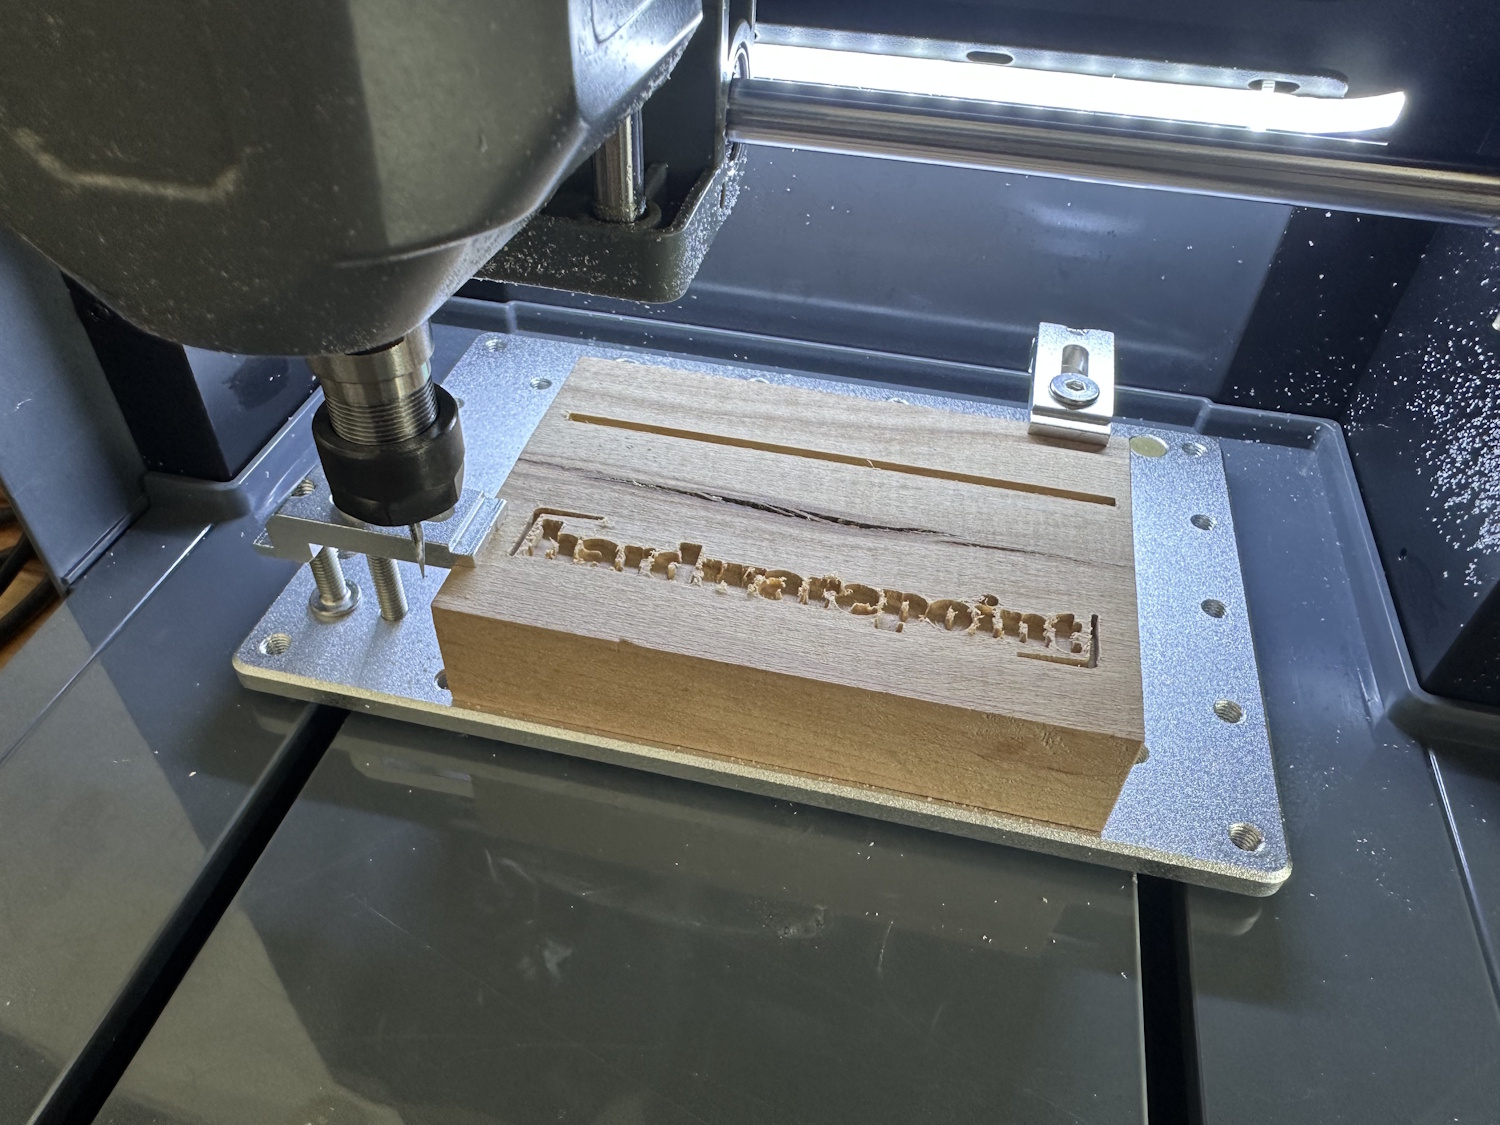
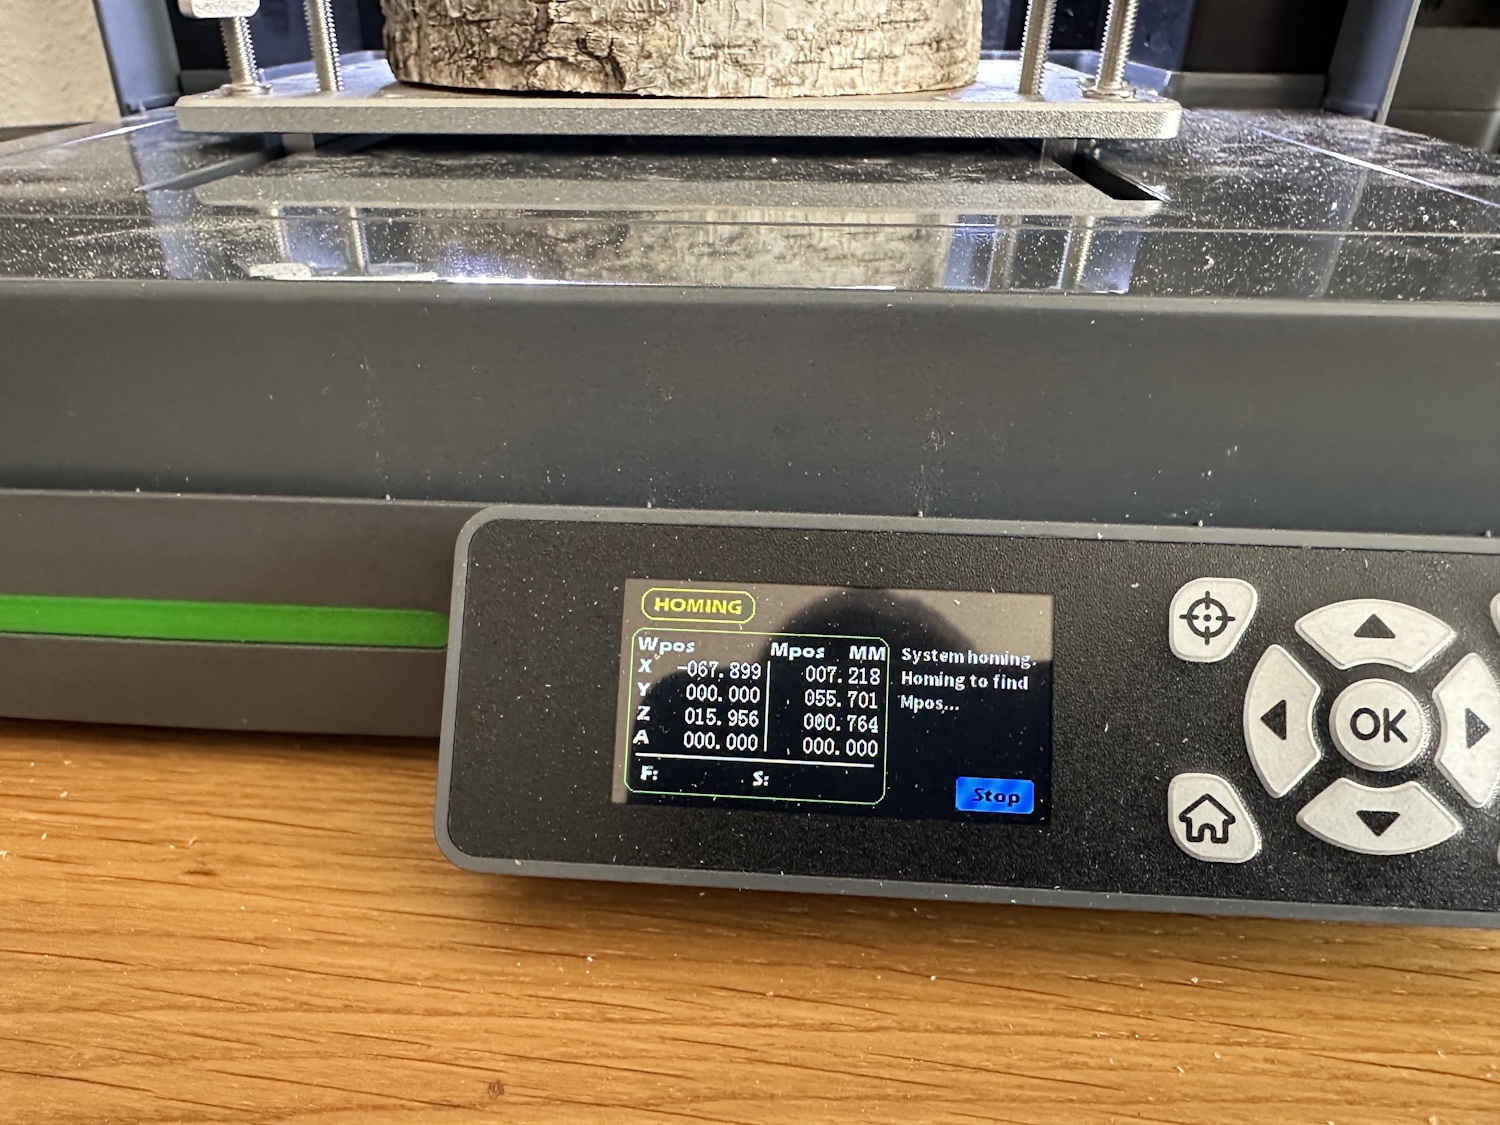
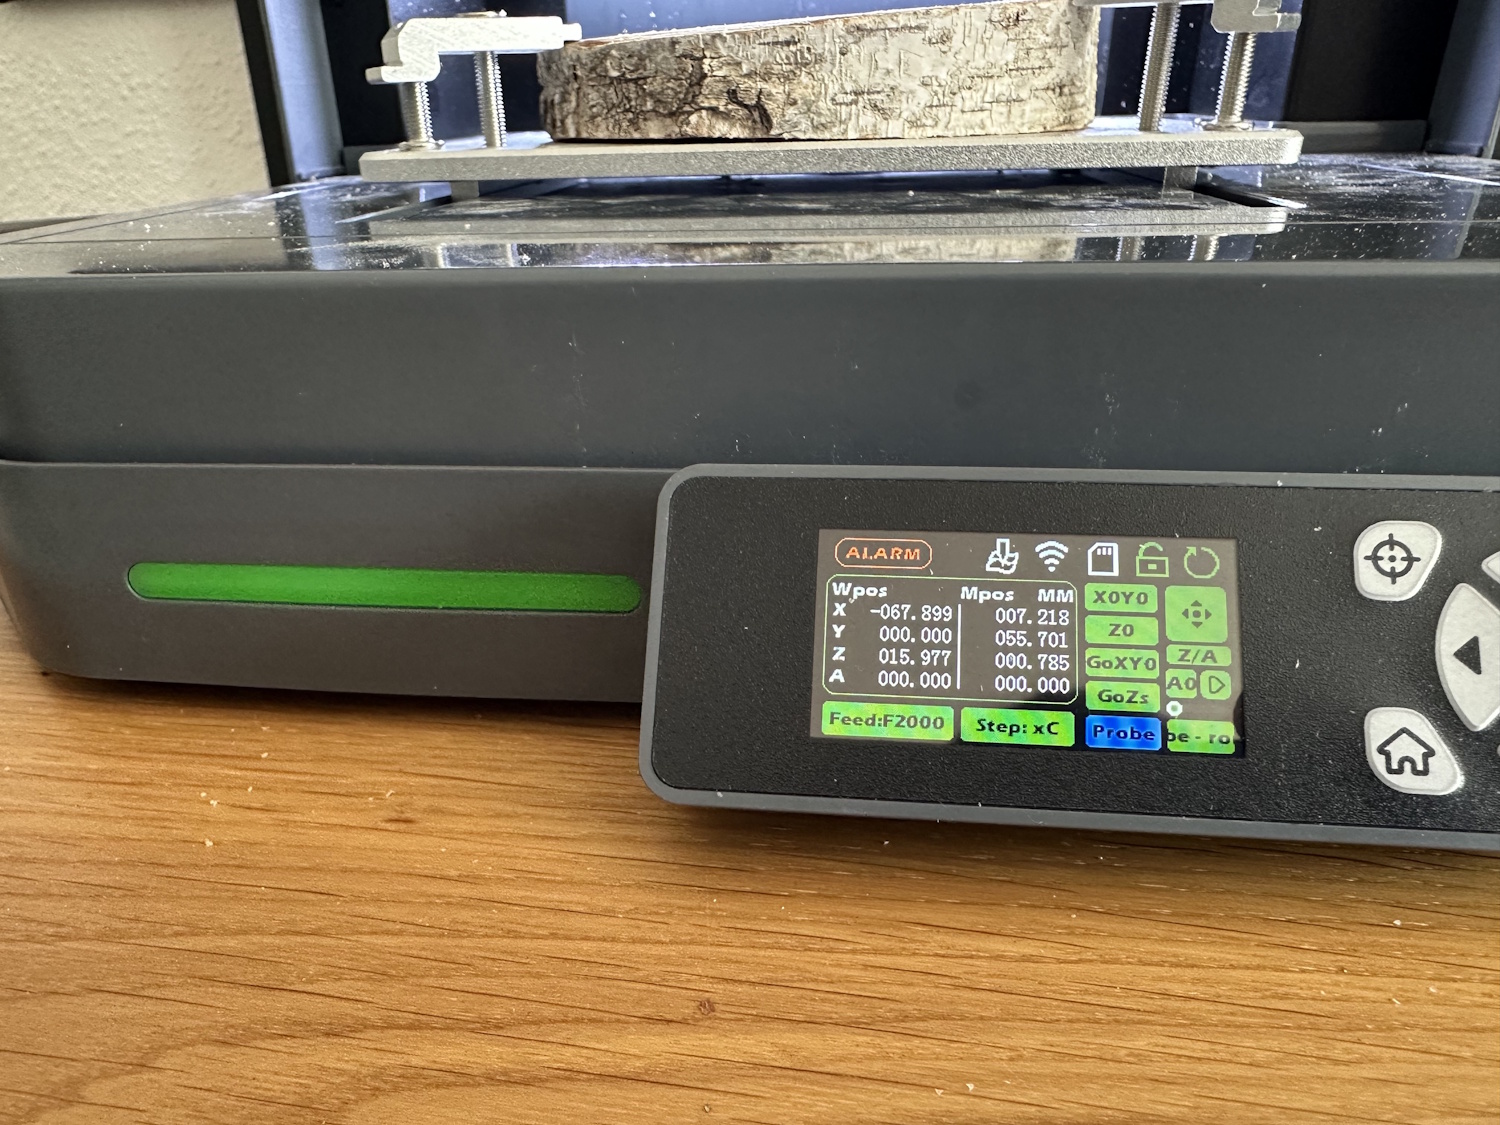
In fact, the test worked very well, but when switching from the roughing process to the finishing process, the Cubiko decided not to zero correctly. For this, the router homes to the X, Y, and Z limits first so that the position of the tool sensor can be found reliably afterward. Oddly enough, this always triggered an alarm, which would normally be correct. The limit switch has the dual function here of defining the axis end during operation and protecting the machine, but when homing to the limit switch, this is exactly the correct function. I didn't want to restart the router because the saved height profile would then be lost. A new height map could also not be reliably created with a half-milled top surface. A pity, because manually zeroing Z was also not easy—which height does the router assume for such a crooked object? I took an average value initially, and then again for manual zeroing. The project still came out quite well, but you can see that the detail cutter was set too deep...
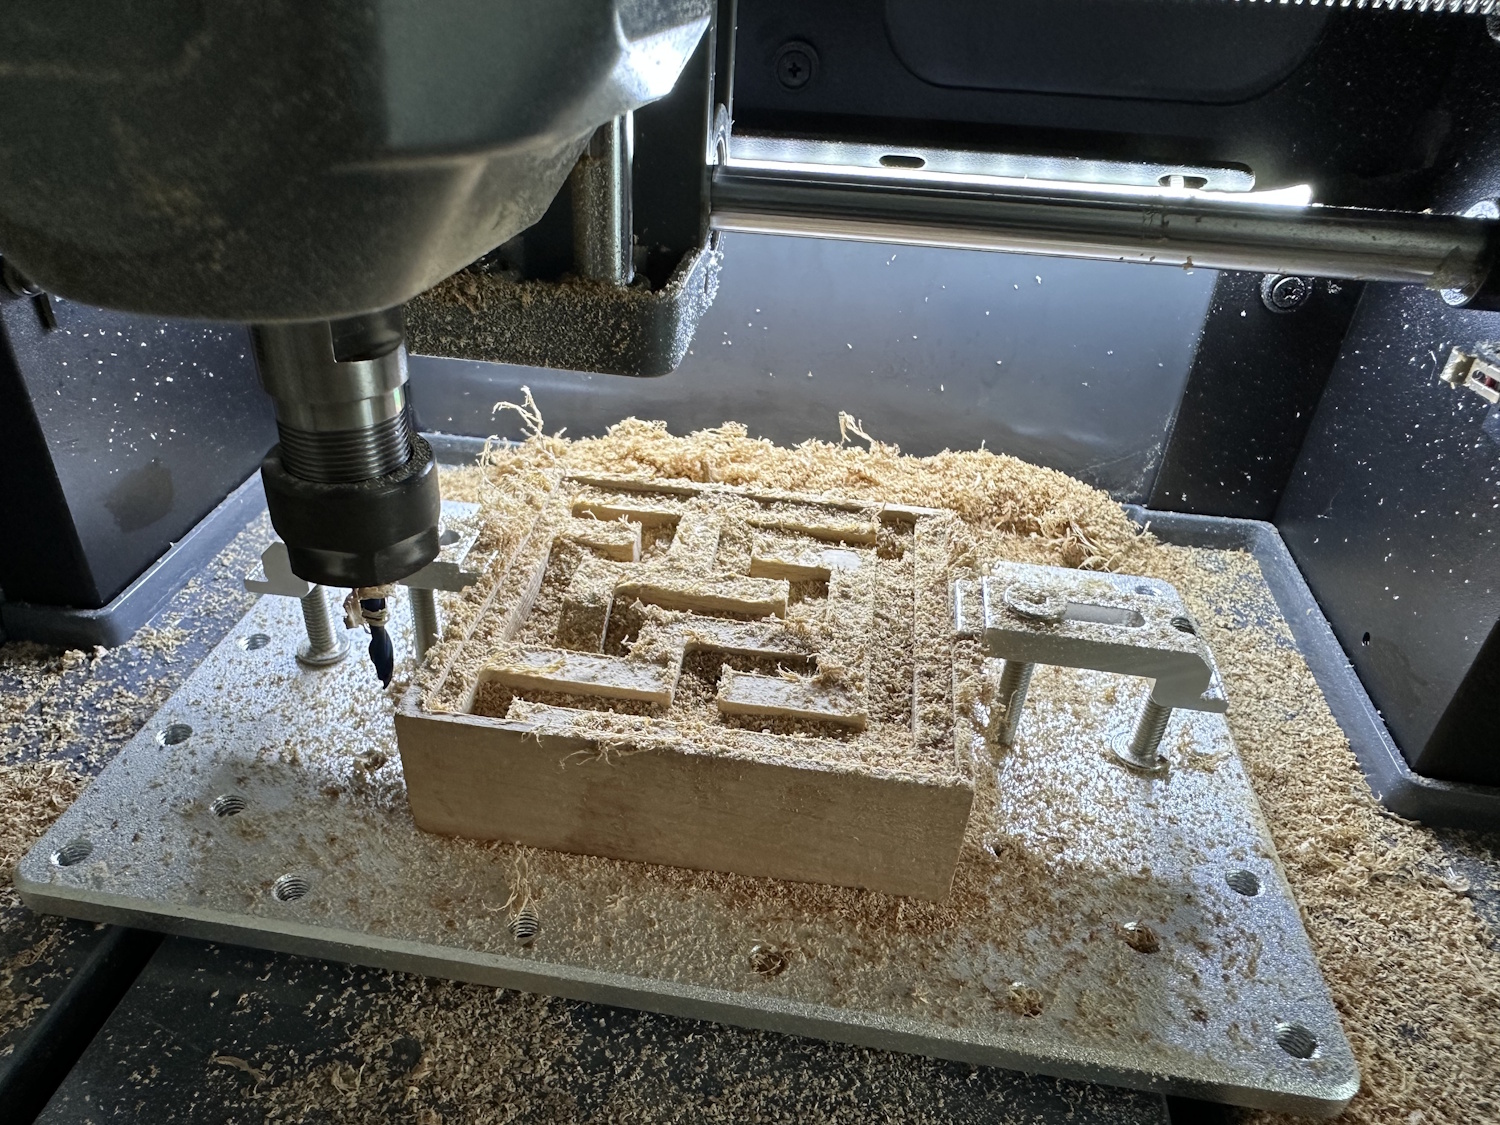
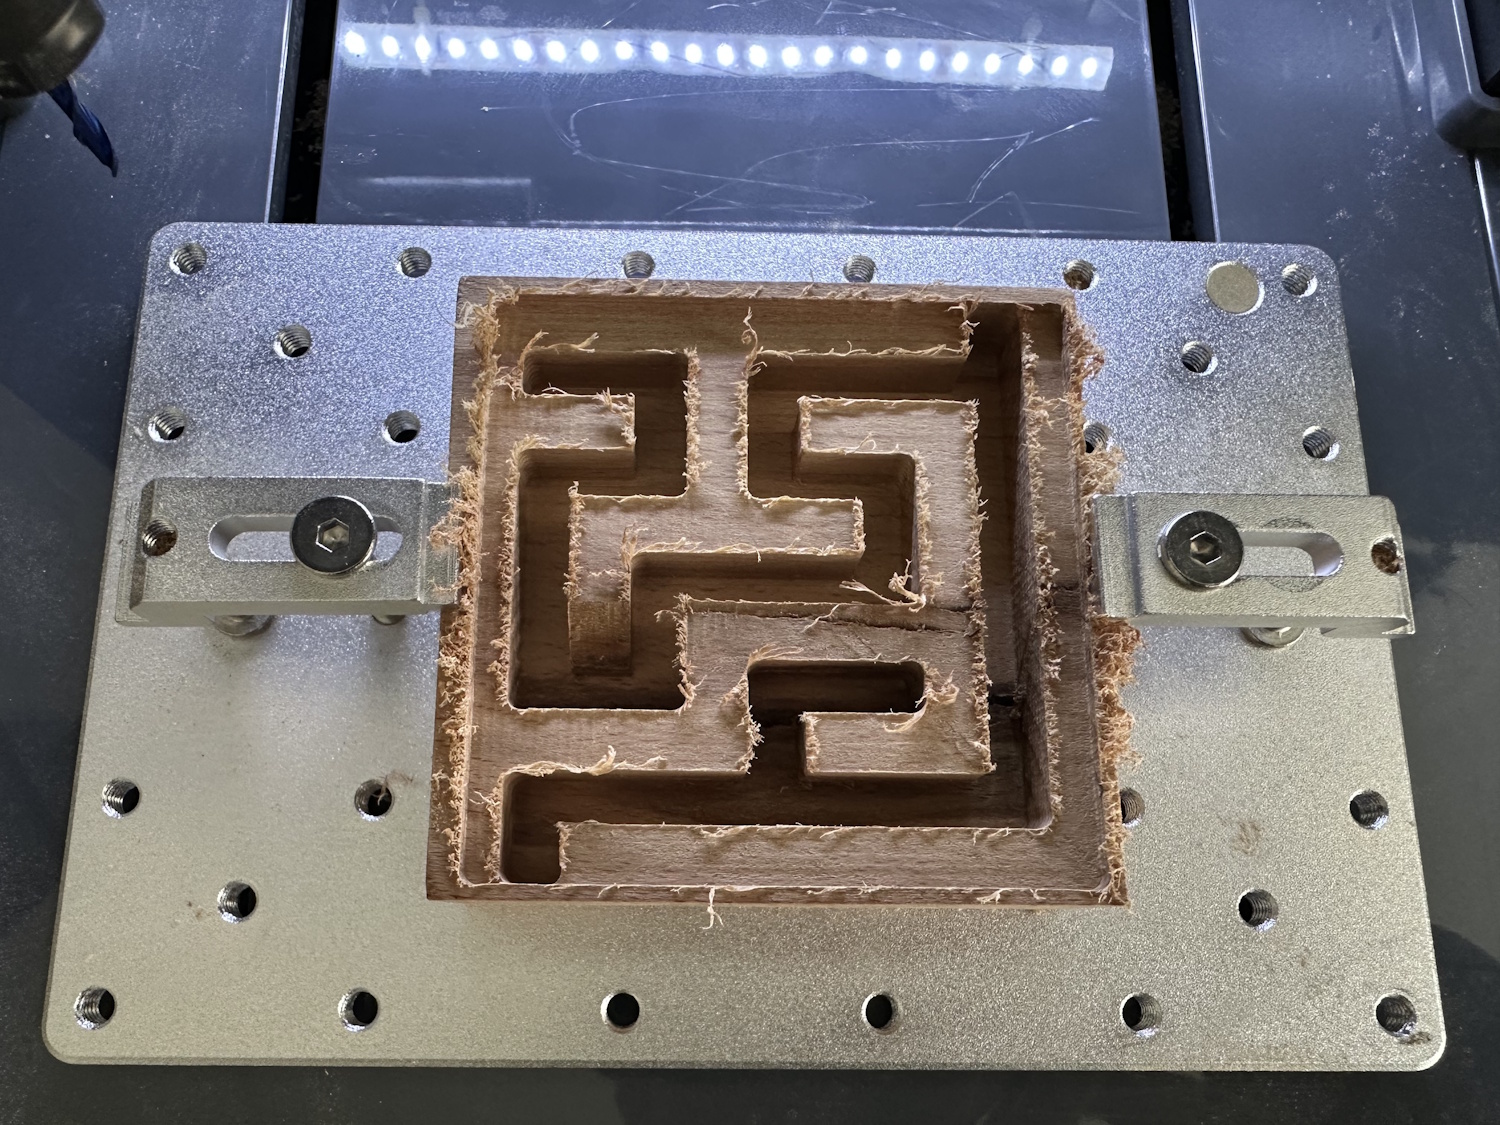
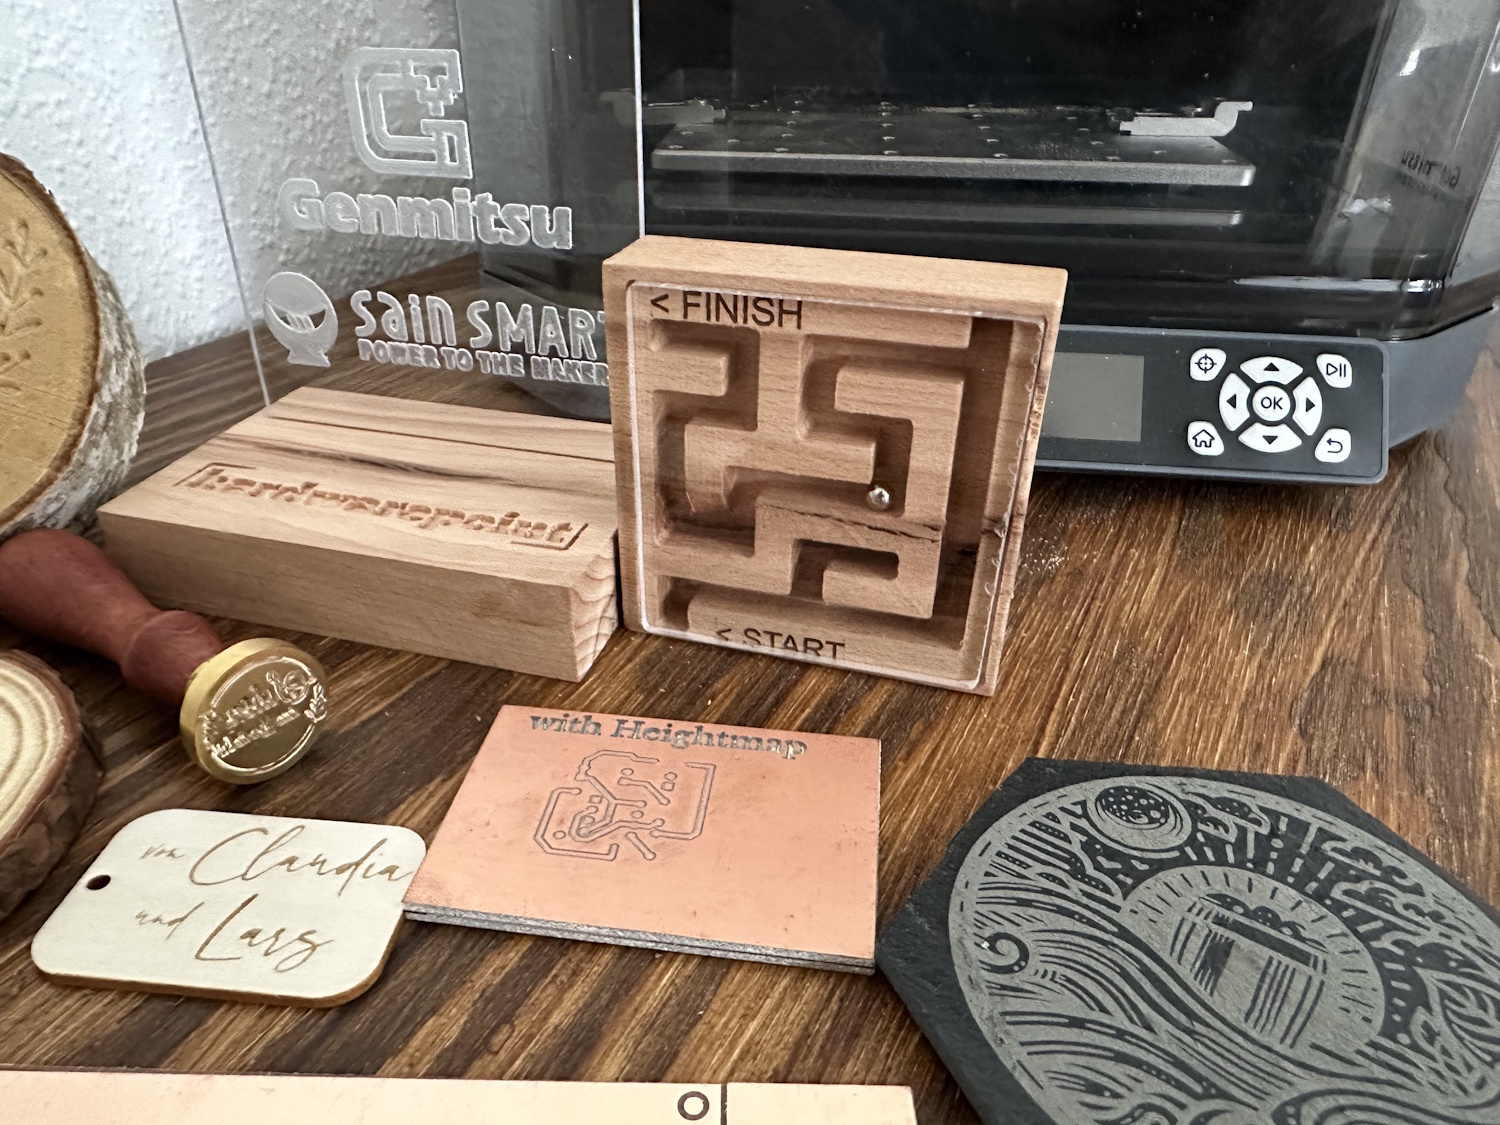
We made the maze with a 3.175 mm (1/8") two-flute end mill; the enclosed 0.8 mm cutter would have simply taken too long. Especially since the radii in the corners are quite suitable for the ball. Conveniently, Easel has a direct maze function and can generate such a maze directly with height and width specifications in inches. The matching Plexiglas plate was milled out, and the start and finish were marked with the laser, completing the mini maze.
Circuit Boards (PCBs)
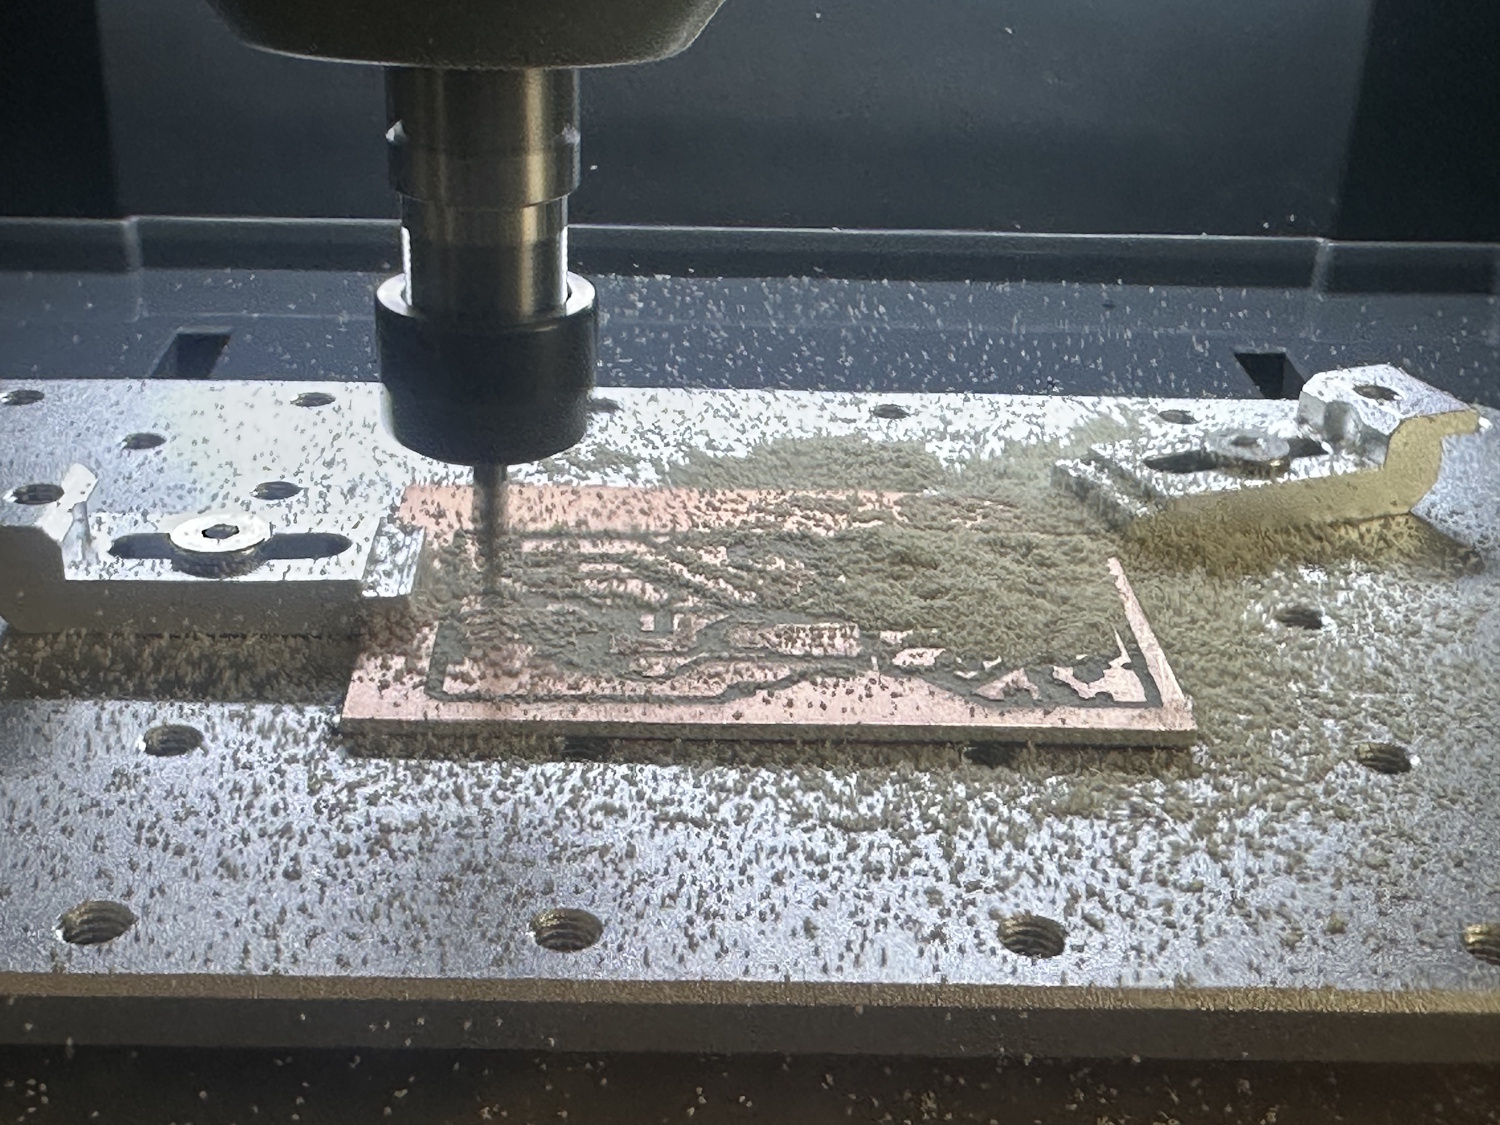
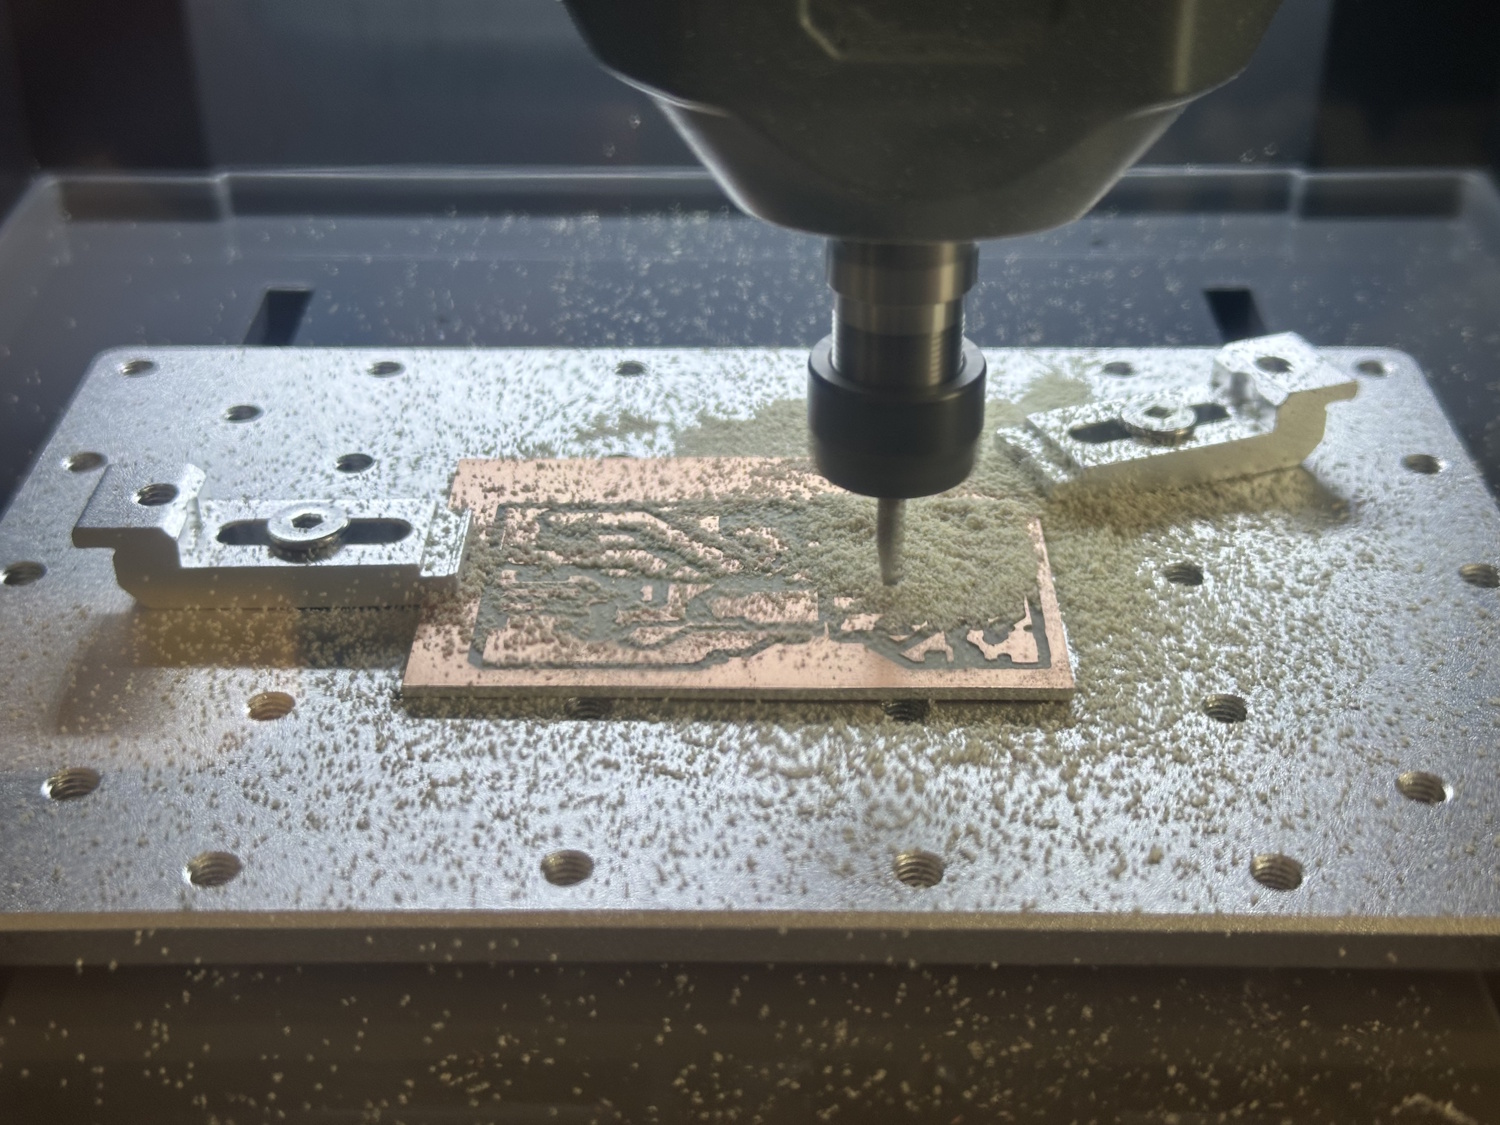
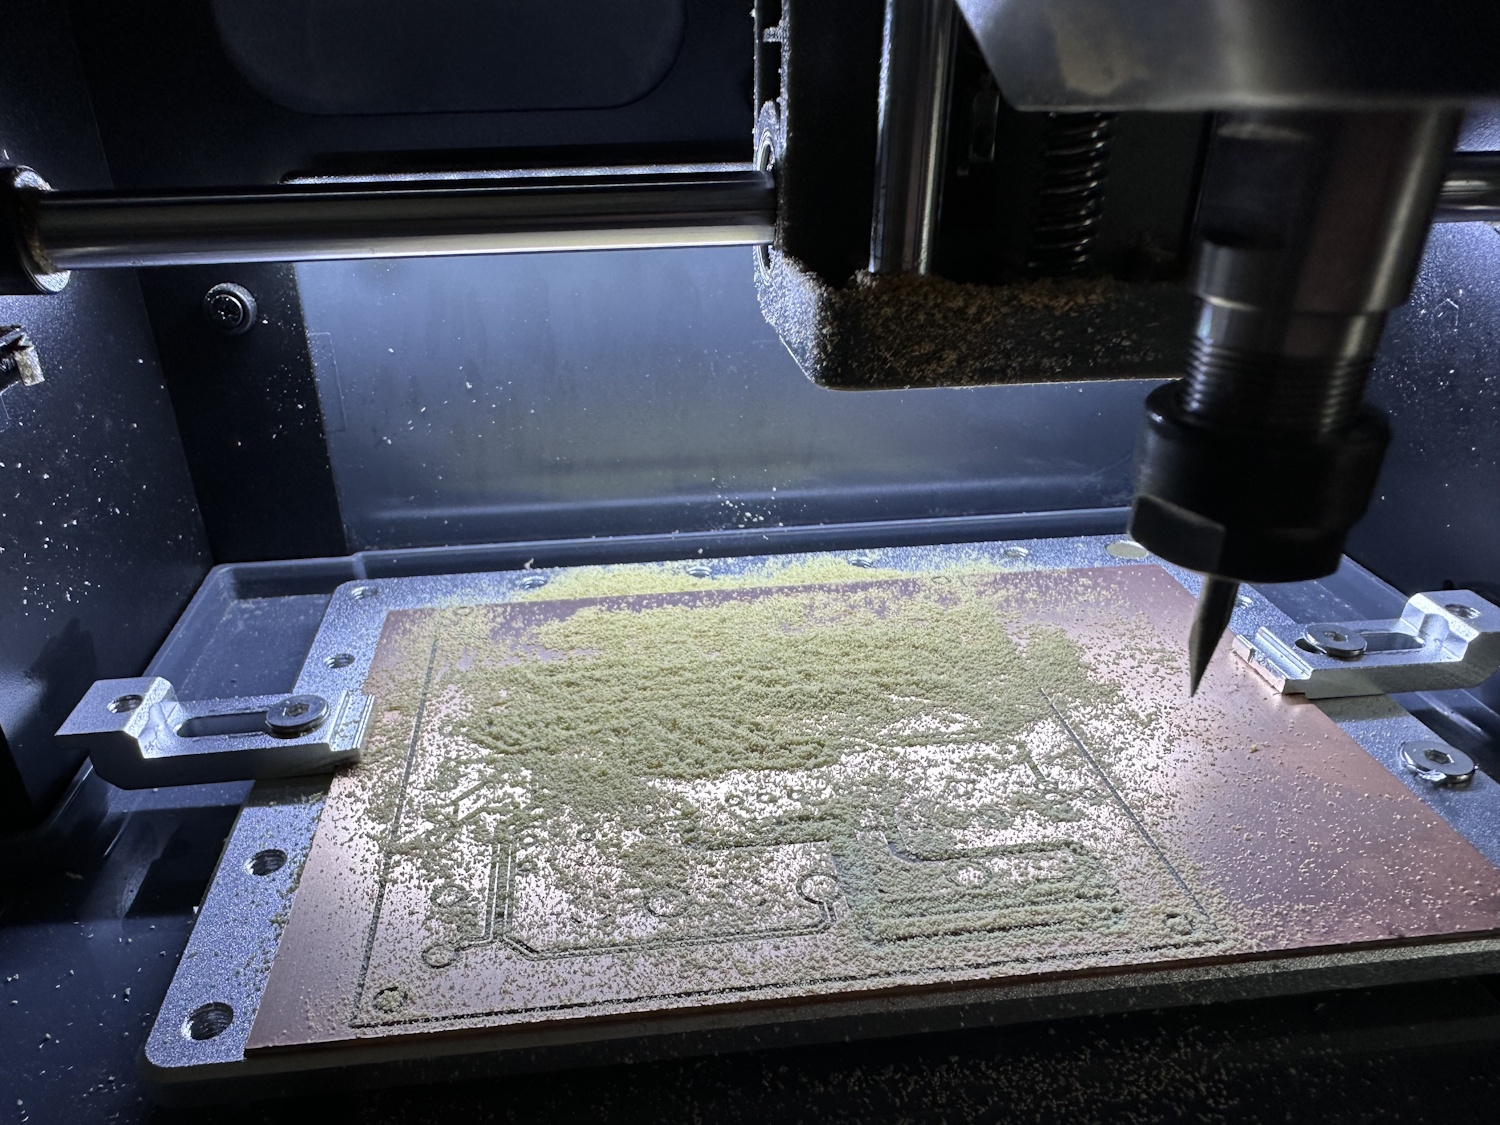
I was a complete beginner when it came to circuit boards. The general manufacturing process using a mask and subsequent etching of the exposed copper areas is known, but this always involves handling chemicals. With the Cubiko, the board is largely left untouched, and only isolation trenches are milled with the cutter. Since designing circuit boards is far beyond my area of expertise, I downloaded a few layouts, so-called GERBER files, from the internet and converted them into gcode using Carbide Copper. The Height Profile feature is also used here.
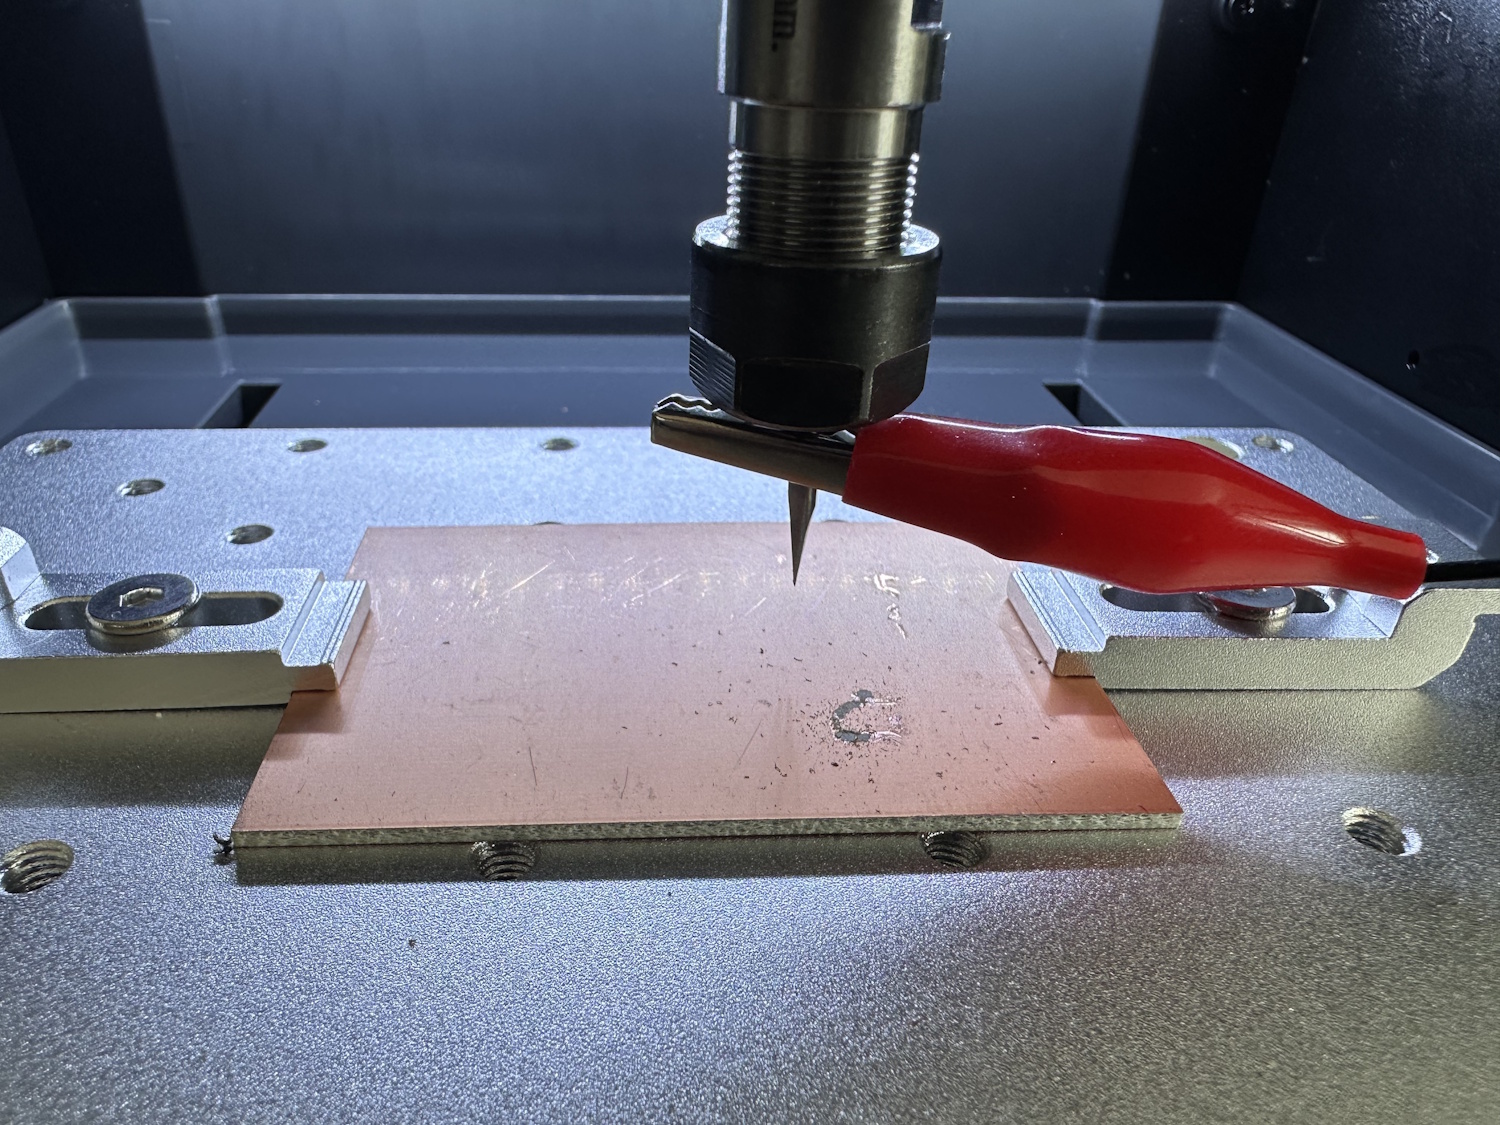
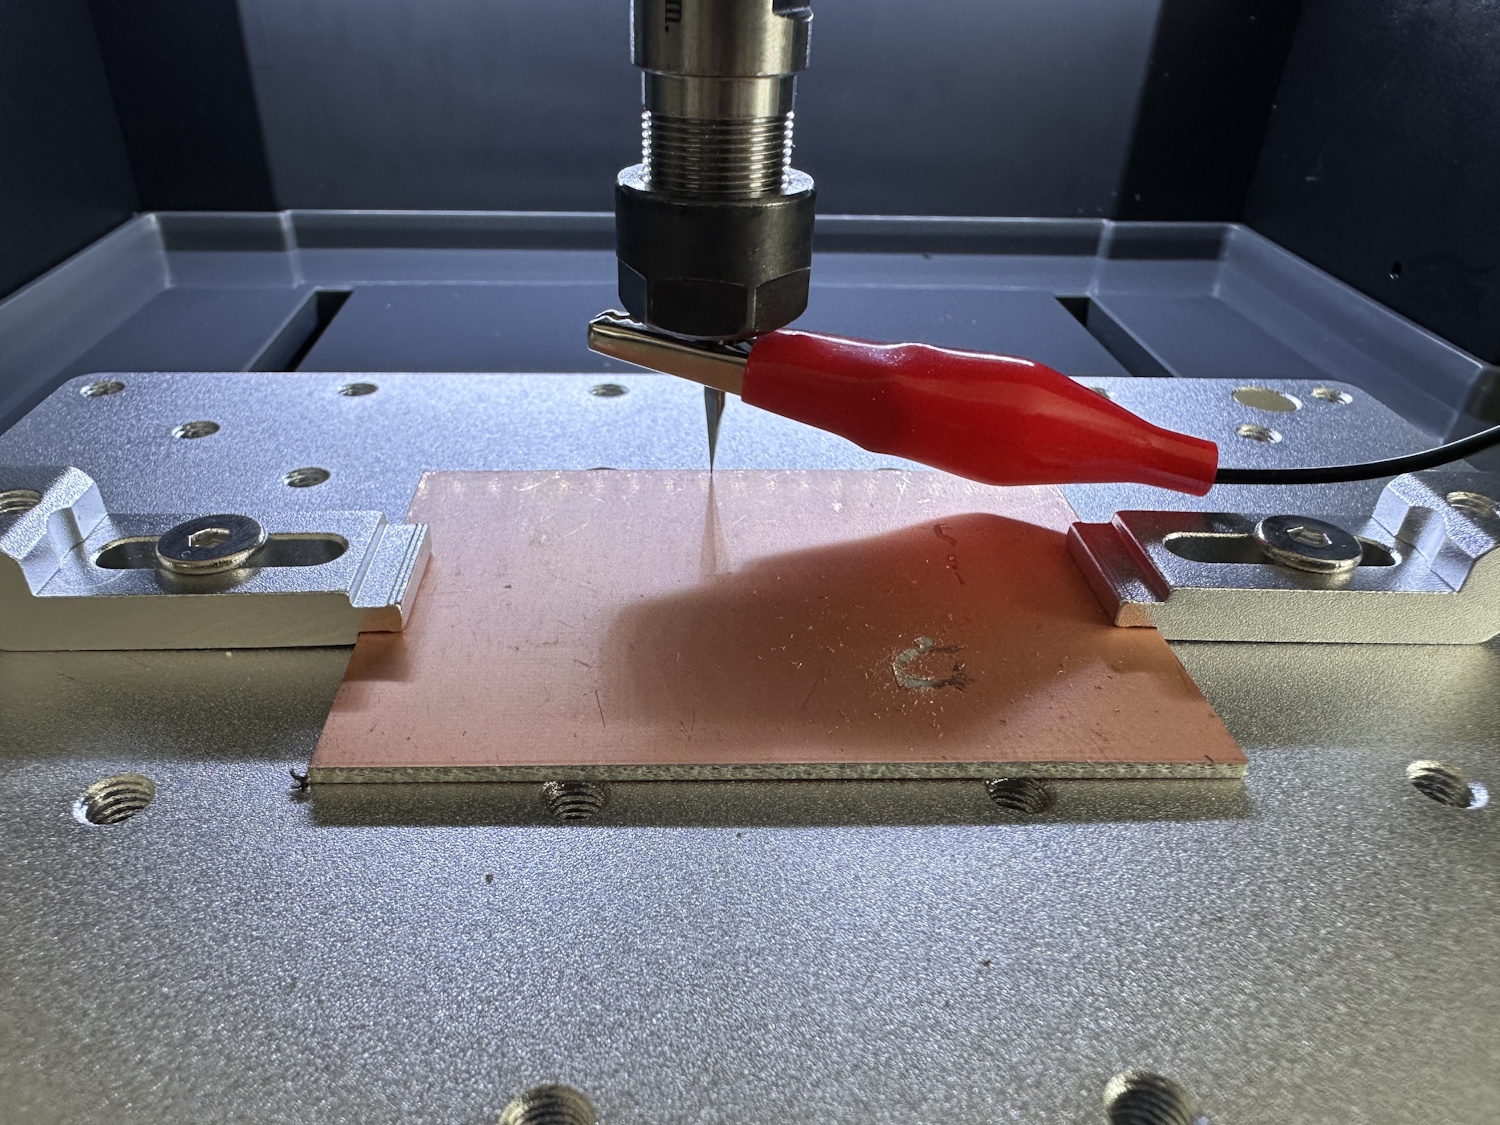
A grid is created with the cable connected to the machine bed, cutter, and controller. This can be specified in both dimensions and the number of points in X and Y. It starts from the bottom left starting point, which is usually also used as X and Y 0 in the project. The machine then moves down, for example, every 10 mm and saves the point when current can flow between the bit and the bed. This height is stored for the respective point, and the height profile is slowly built up. Some users apparently had problems with the conductivity of the supplied clamps due to a surface coating, but with both the cable lug mounted on the bed and on the clamping jaw, the measurement worked reliably for us. The assistant on the display guides you through the entire process (in English).
If you don't take this point too seriously and possibly don't measure the material height too precisely, something like this comes out:
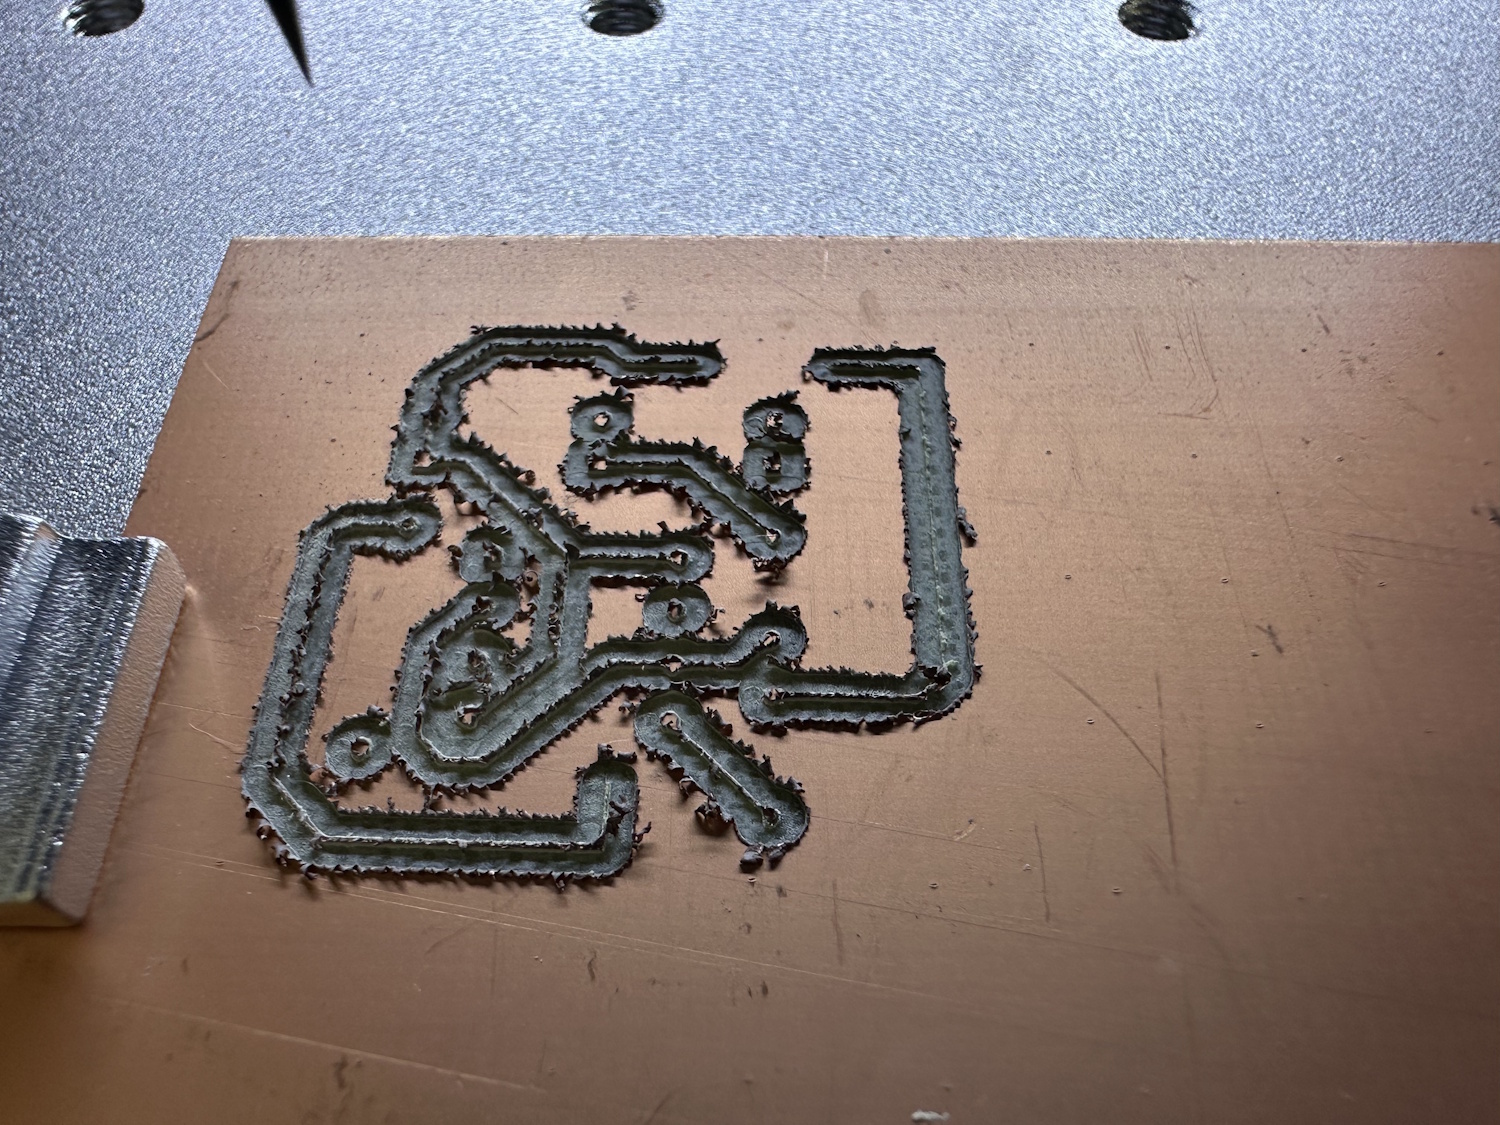
Far too deep trenches, leaving almost nothing of the copper traces. If everything is carried out correctly, it should look more like this:
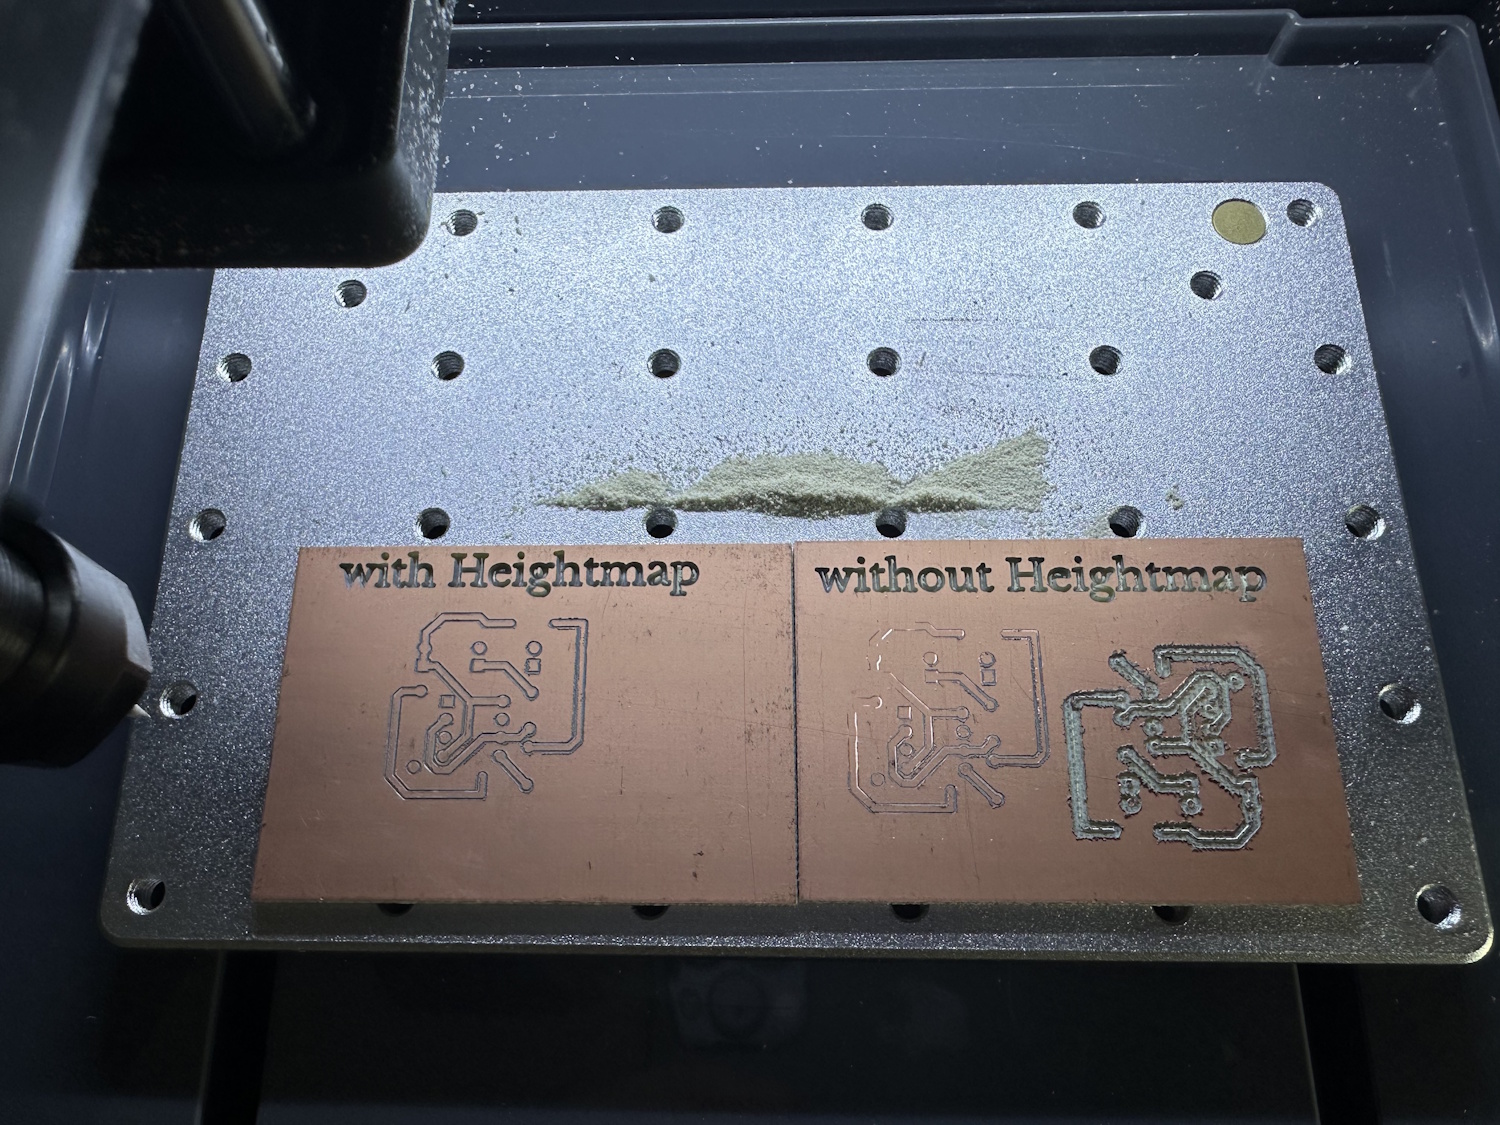
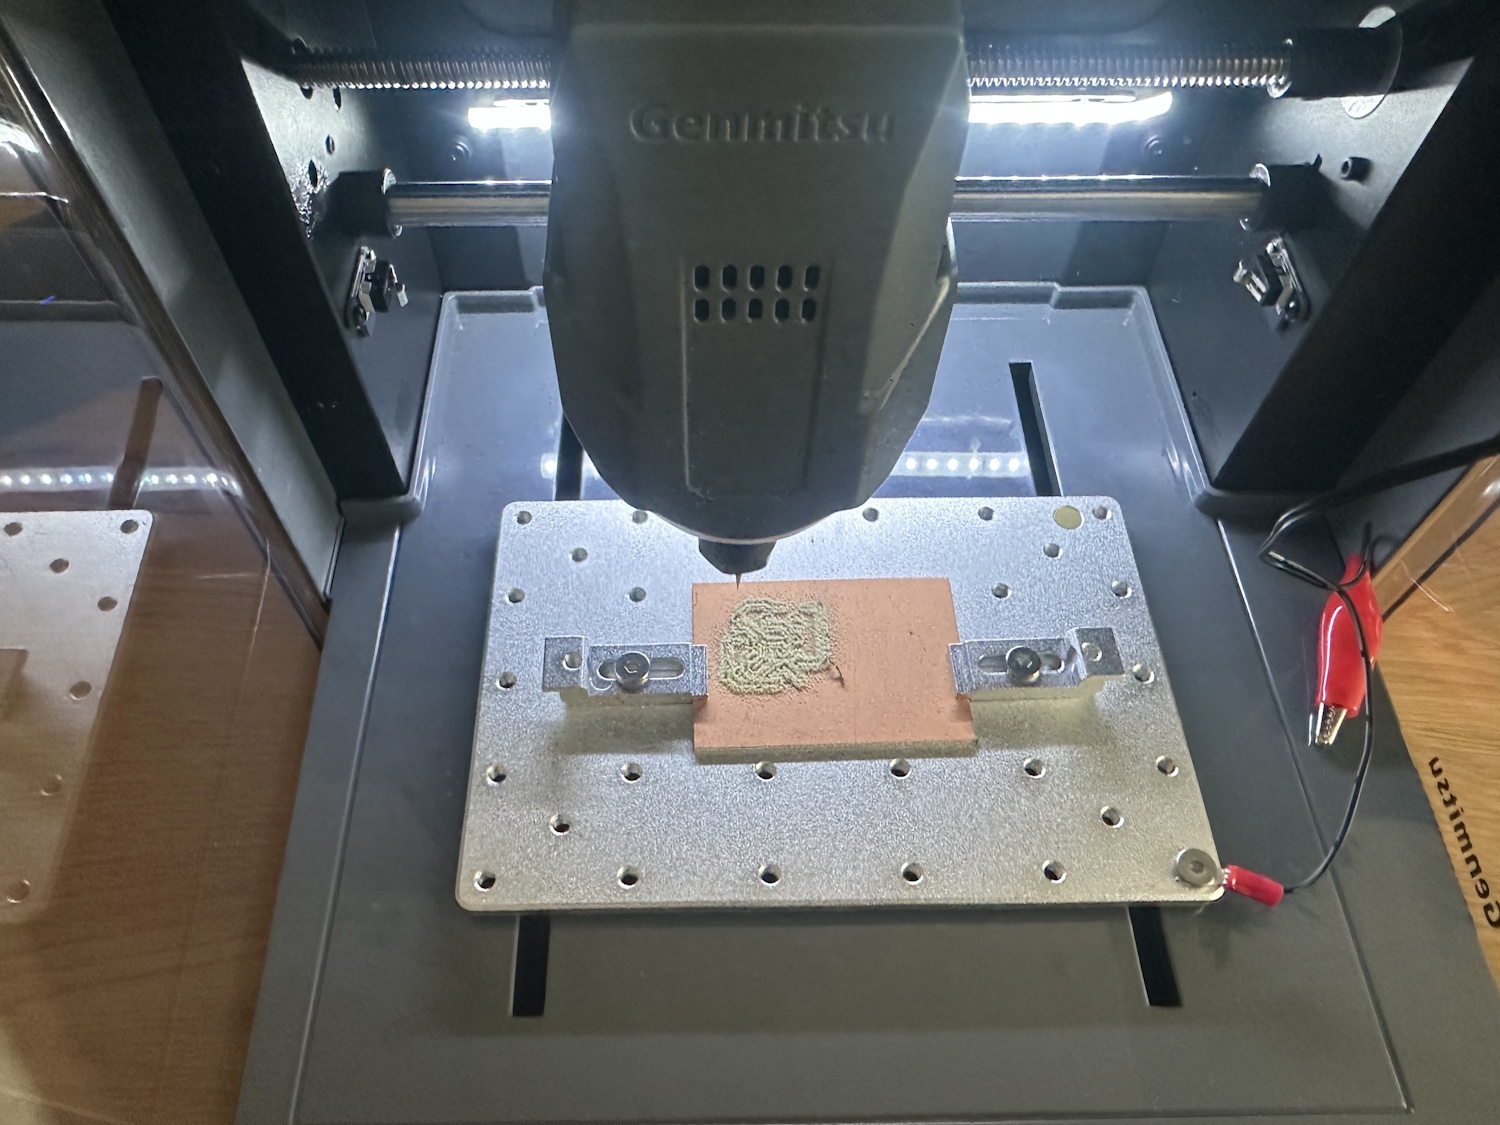
A good result was also achieved with a larger board:
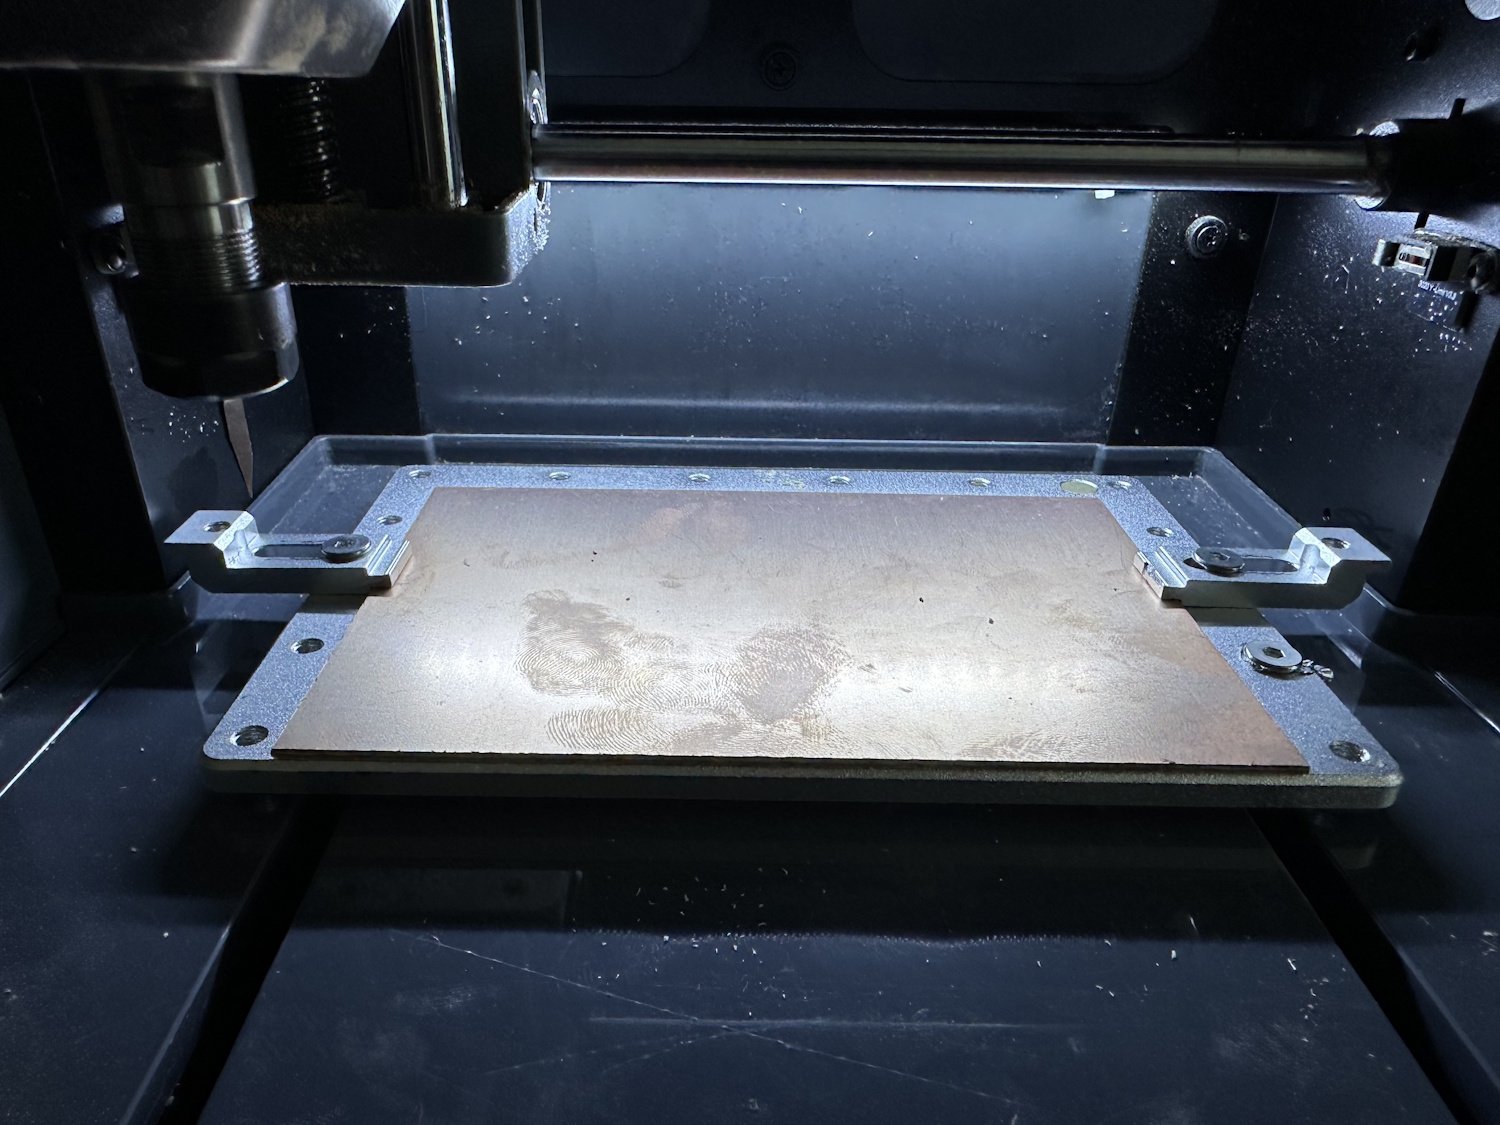

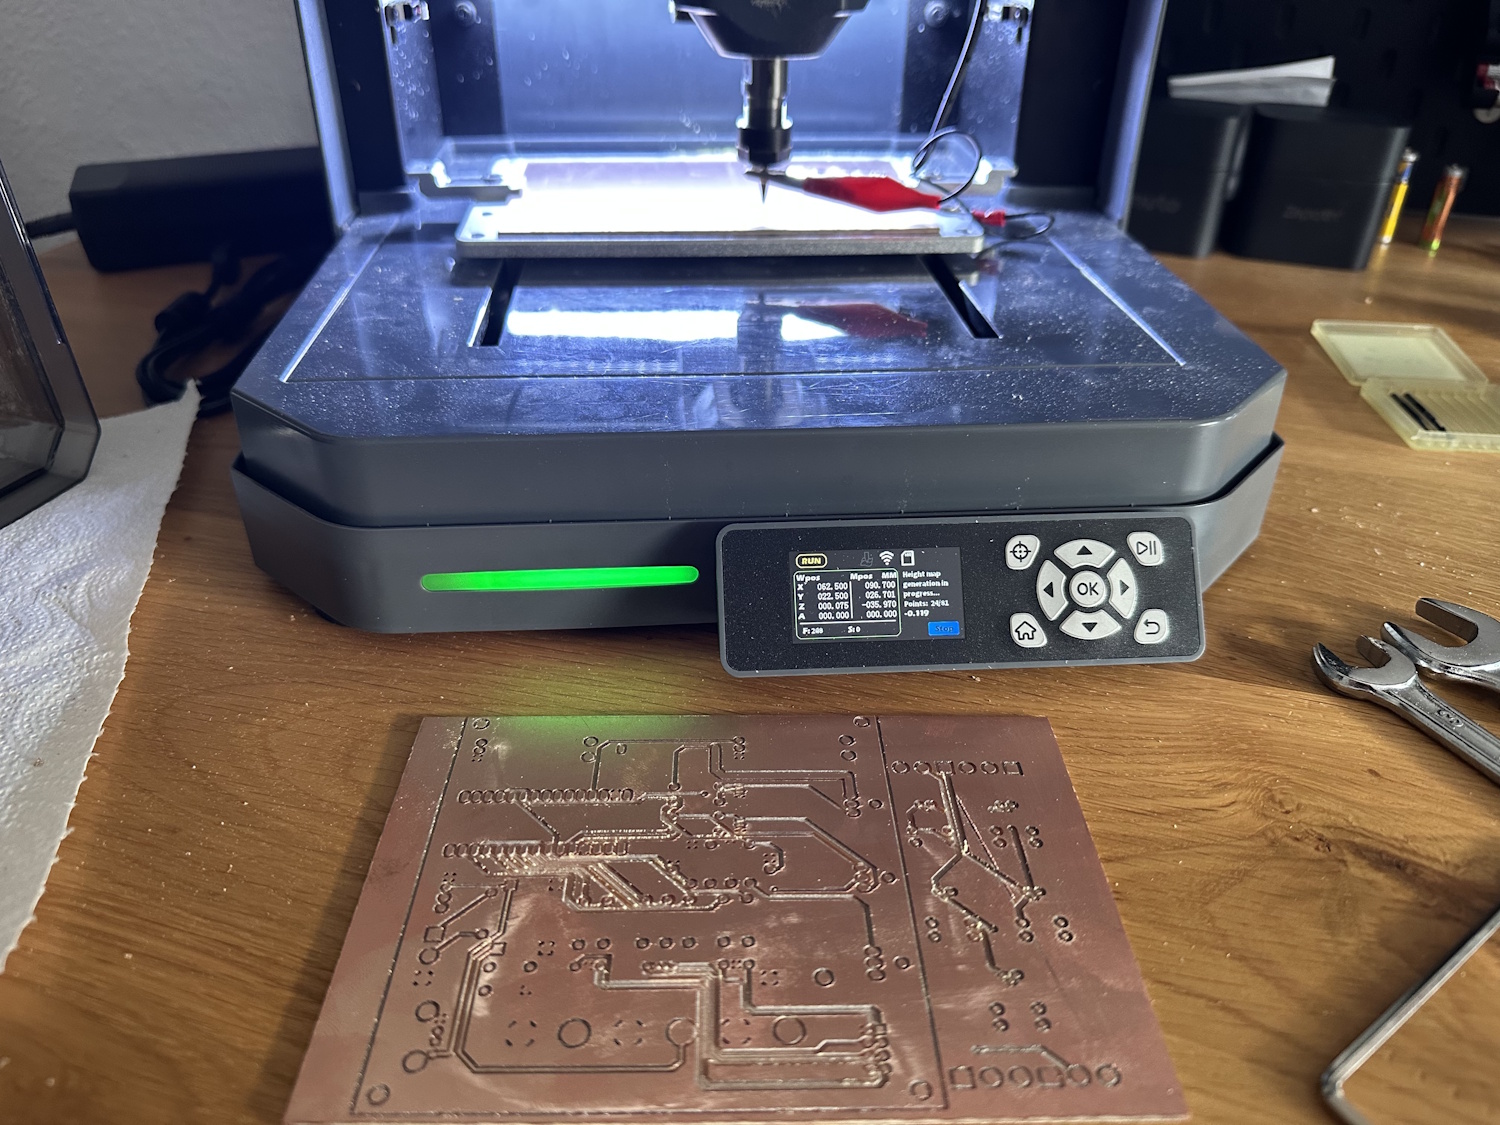
For this size, however, one should rather use 4 clamps or another fastening option. The end result in this run was a bit bowed in the middle, which is why the traces were incorrectly milled away there. The height profile would have prevented this, but as you can see from the symbol to the left of the WLAN on the display, the height profile is not active. Below that, you can see that the creation process is in full swing. Attempt two also looked very promising:
Brass
Soft metals like brass are always a good entry point into metalworking, as they not only have less resistance but can often be machined without lubricant or coolant. Aluminum should also be machinable with very conservative feed rates, but this is usually associated with extreme run times, which is why it shouldn't really be a beginner's material, even if it is technically possible.
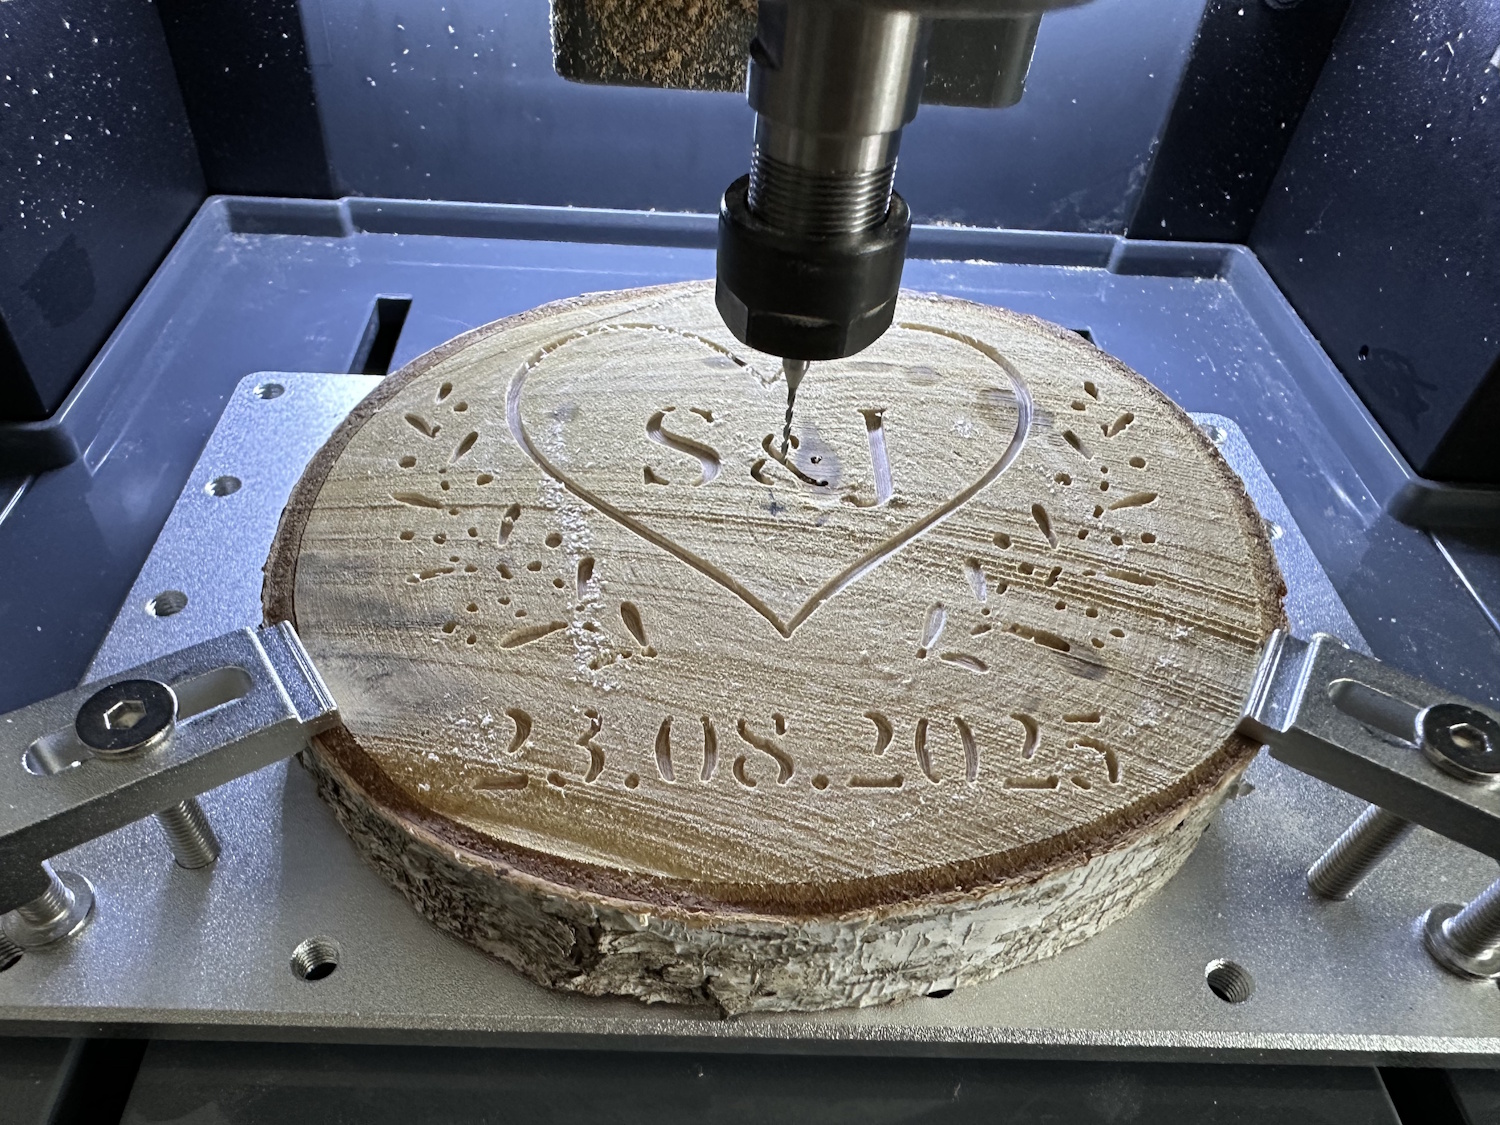
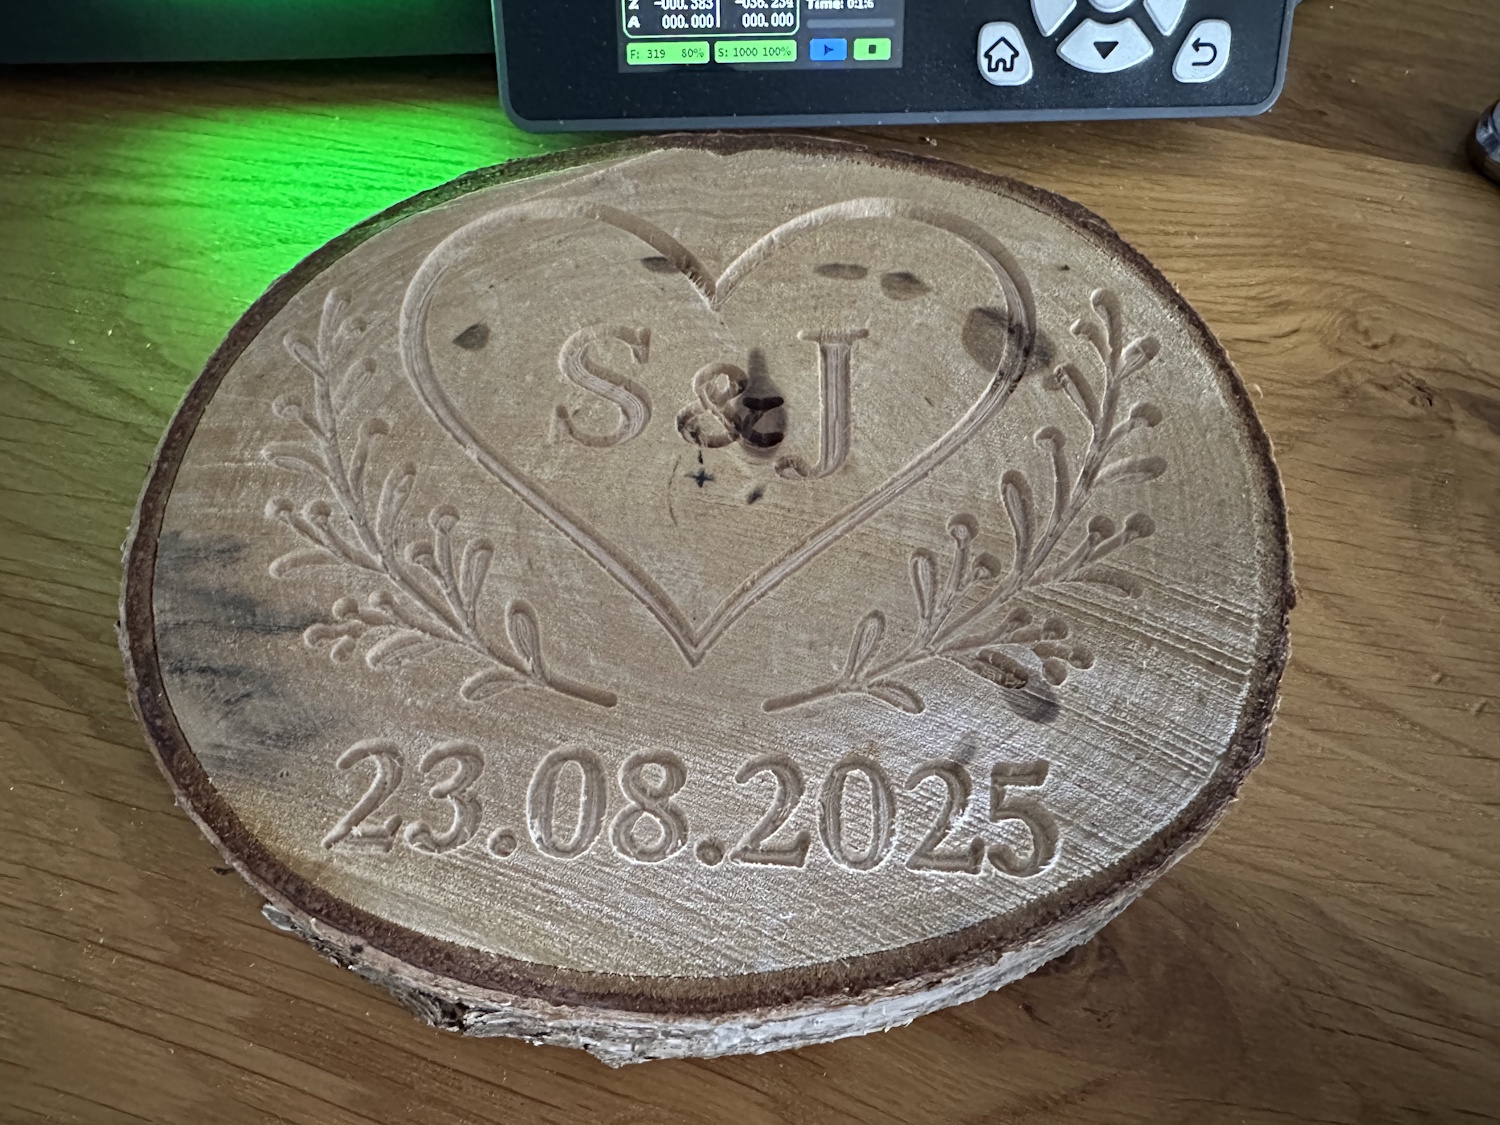
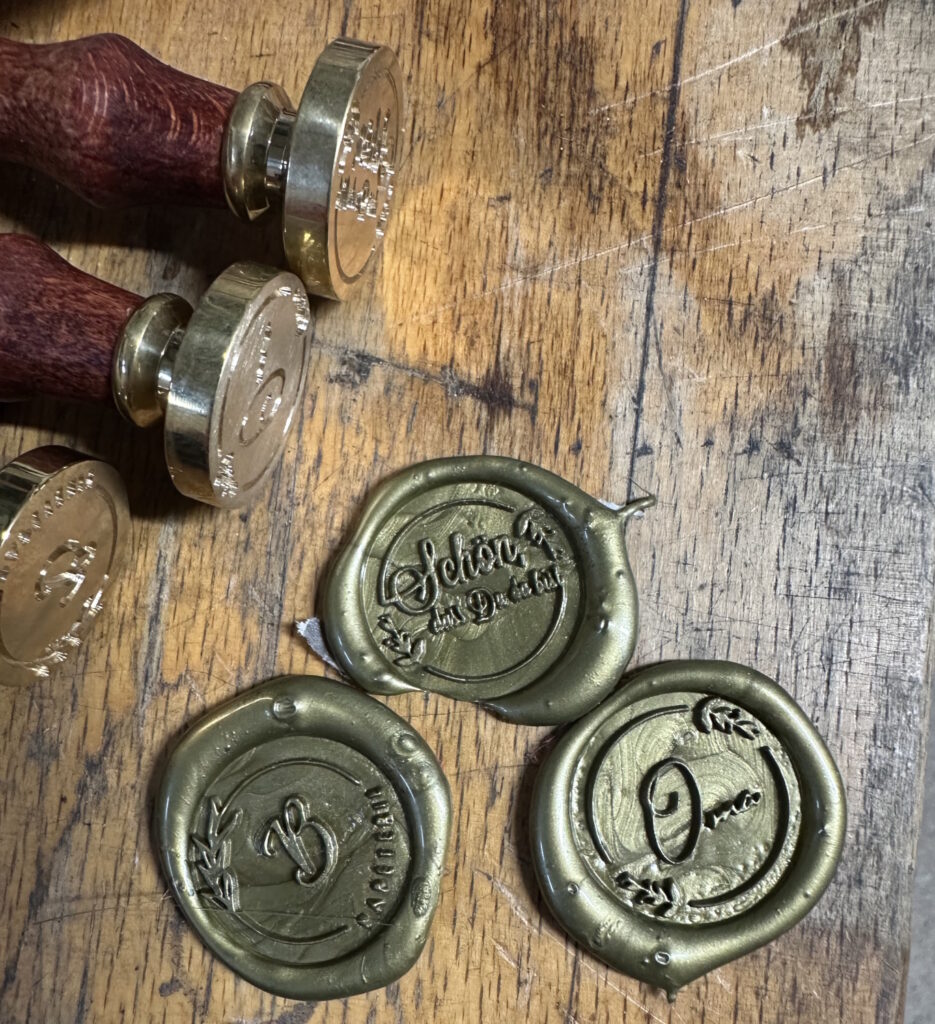
Back to brass, we made a wax seal stamp. Such designs can also be quickly created using AI and milled as a negative into the circle. A hot glue gun with colored "wax" makes the result visible.
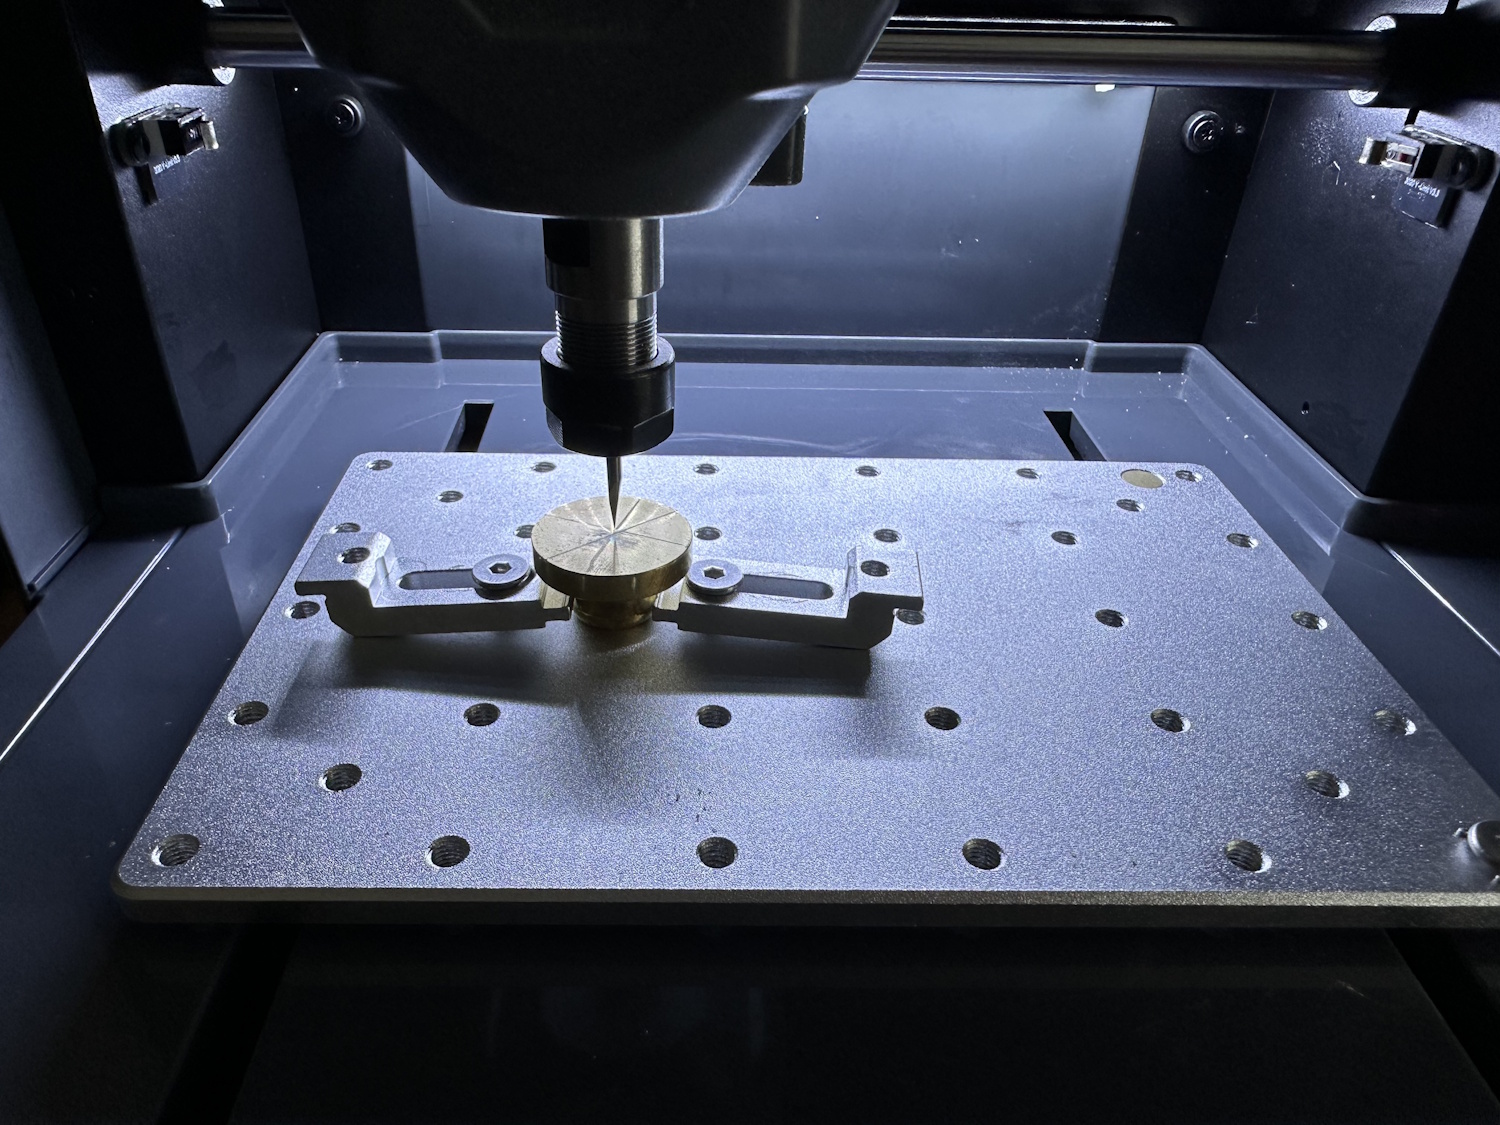
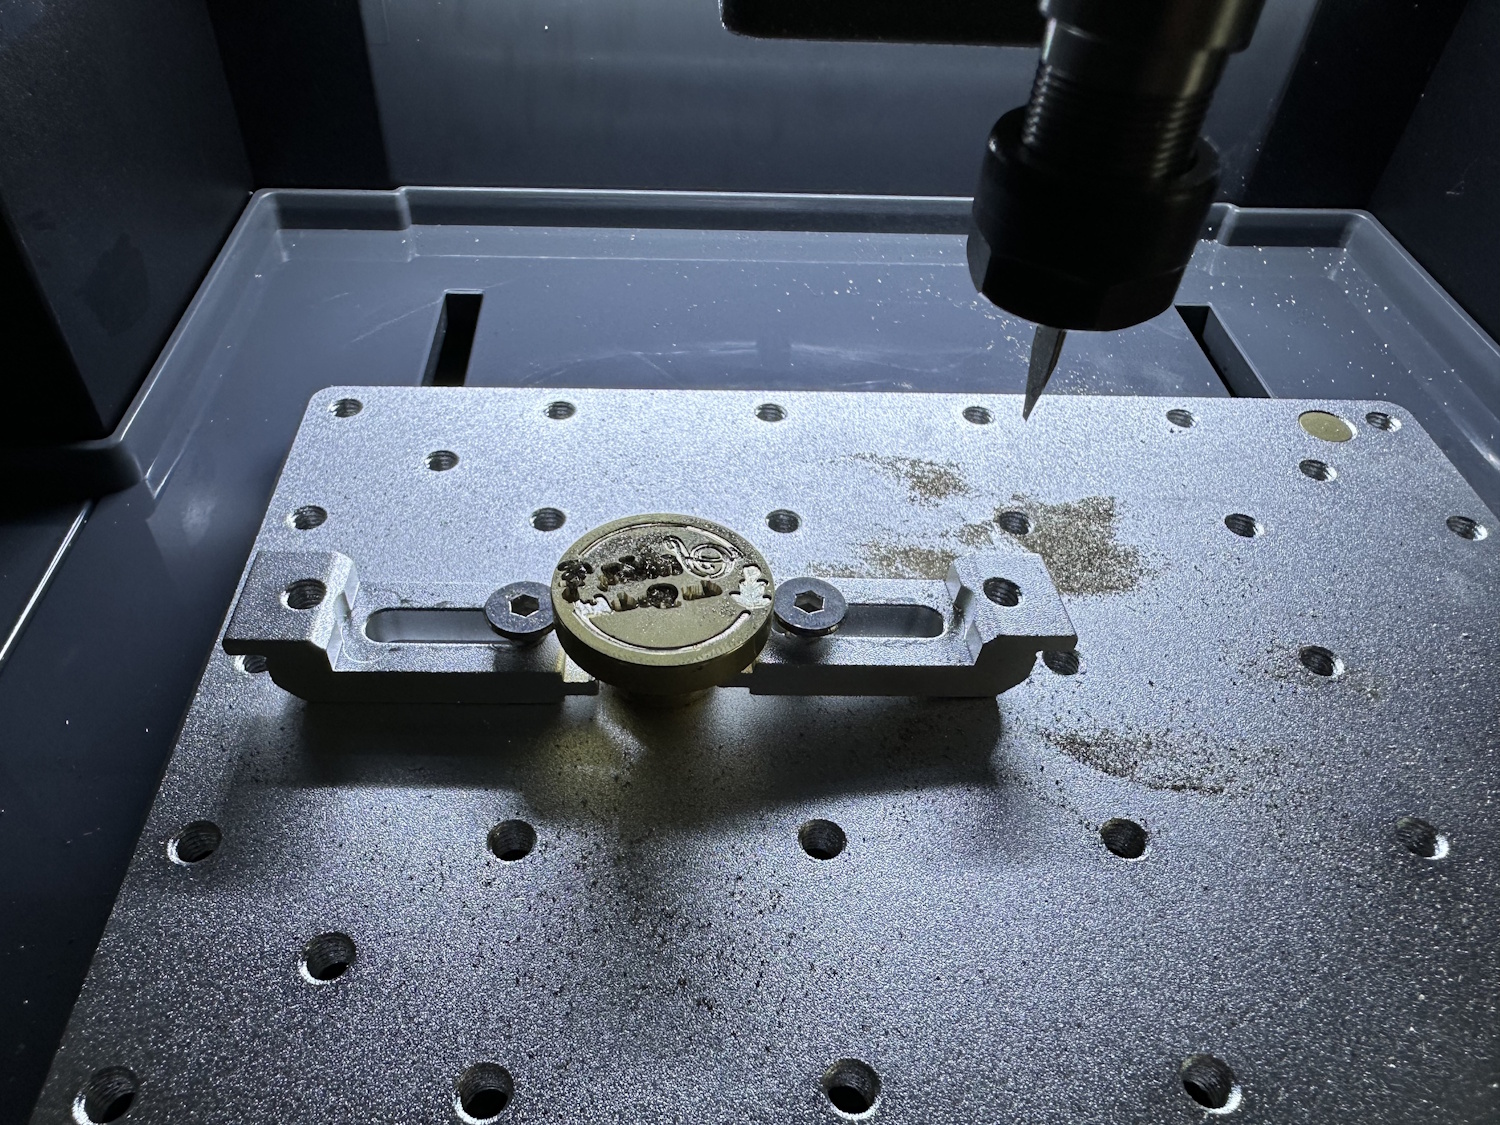
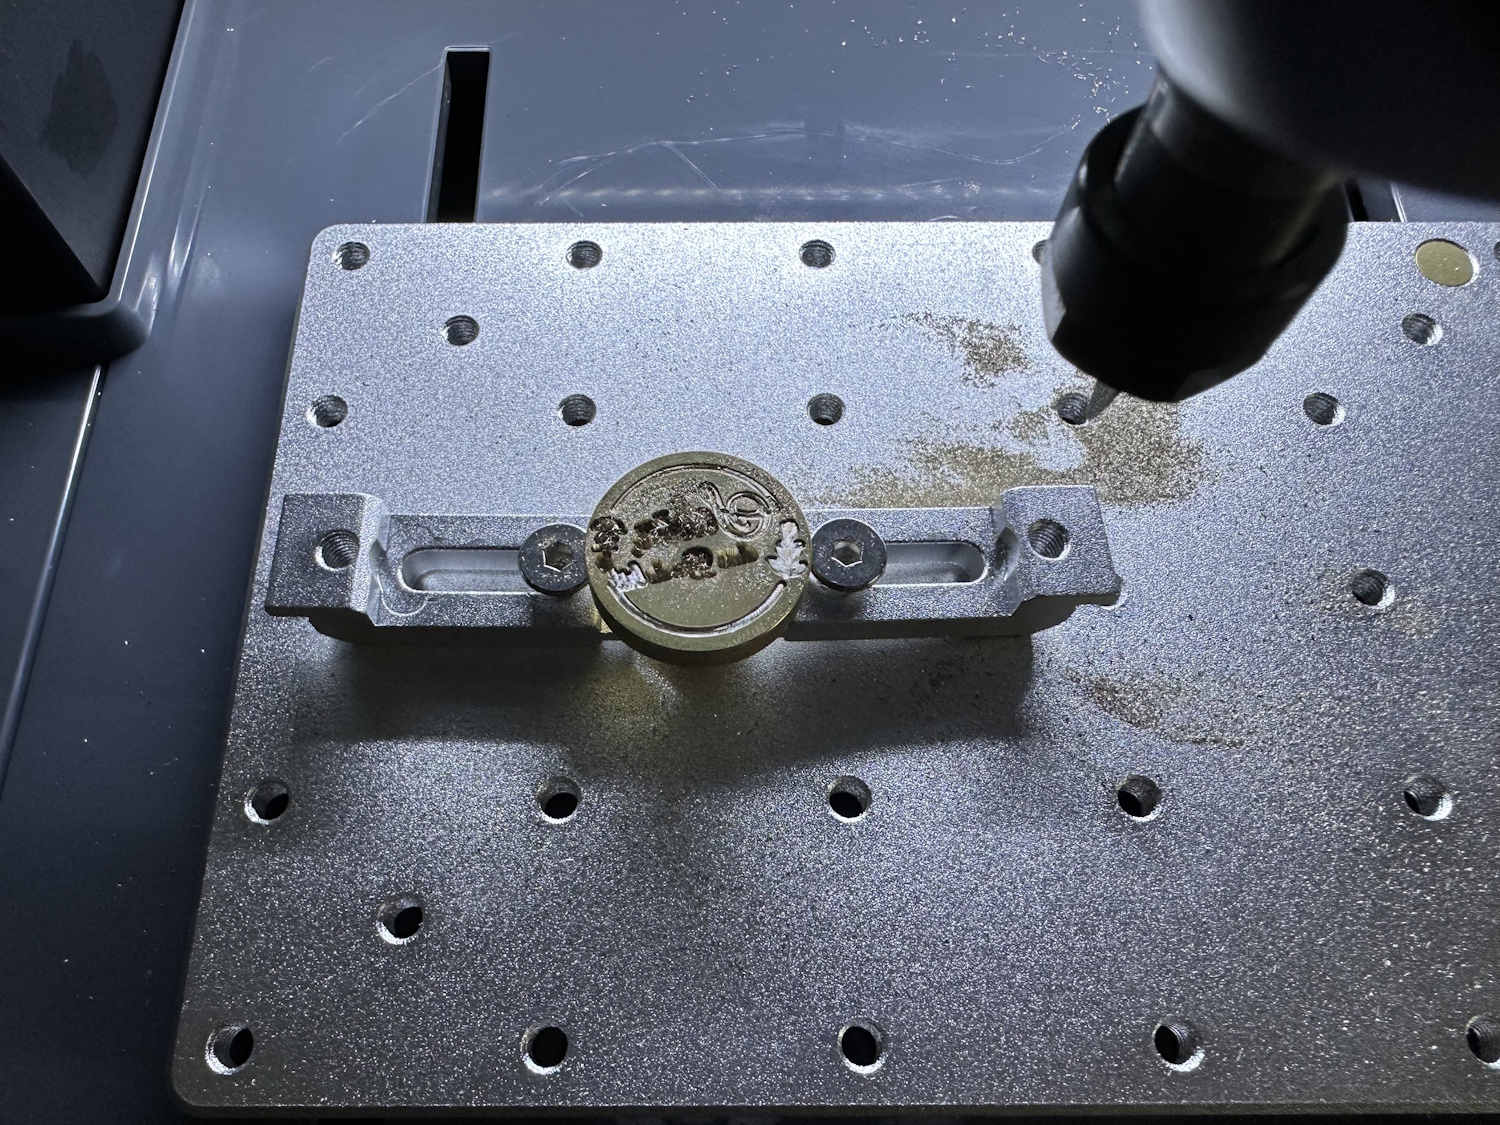
With a 45-minute turnaround time, these stamps are relatively quick to create, perfect for weddings or other invitations and gifts. Individual and manufacturable on the Cubiko.
Conclusion
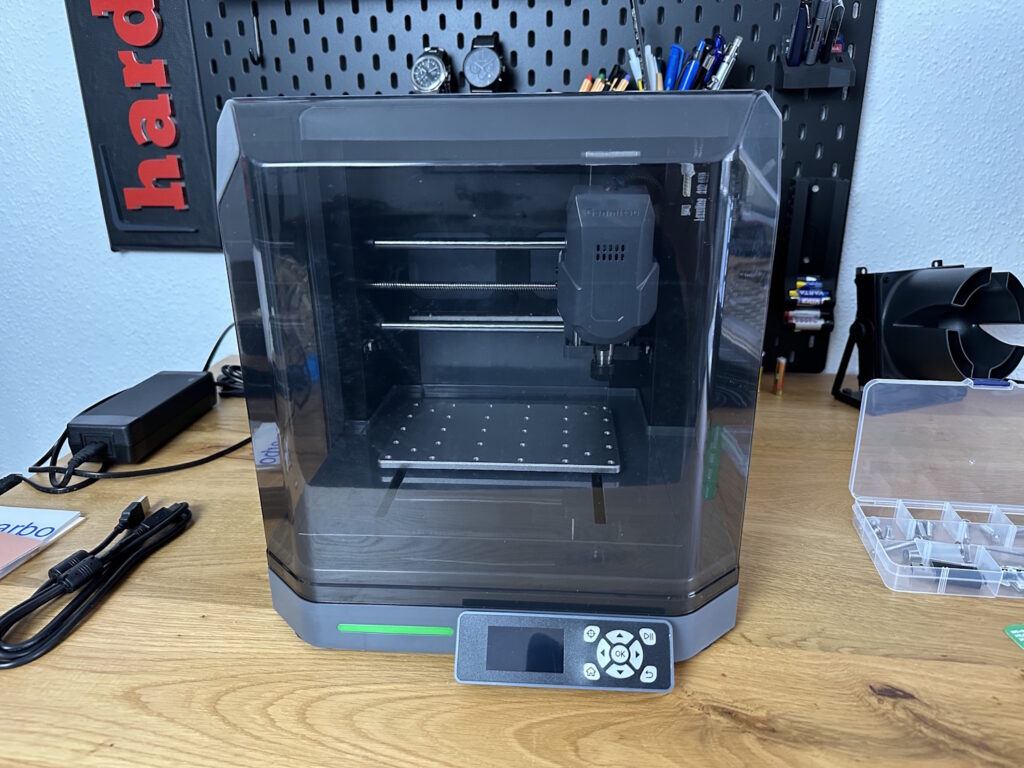
With the Cubiko, SainSmart proves that an entry-level CNC milling machine doesn't have to look like a kit made of aluminum profiles. The compact and sturdy construction of sheet steel and the closed build space not only make the machine safer but also reduce noise and make it look more like a fully-fledged product. The small dimensions allow for many areas of application—you don't always need a large workshop; sometimes, a desk is enough—and with 150x110x40 mm, it still offers enough for home projects.
In our test, the Cubiko was convincing on many levels and keeps its promise of making CNC accessible to everyone. Features like pre-assembly, limit switches on all axes, and the integrated height profiling feature make it much easier for beginners to get started. The control via Wi-Fi app also proves to be an enormous gain in efficiency in everyday work. All of this comes at a truly very fair price.
Of course, not everything is perfect. The documentation for firmware updates could be clearer, and the menu navigation of the offline controller is somewhat cumbersome in places. The missing hotspot mode in the app is also a drawback for those who don't have Wi-Fi in their workshop.
The bottom line is that SainSmart delivers a well-rounded overall package here that only shares the name "entry-level mill" with the 3018 Pro. The Cubiko is an independent, well-thought-out tool that is ideal for a wide variety of projects in soft materials such as wood, acrylic, PCBs, and brass. If you are looking for an uncomplicated, stable, and feature-rich mill for your desk, the Cubiko is an excellent choice.
Now, SainSmart just needs to get the software part under control and perhaps write its own software that is supplied with its products and combines design and the creation of machine paths, instead of just relying on collaborations with, for example, Easel Inventables. This is precisely where the learning curve is steepest for beginners. The Cubiko CNC does everything a newcomer might want to do for now. The included test materials invite an immediate start.


